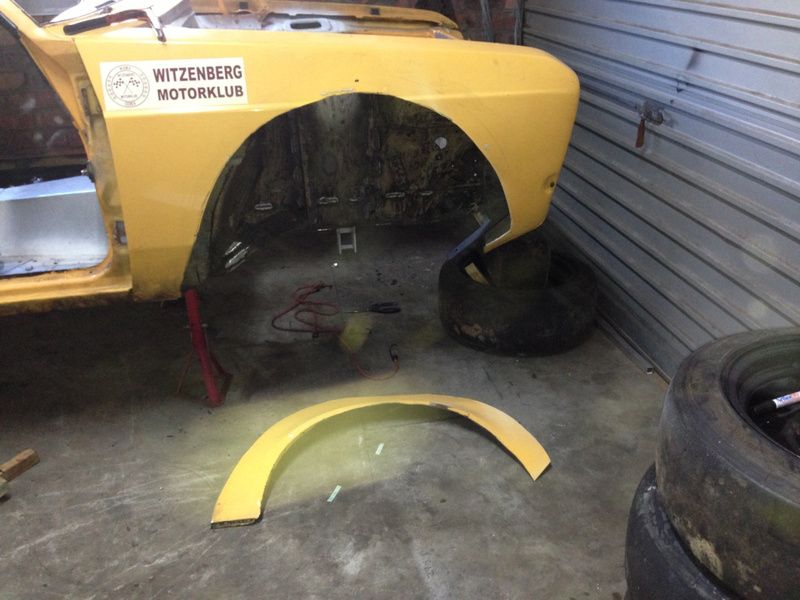
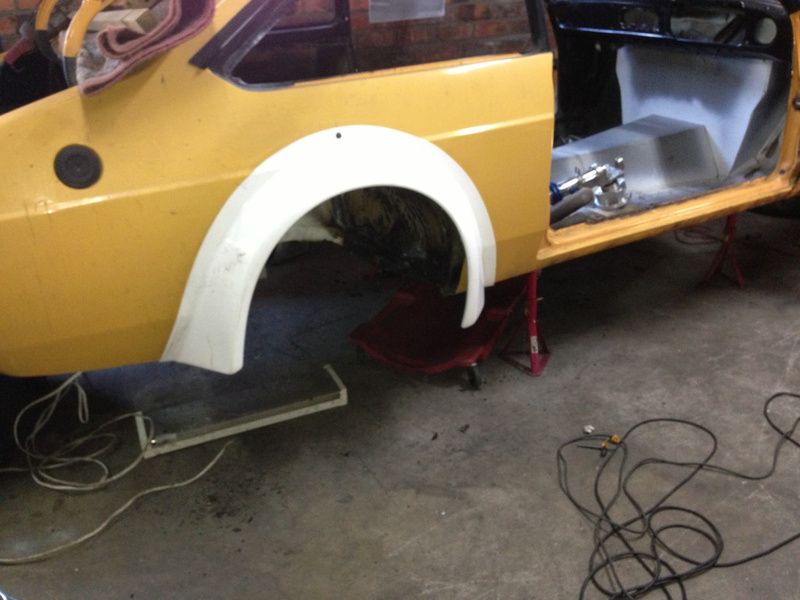
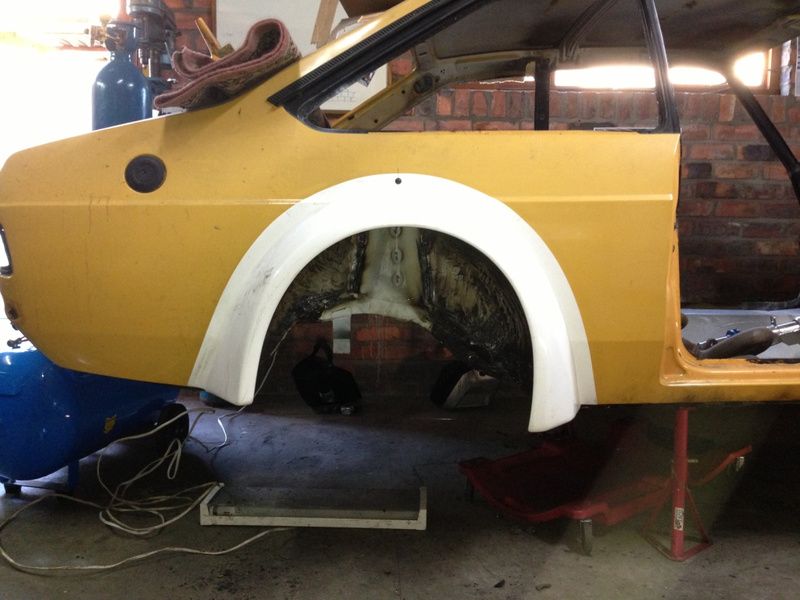
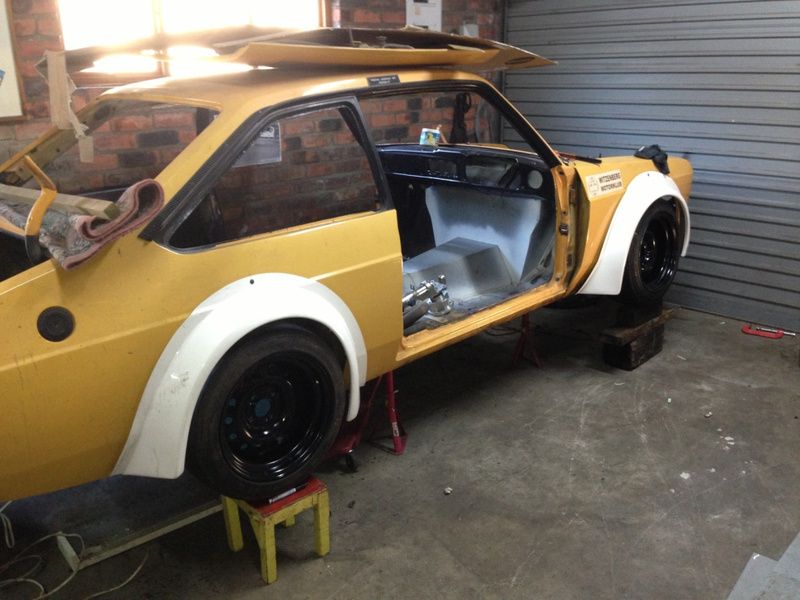
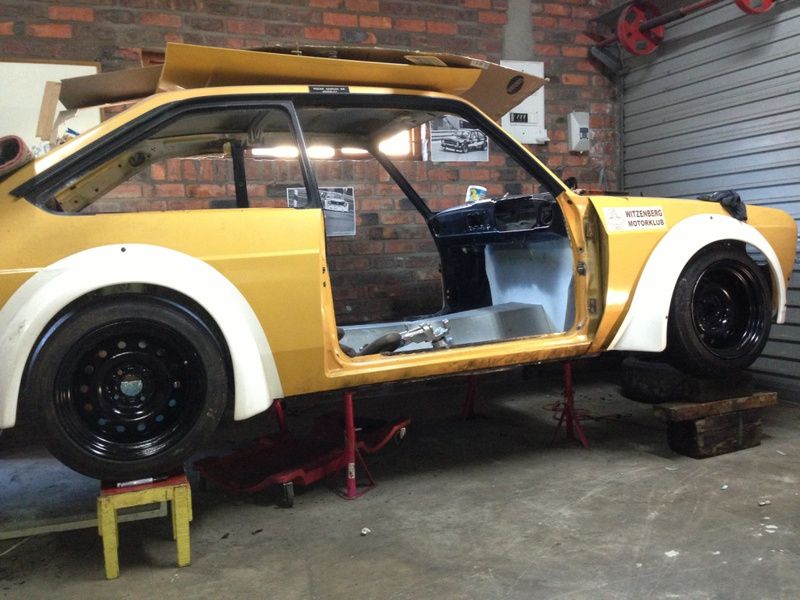
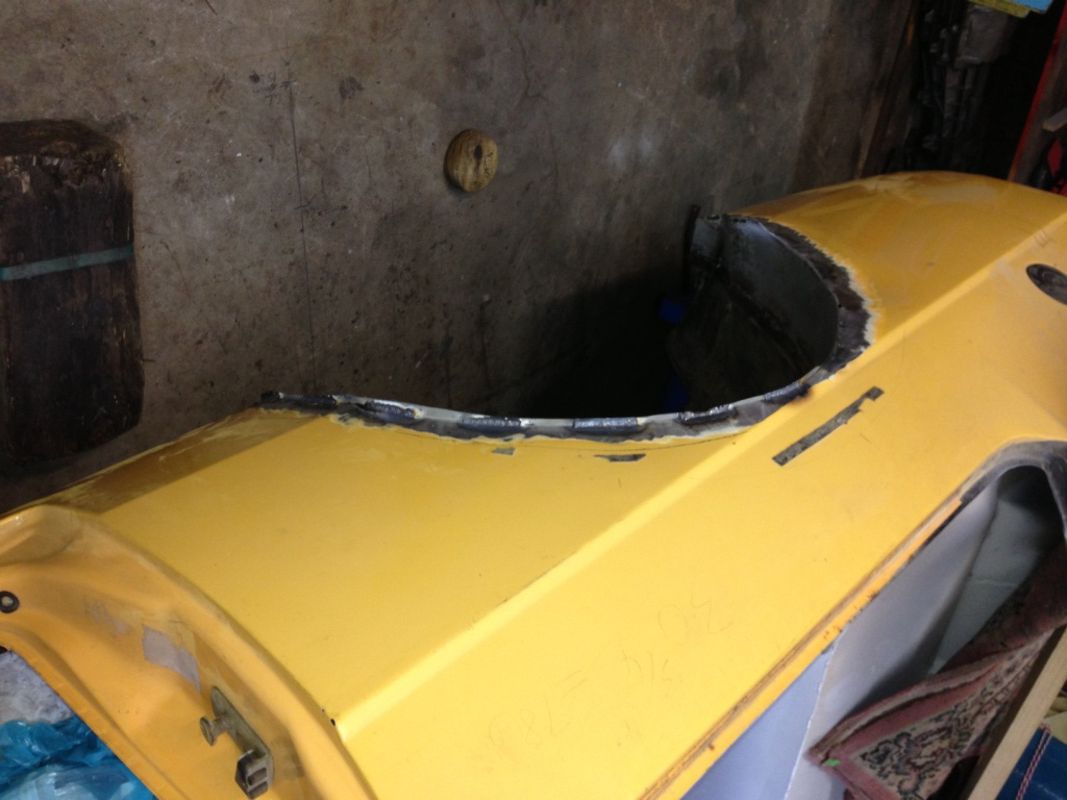
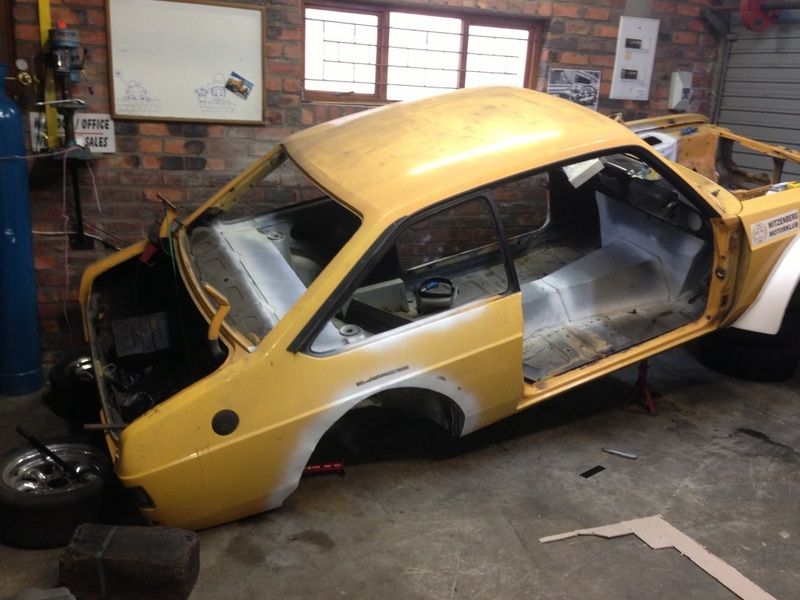
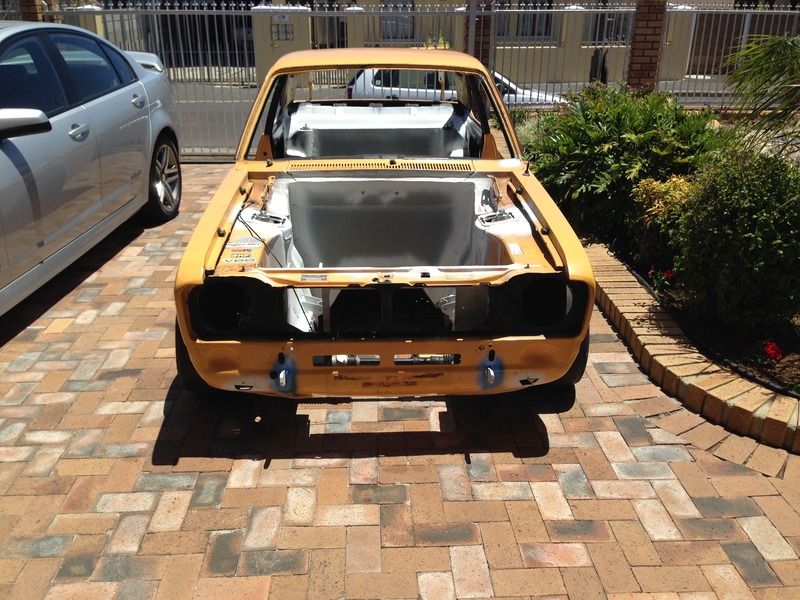
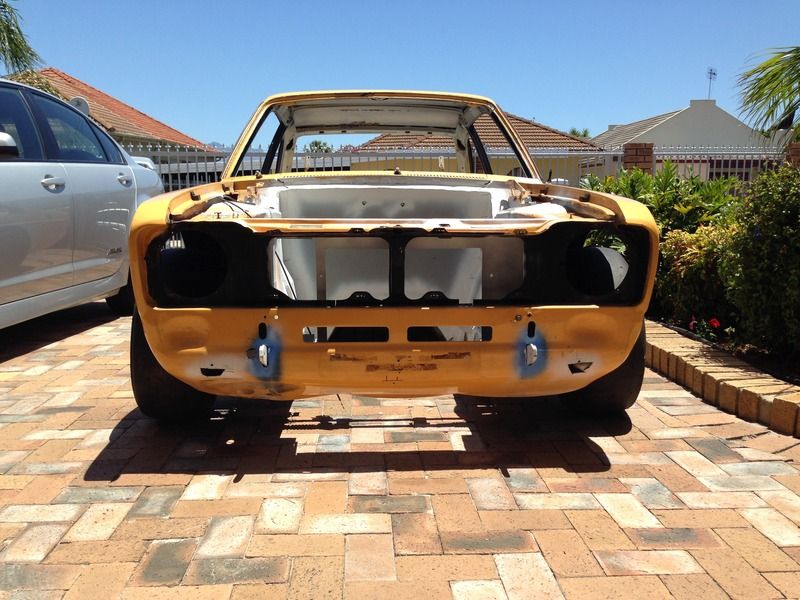
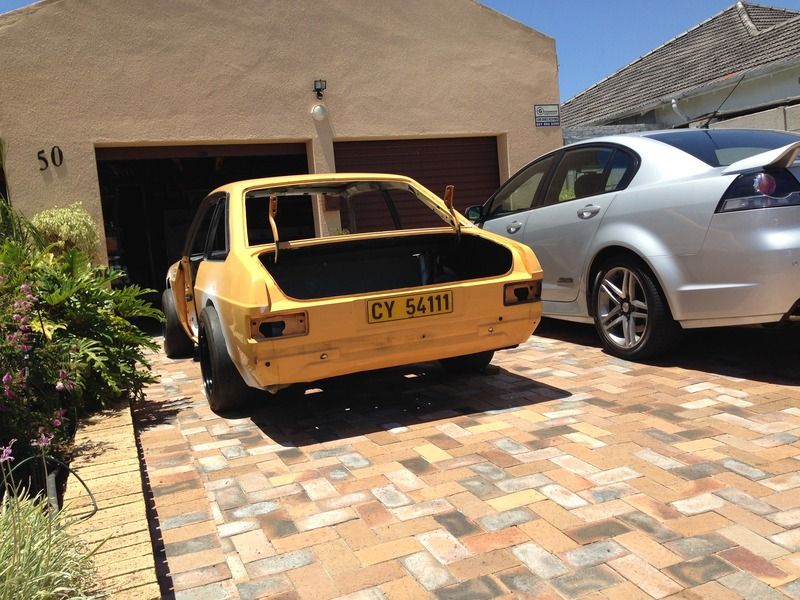
I Started in front, getting the exact position of the kit was not that easy as the moulds are not exact, especially the front scoop. I marked it at as close to where it should be to 100% as there is space for movement.
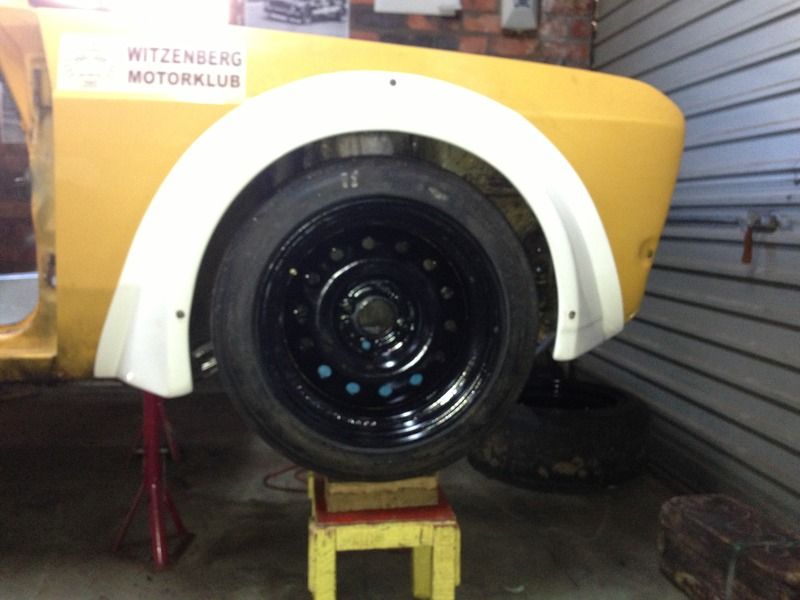
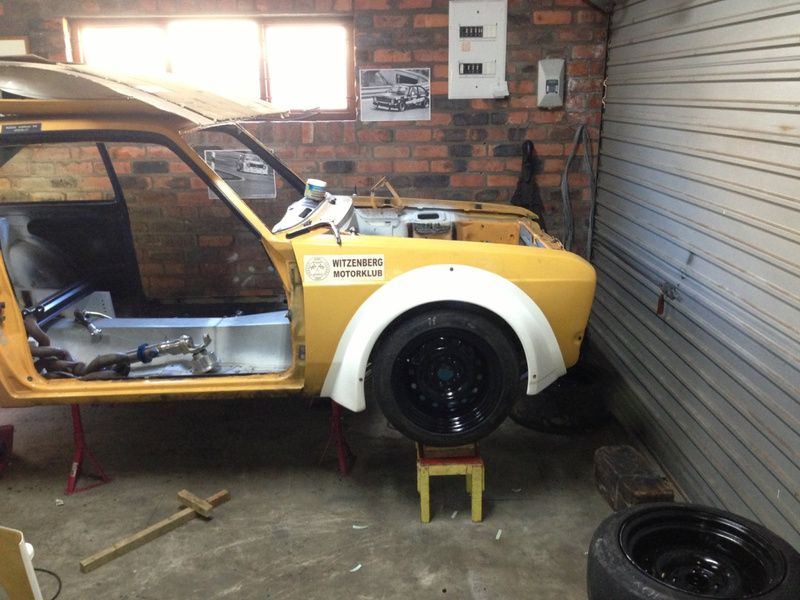
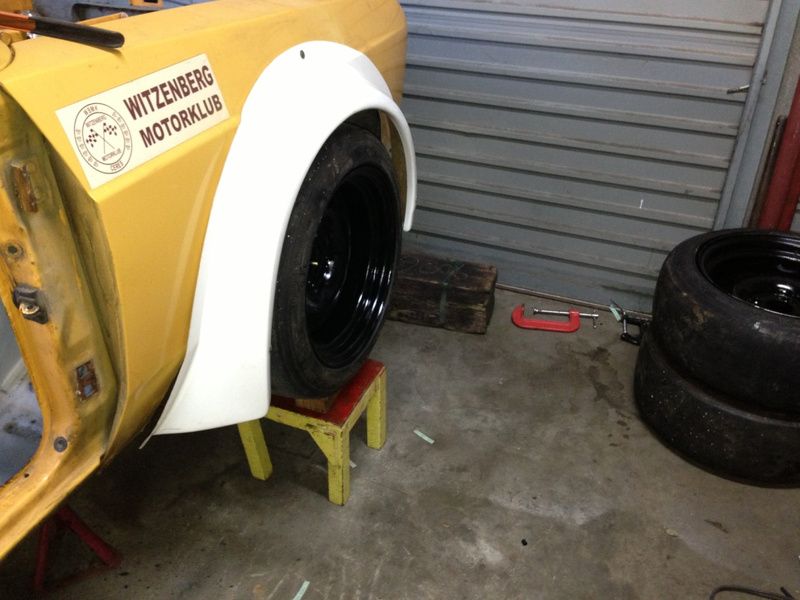
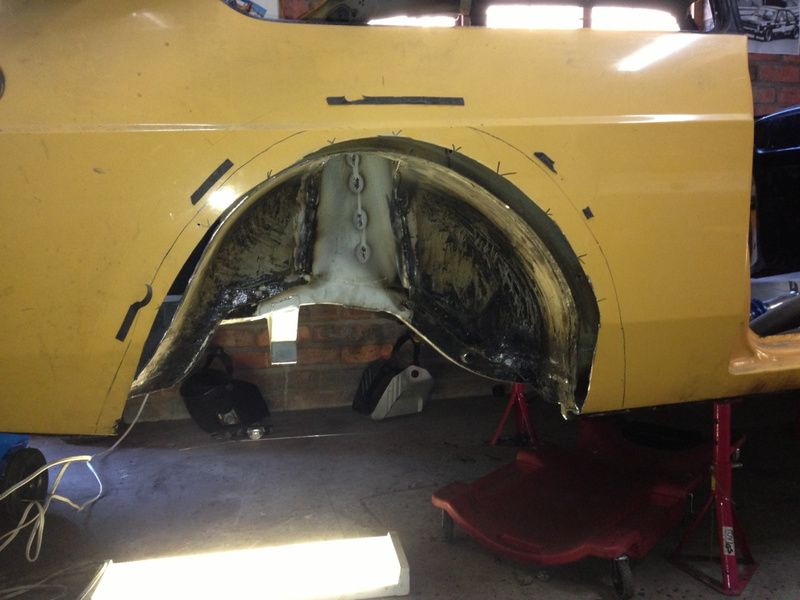
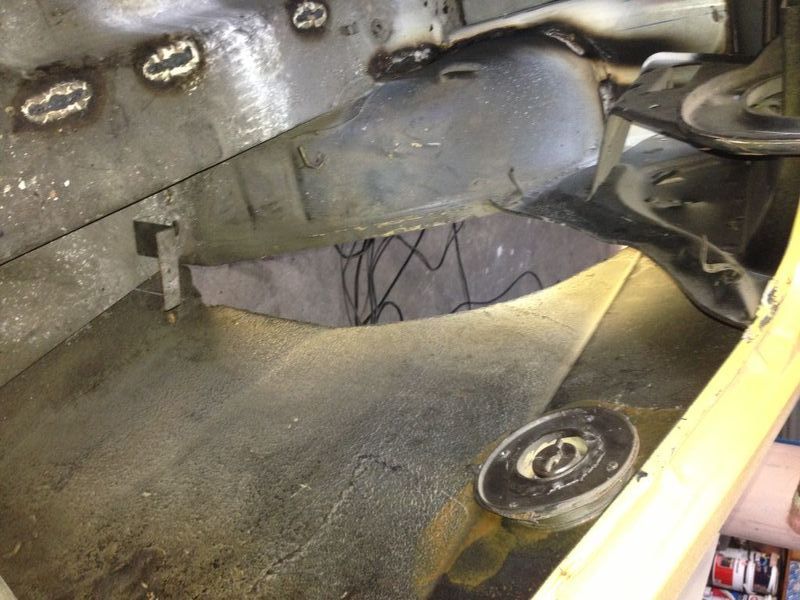
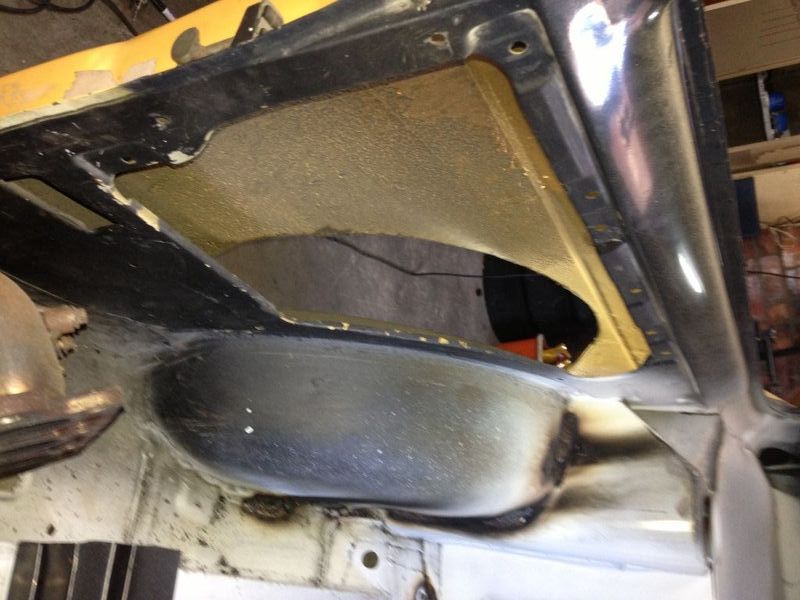
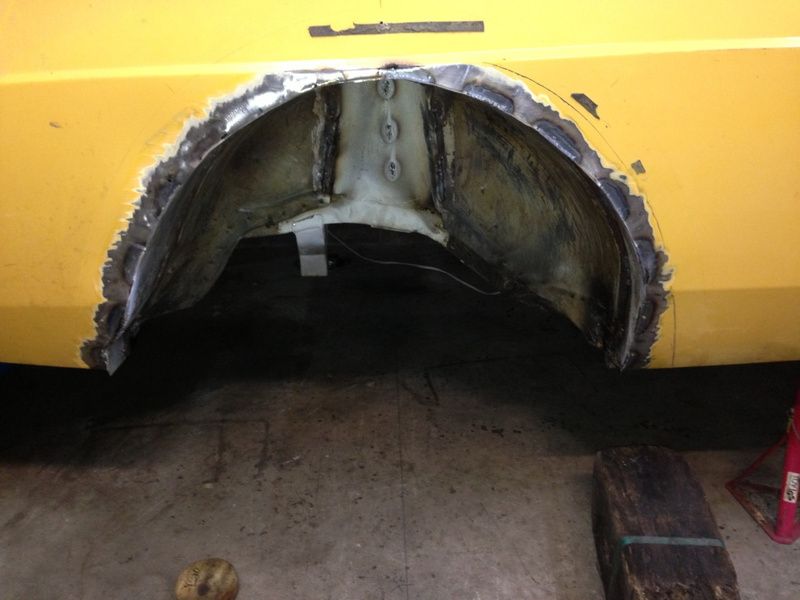
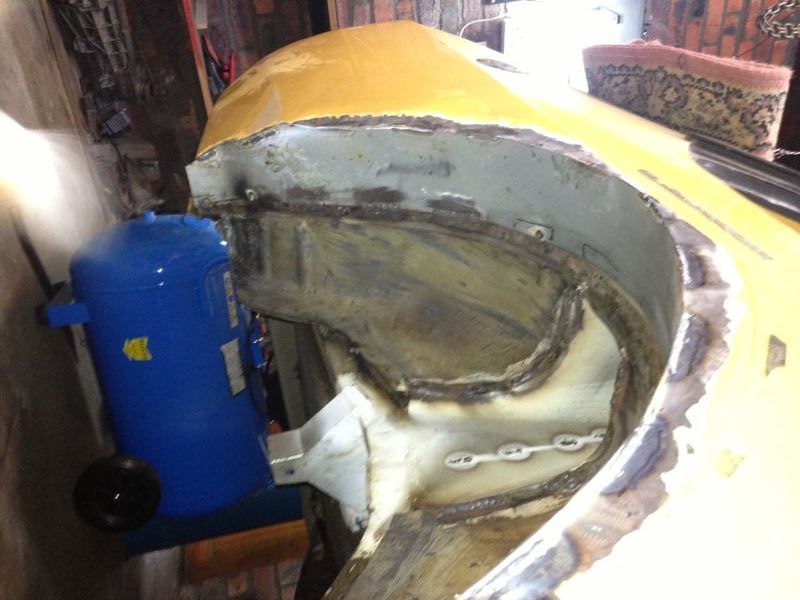
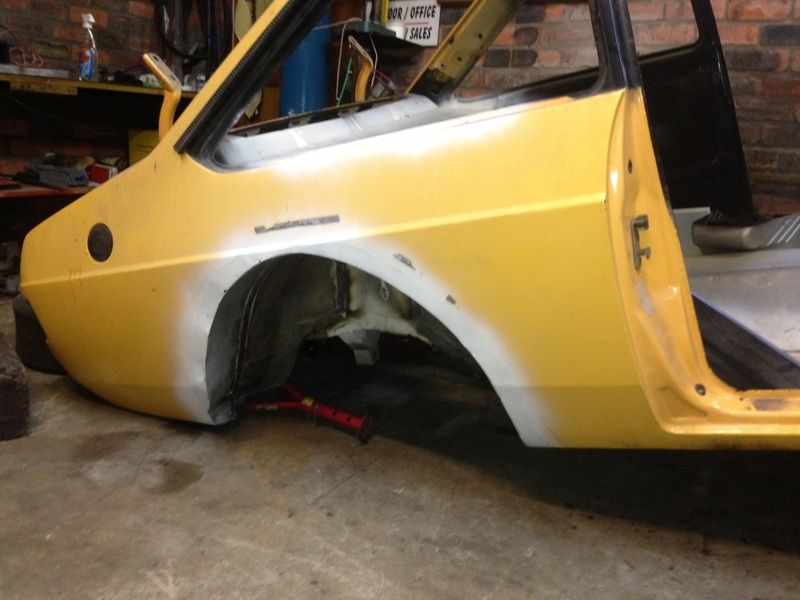
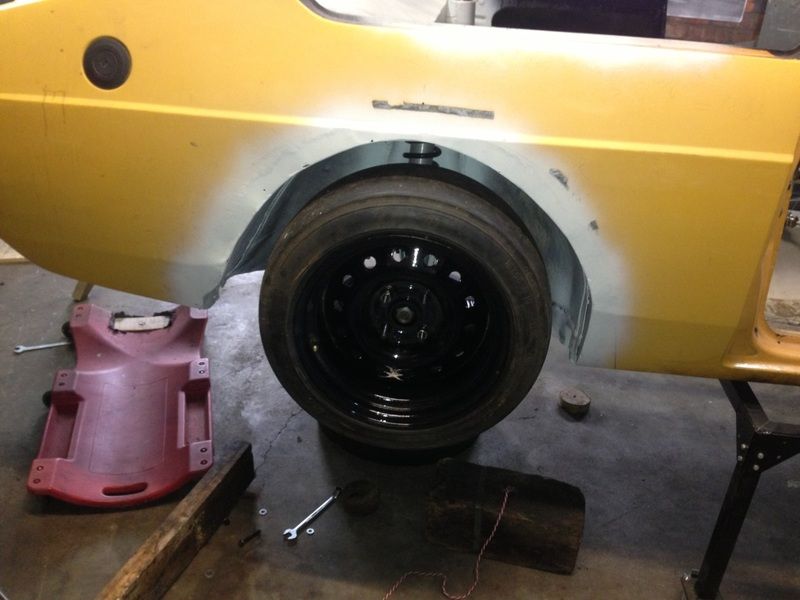
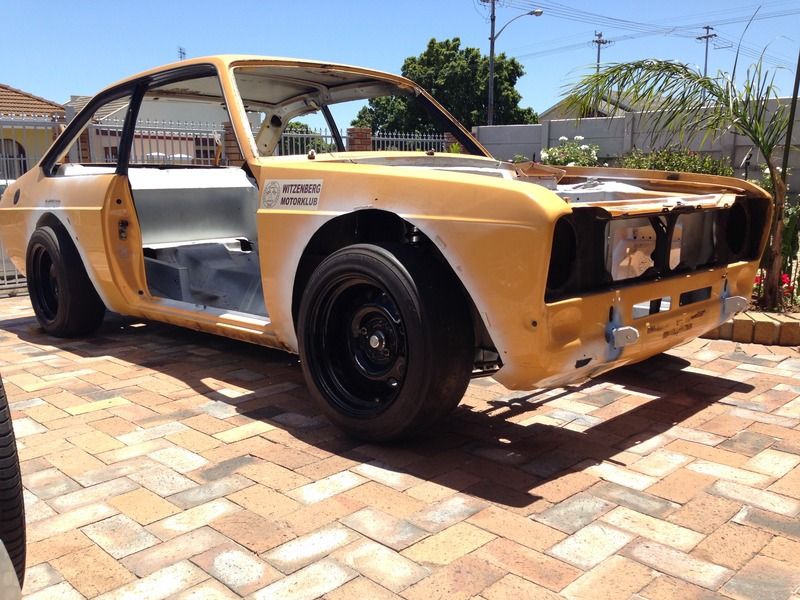
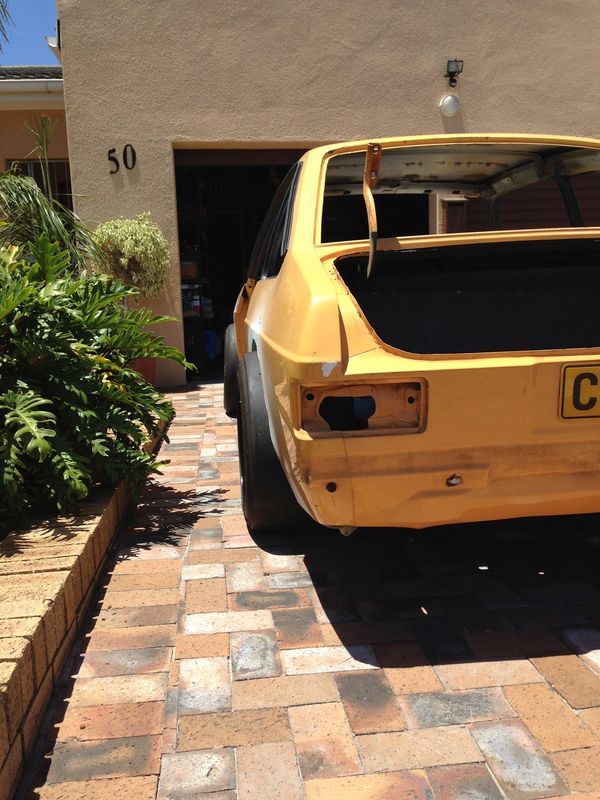
At the back it is easier as the arch can be slightly moved to your ideal position. At the back involves more work as you cut out your inner arch and will need to replace it.
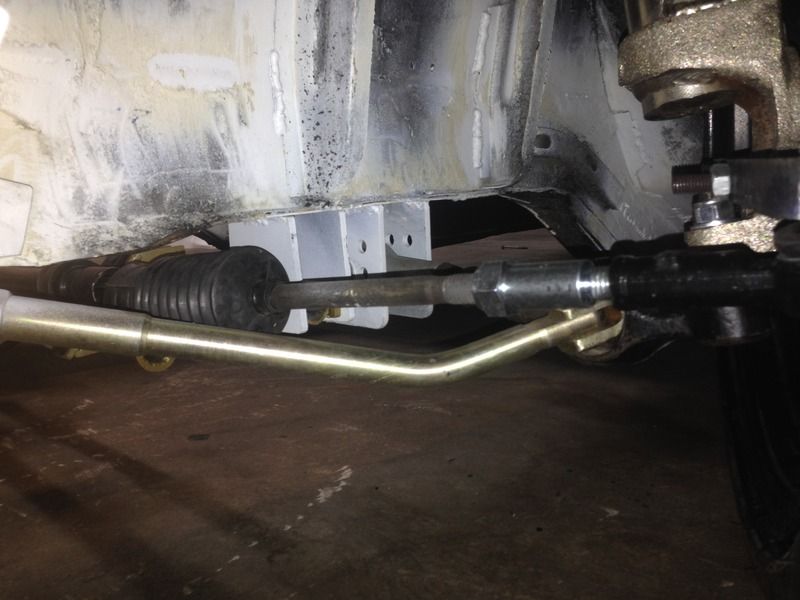
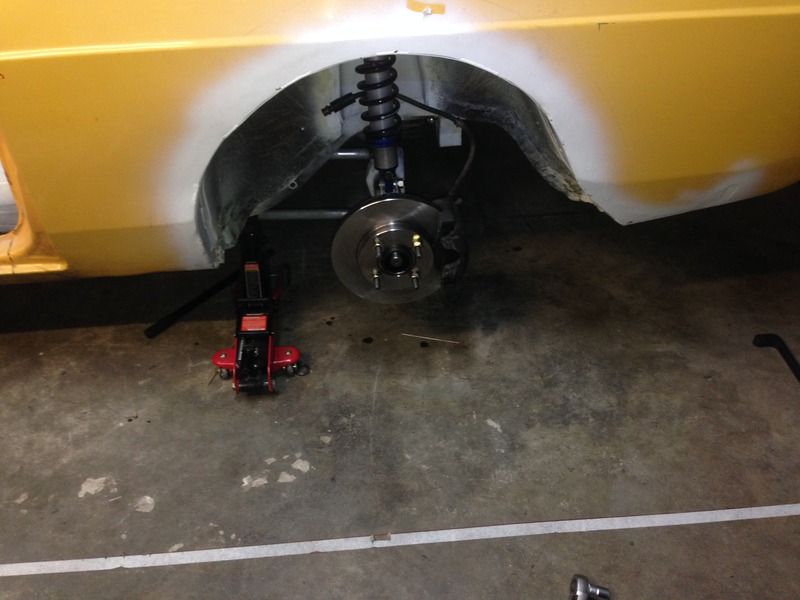
I Assembled the front suspension to start going on the steering rack.
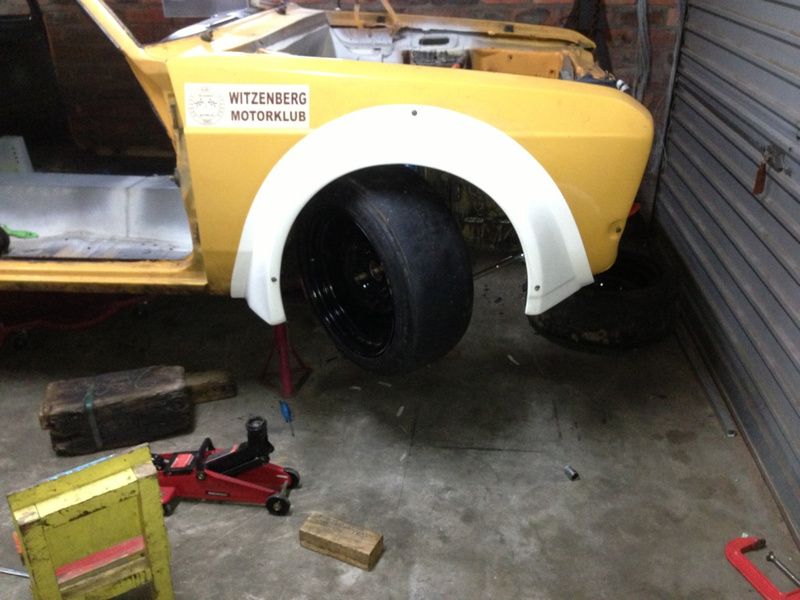
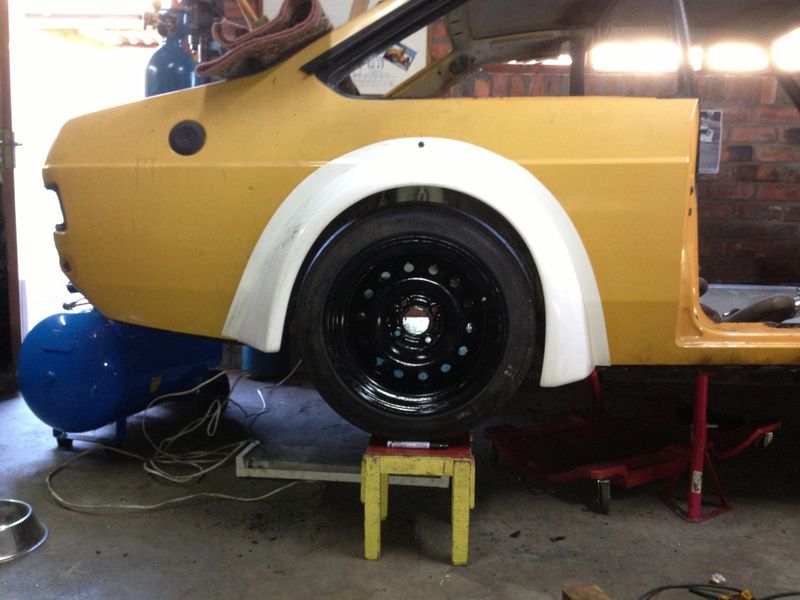
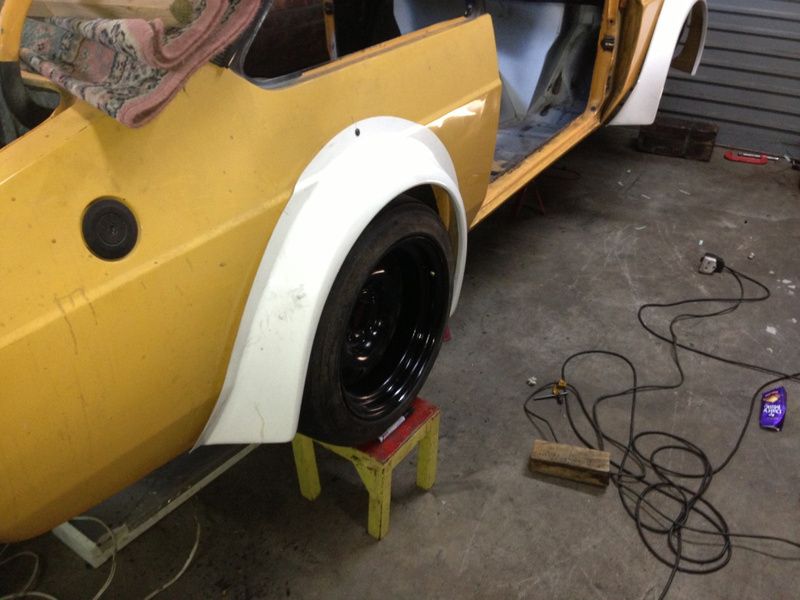
I am almost done with the right rear arch, going to start on the left side for now and finish this one later.
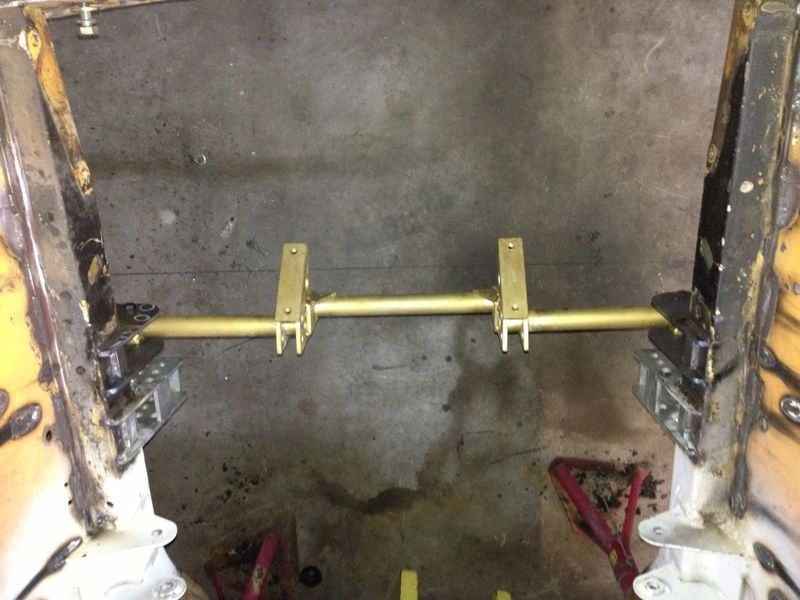
I have completed the steering rack cross member after hundreds of tries.

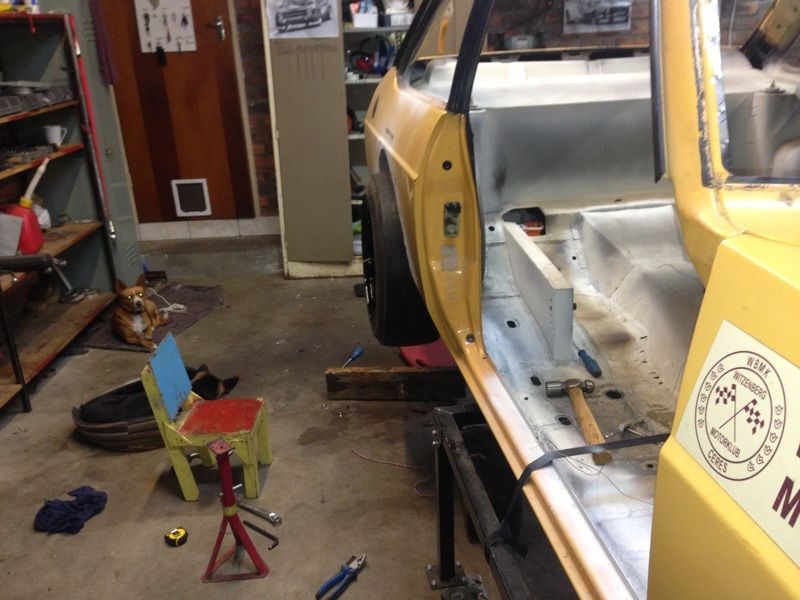
Mike borrowed me his car trolley that he build for is Mini project to me. This makes life so much easier. I felt stupid for not doing this long ago. Struggled my ass off to get the car up onto the thing, got my Father and brother in laws help in for that after I managed to crash the car to the ground.
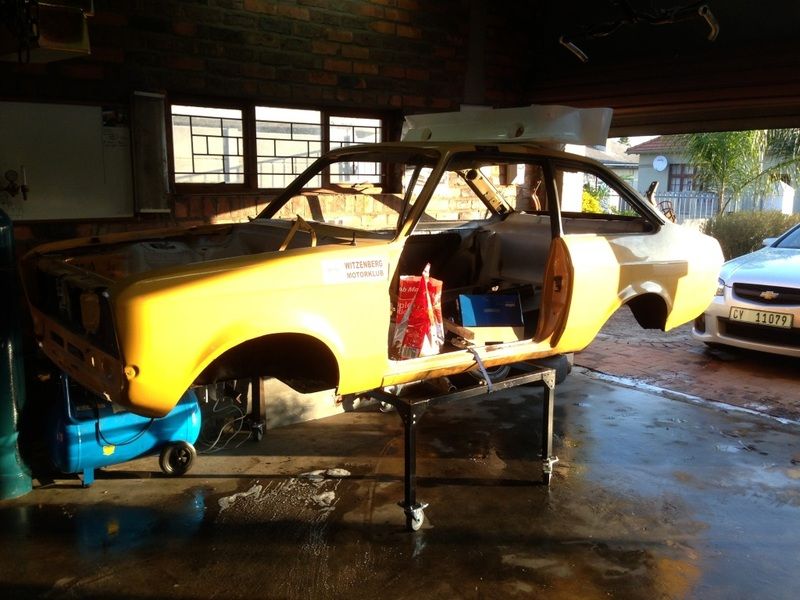
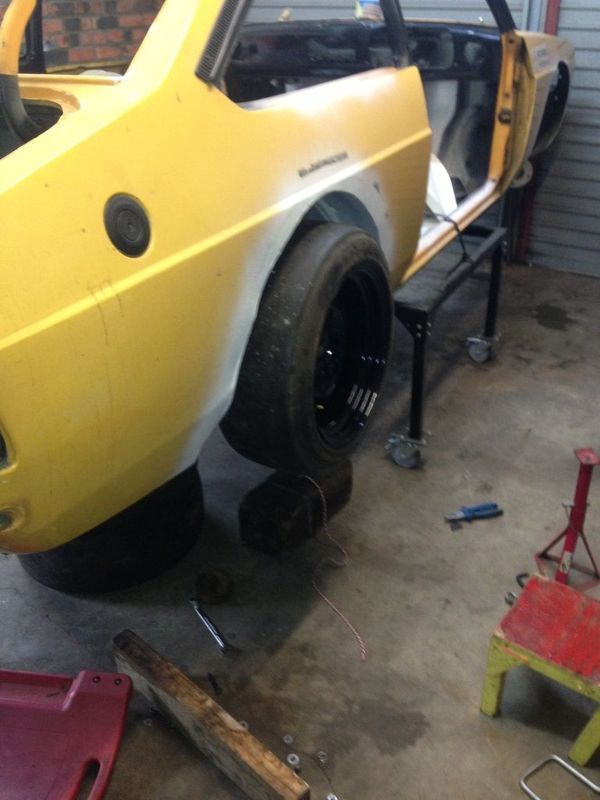
This now allows me to work on any area of the car with plenty of space around me.
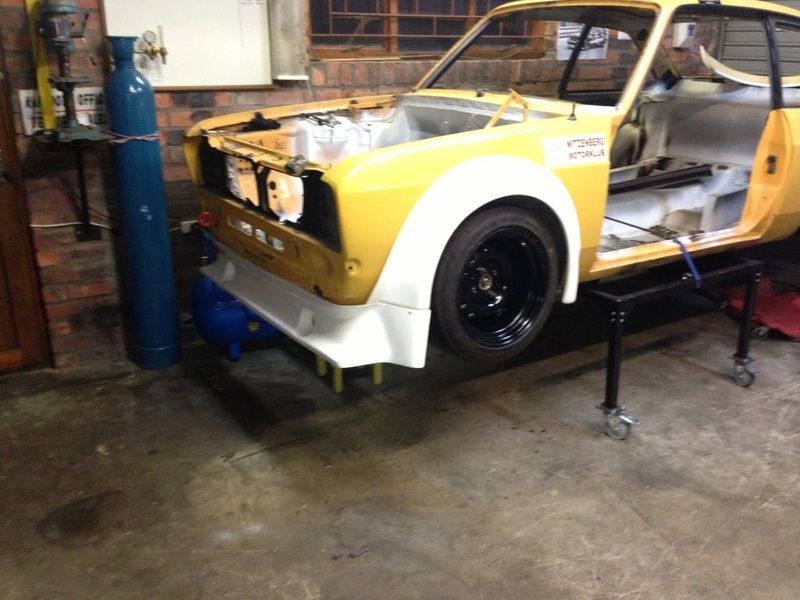
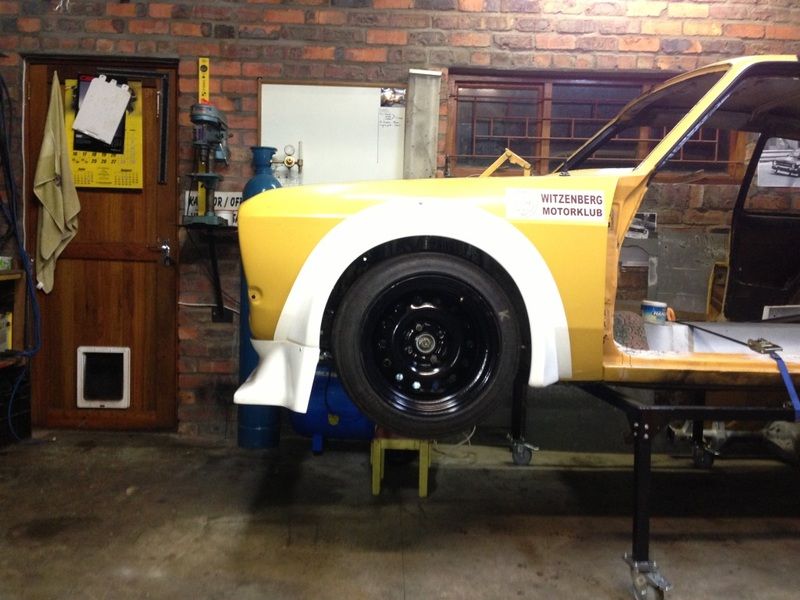
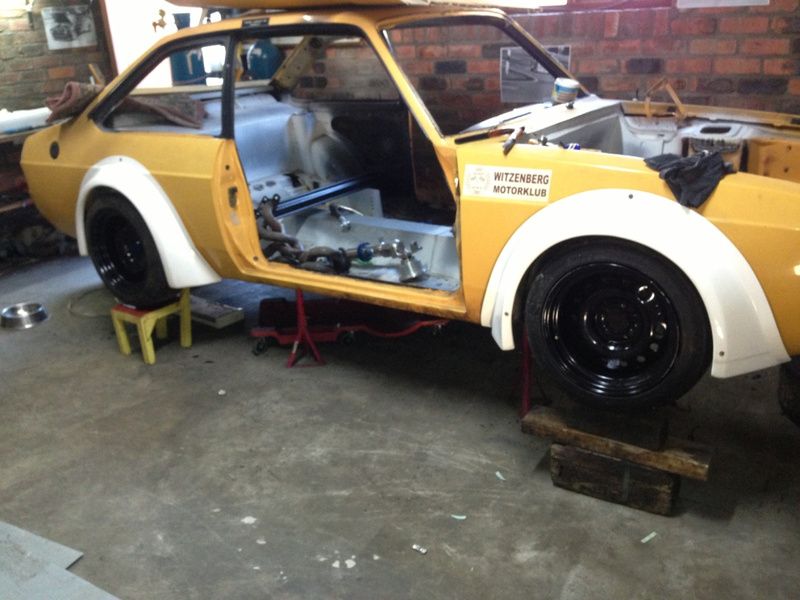
I then finished off all the arch work to all outstanding wheels, pre fitted the front scoop to get the idea and placement right for the front arches.
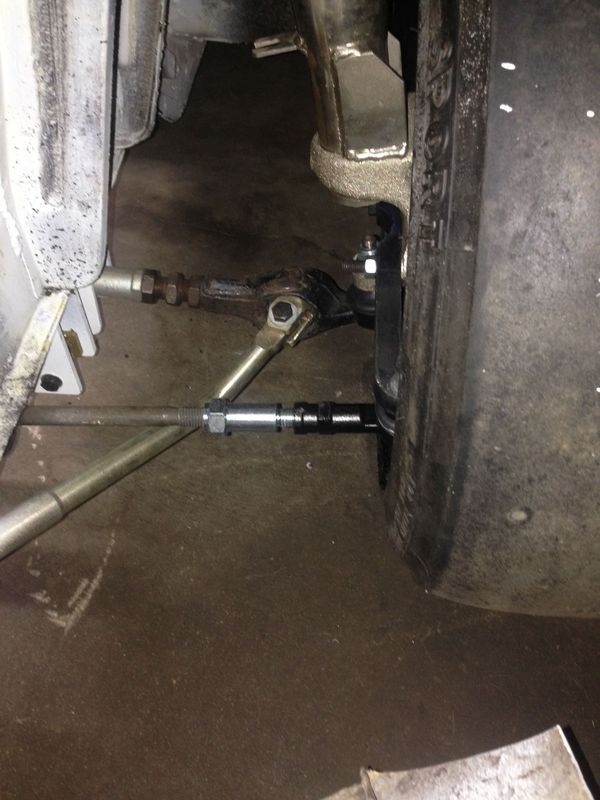
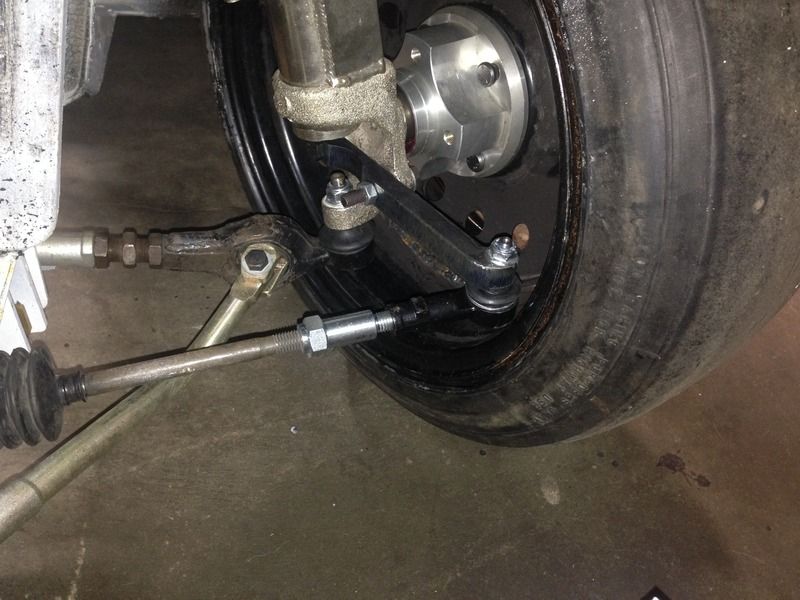
I started on my steering arms, was not that easy to get the Ackermann right. I started off by drawing hundreds of different scenarios on Auto Cad to make the wheels turn right. Please if you ever do change your steering geometry go look up on Ackermann. You do not want it wrong. I got it right eventually but still could not do it in a 3-4D situation on cad
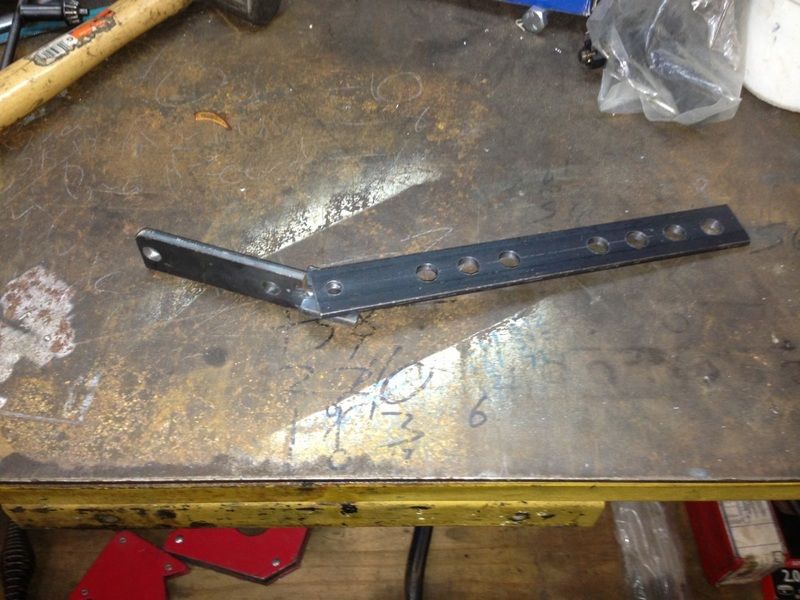
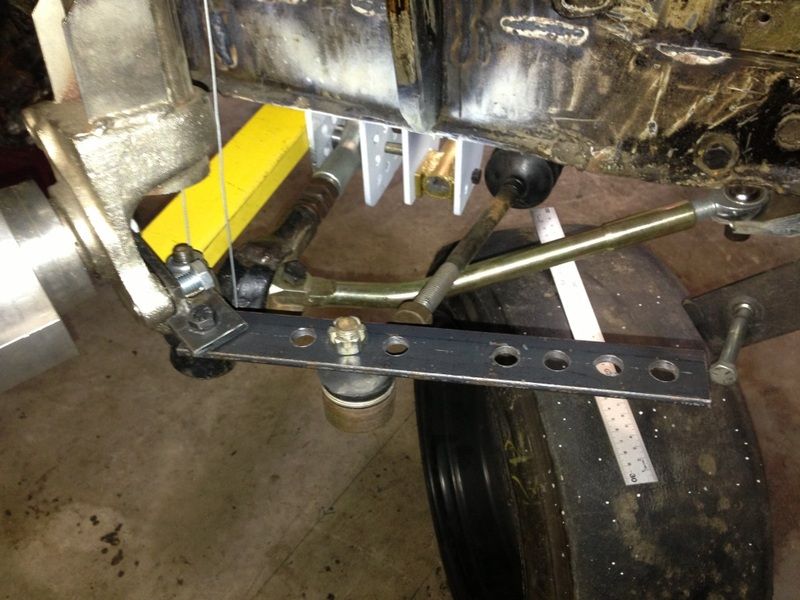

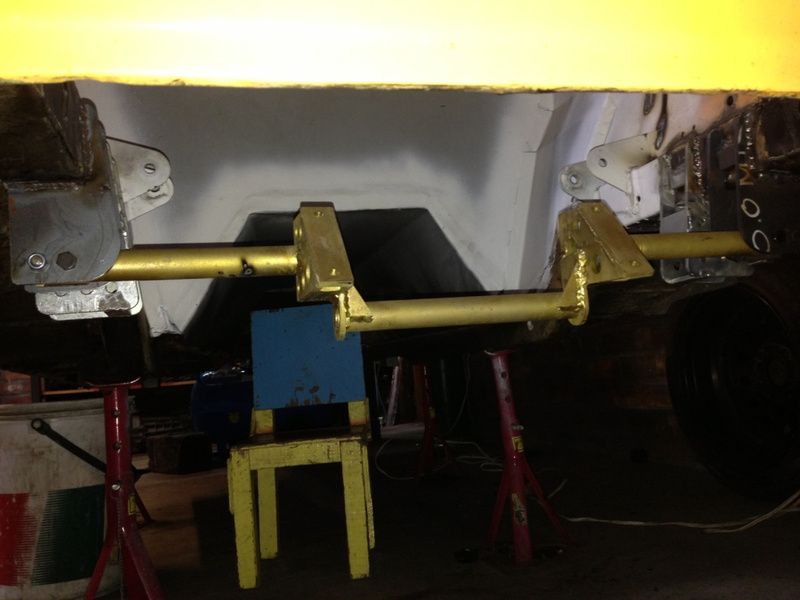
I made up these temp adjustable steering arms just to see how my worked out theory steering arms position would react. It seems that it should work but my steering rack arms is to short, about 100mm to short. Ordered some extensions from Rally Design still waiting on those
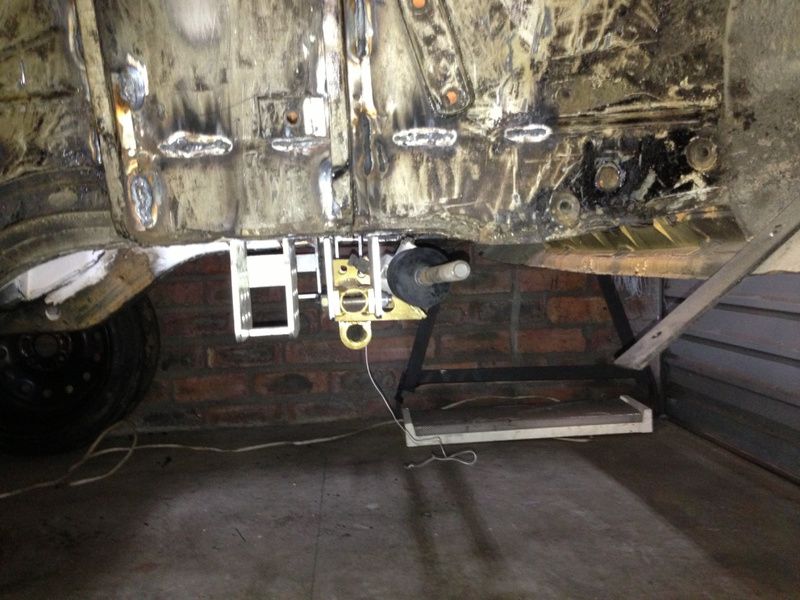
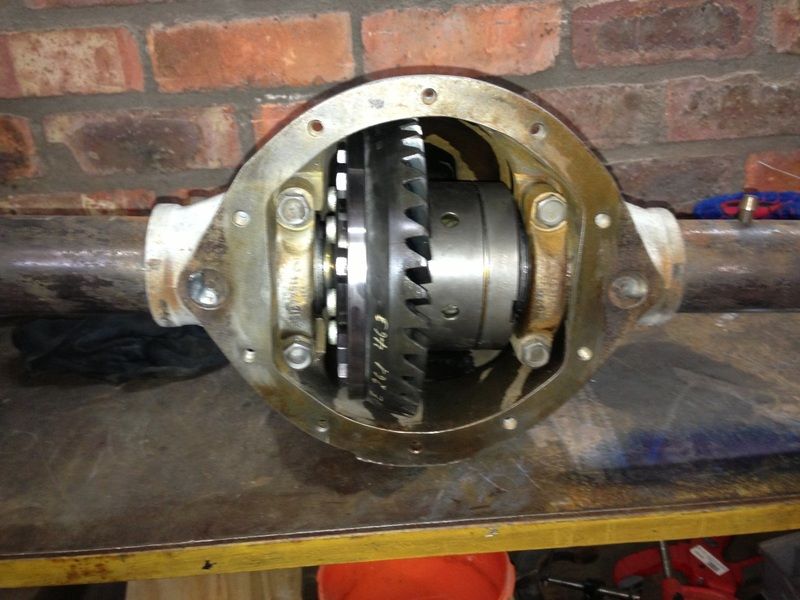
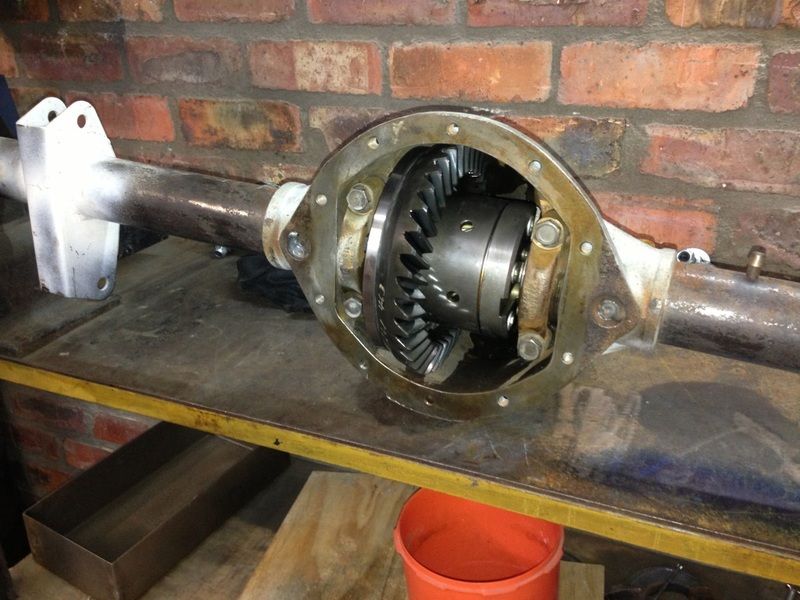
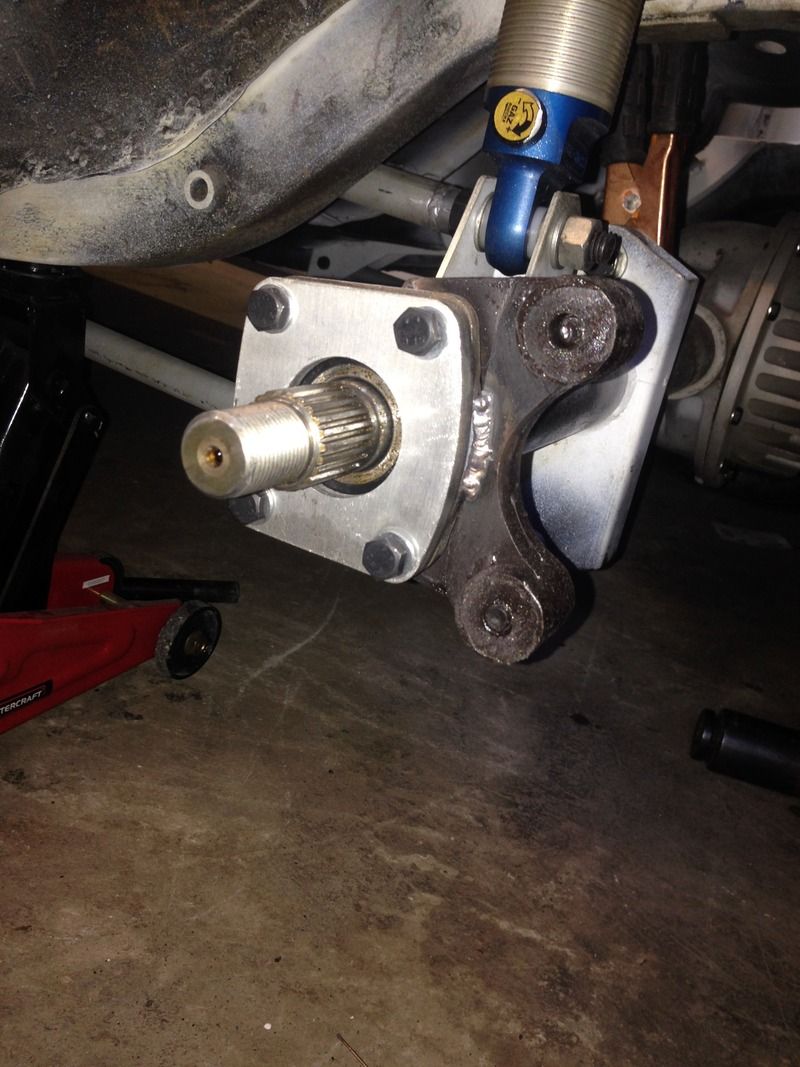
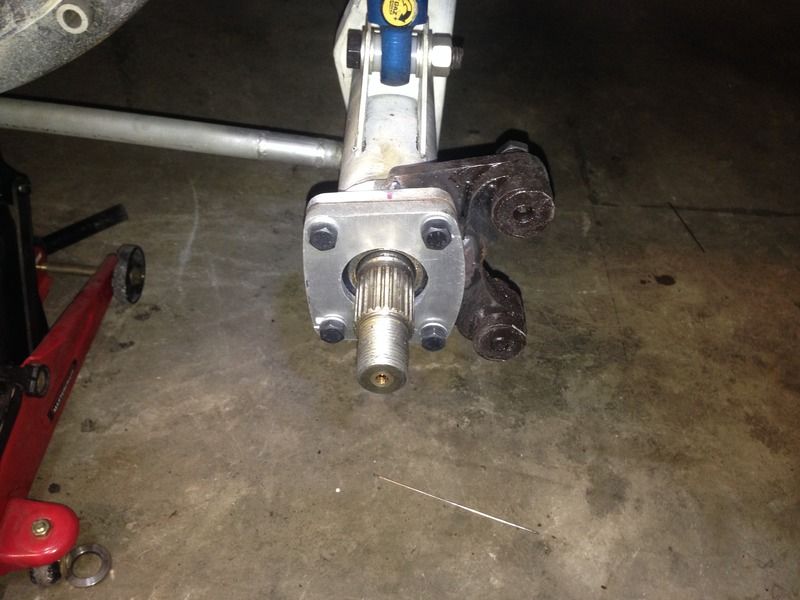
I had the axle assembled.
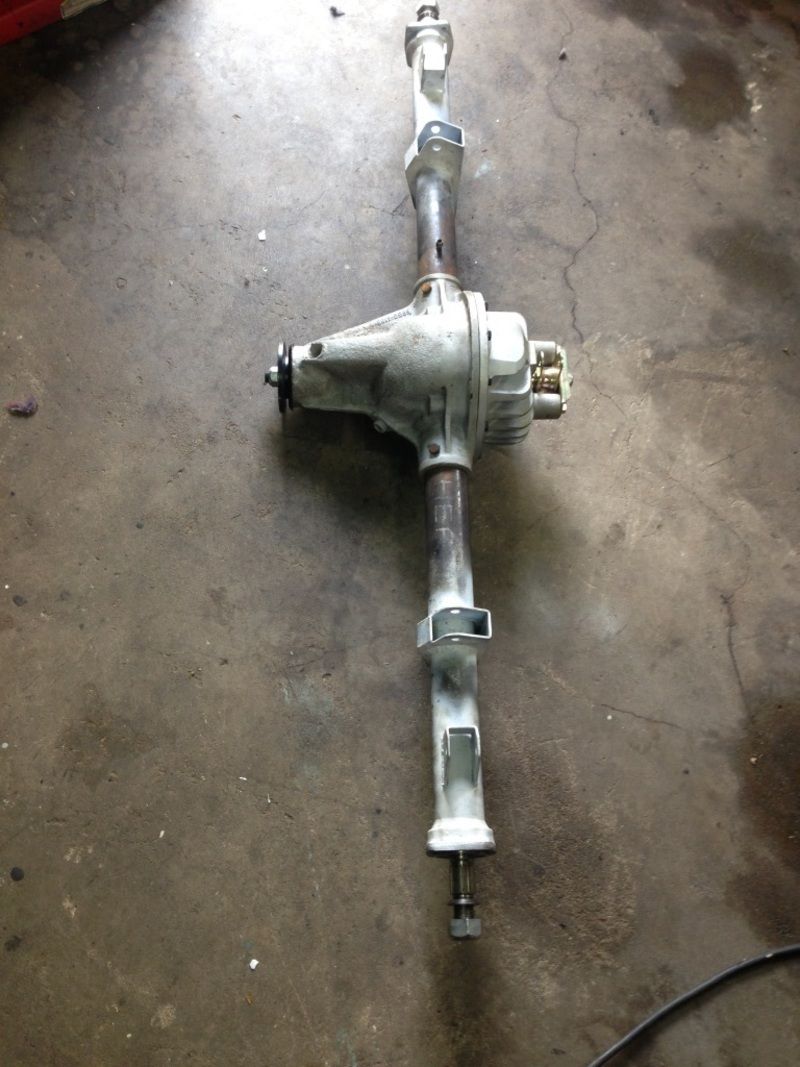
I then put the axle into its place

I am waiting on my wheel bearing retaining plates and steering arms from laser cutting. Then the car can stand on its own legs again after two years
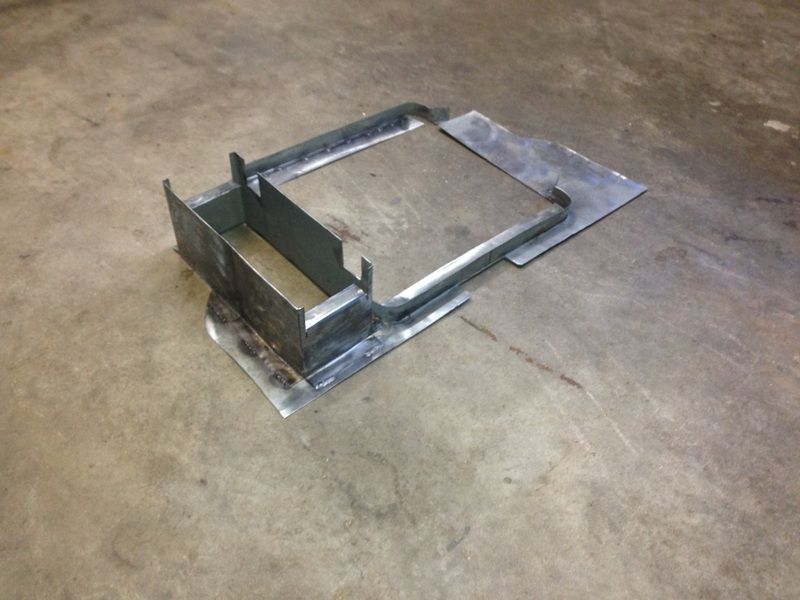
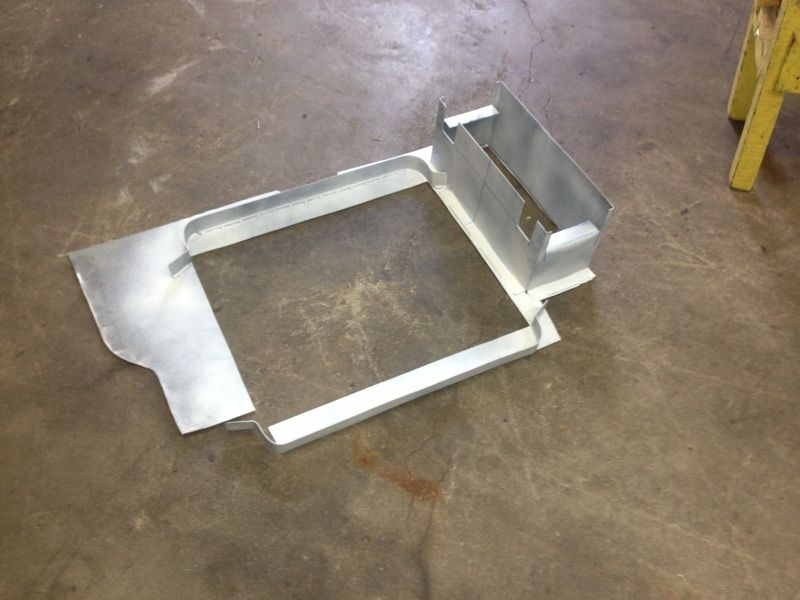
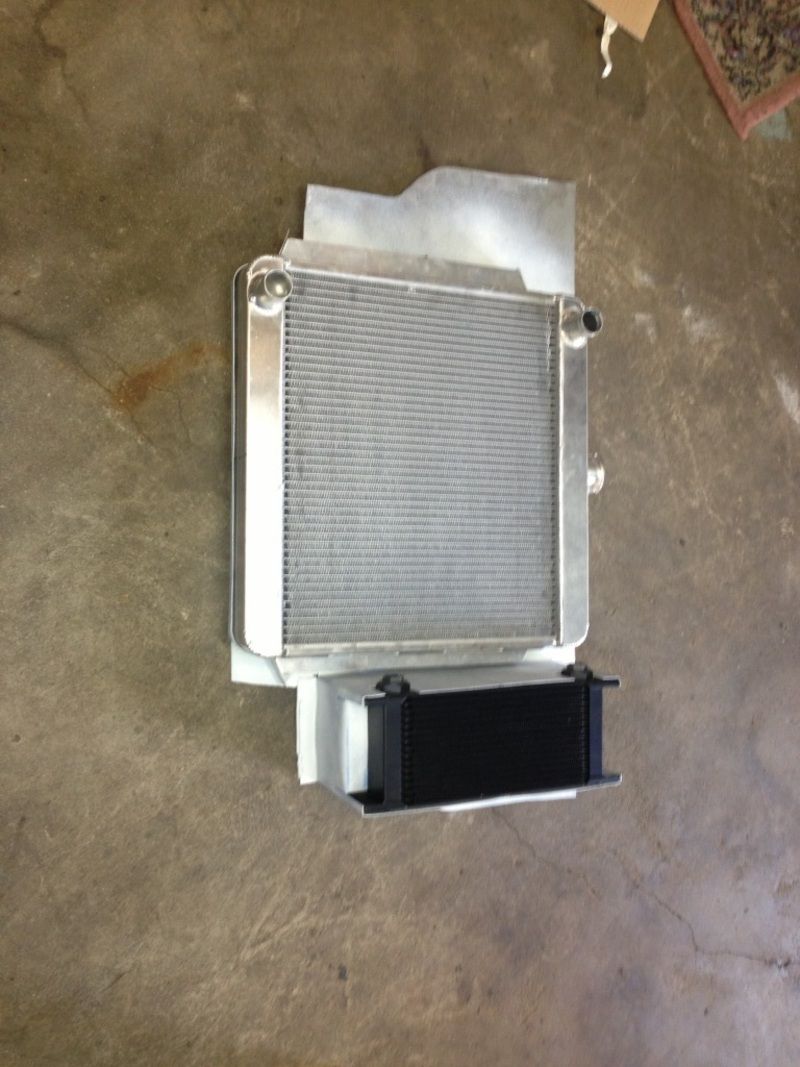
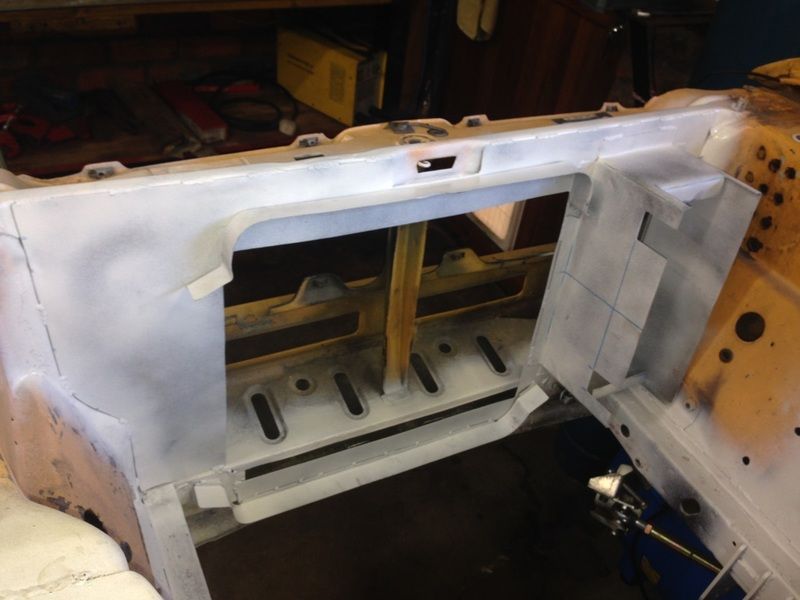
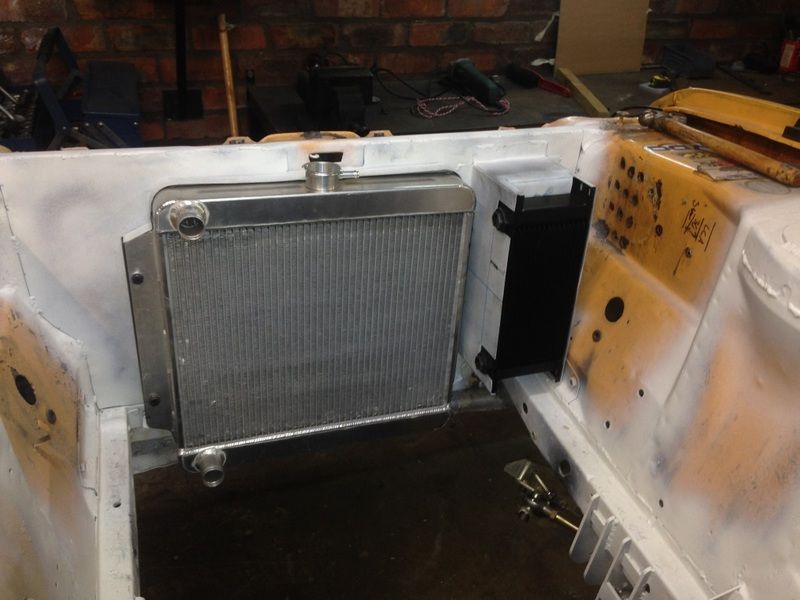
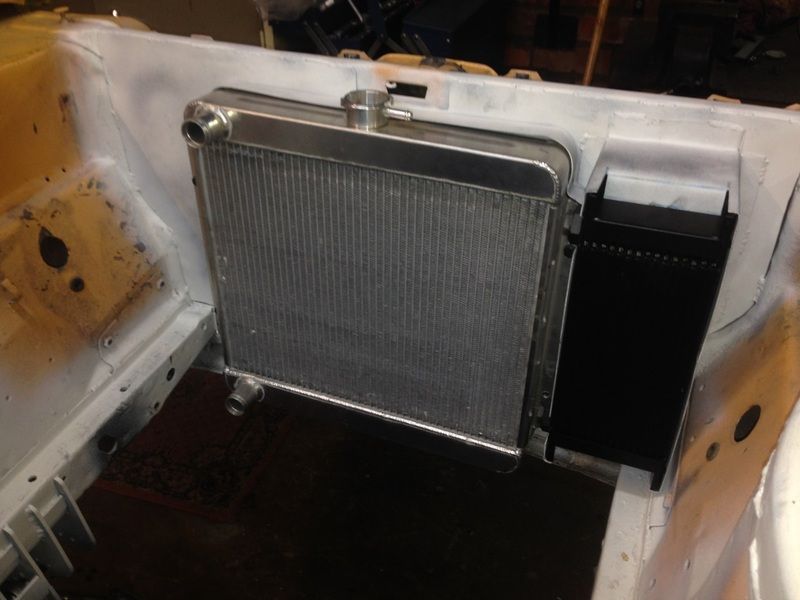
I finished the front section for mounting the radiator and oil cooler. I decided to mount the oil cooler to the engine side as it creates too many issues if you try and squeeze it in front of the radiator.

I added some rust protector as my parts seems to rust before I get a chance to put them in place.
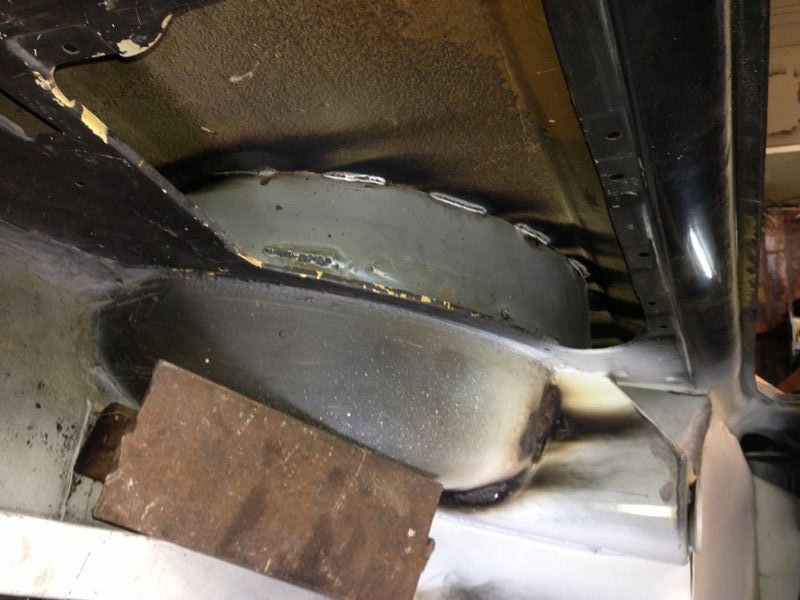
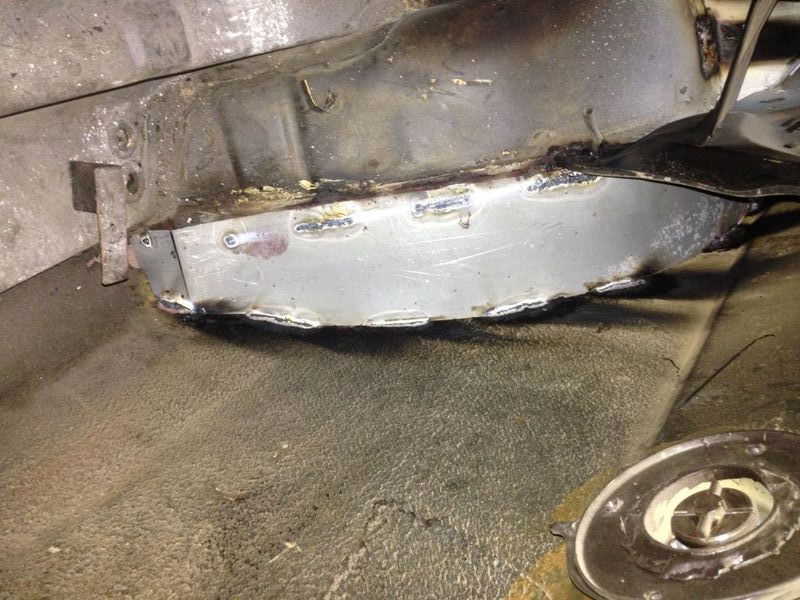
All welded in

I managed to get the radiator mounted and the oil cooler in
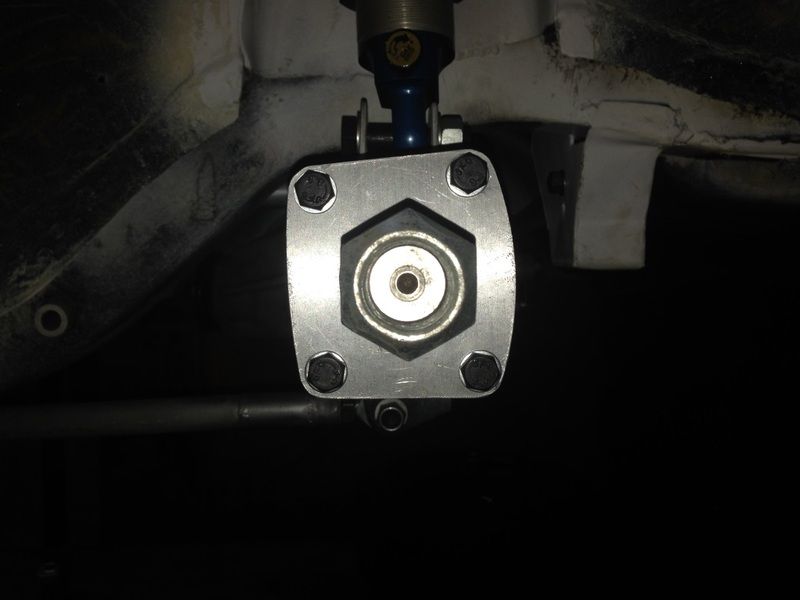
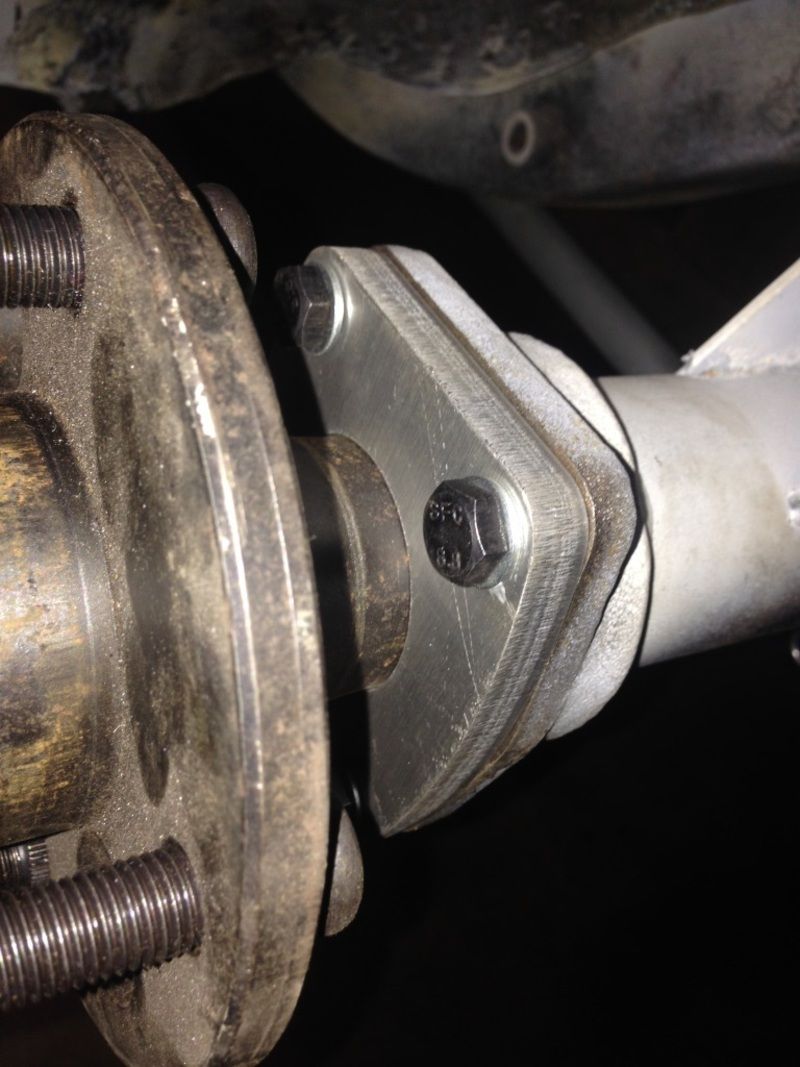
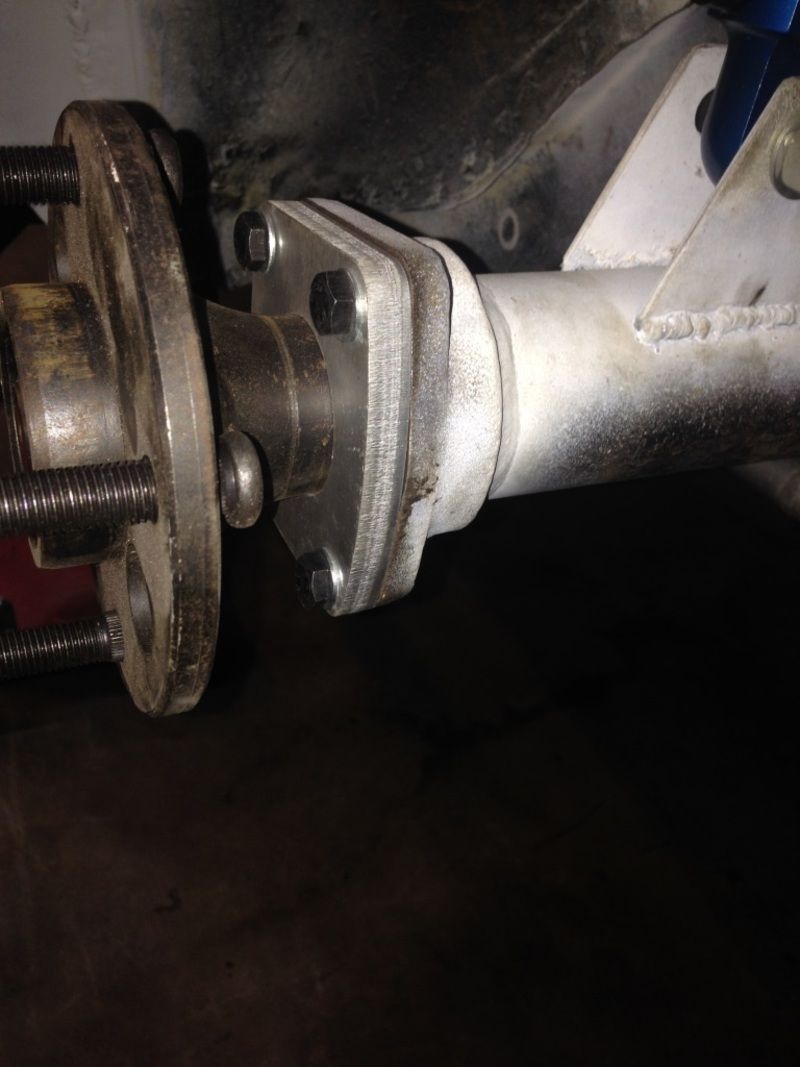
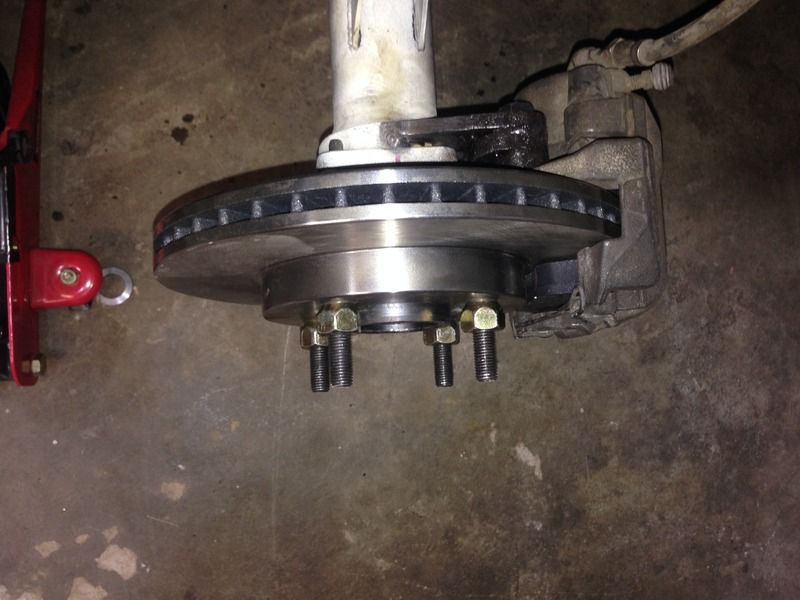
I made new bearing retaining plates from alluminium for the axle. Had them laser cut and then the center machined out to make space for the bearing
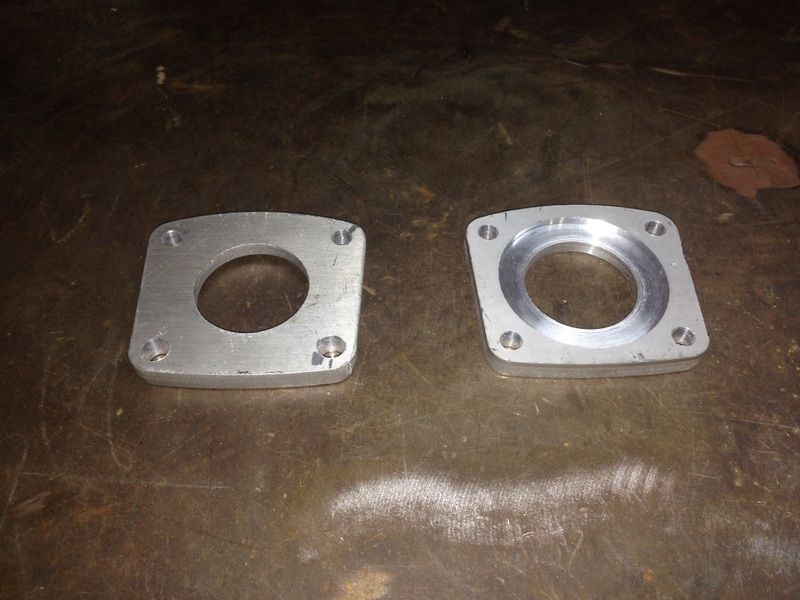
Thanks to the Mathee brothers for the machining
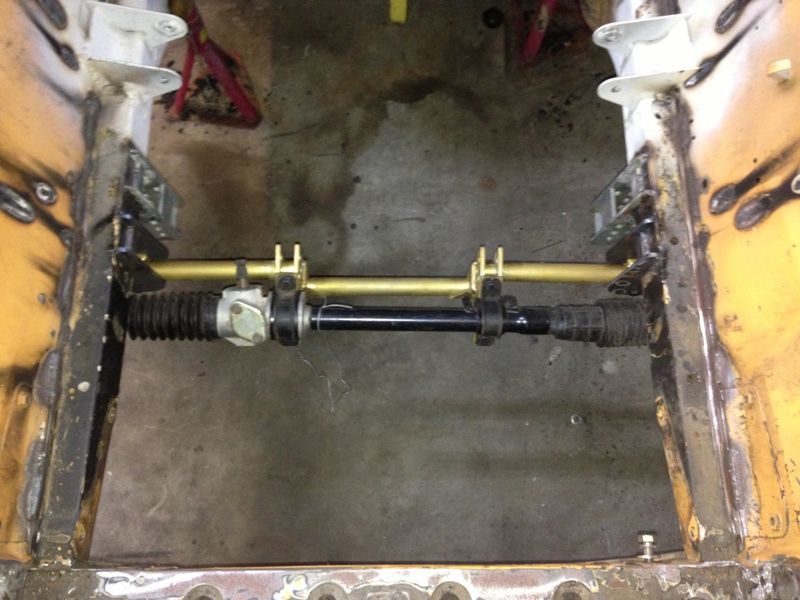
I received my poly bushes for the steering rack, end caps for aluminium hubs, brake fluid holders, steering arm ends to change to rose joint and some parts of my brake kit. The kit was a bit off a mess with plenty of missing and wrong parts.
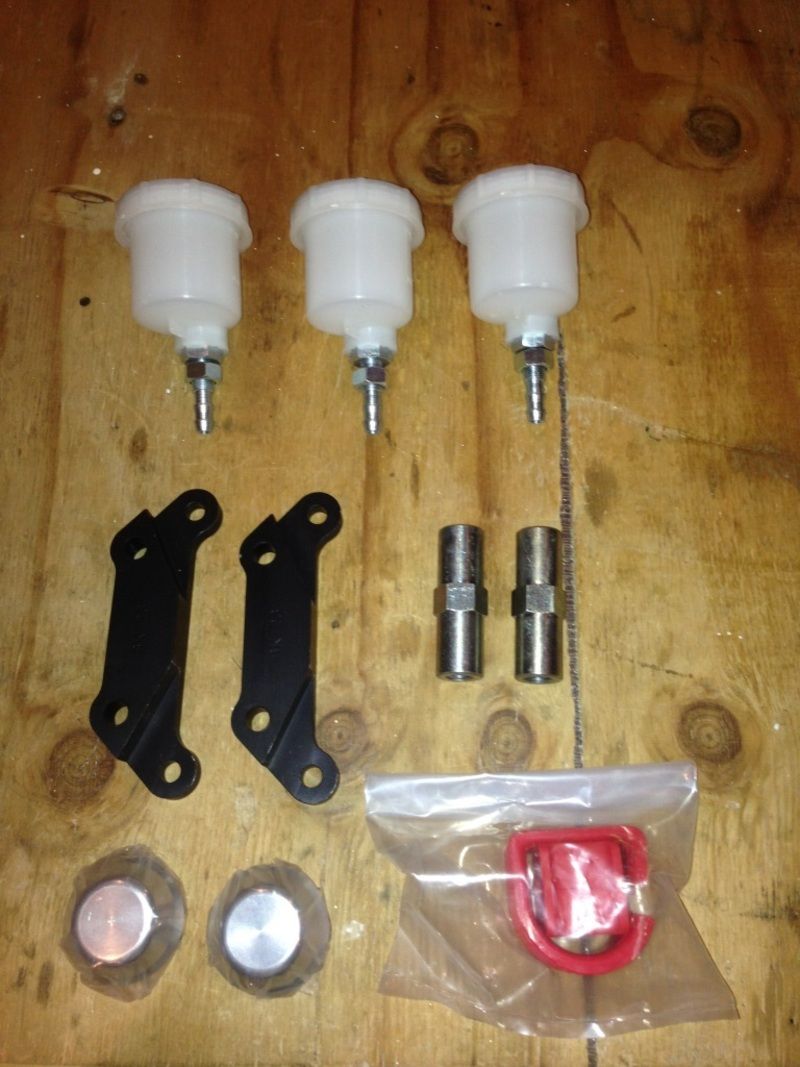
Eventually received the missing parts

Temporary mounted them to measure for my steering arms again.
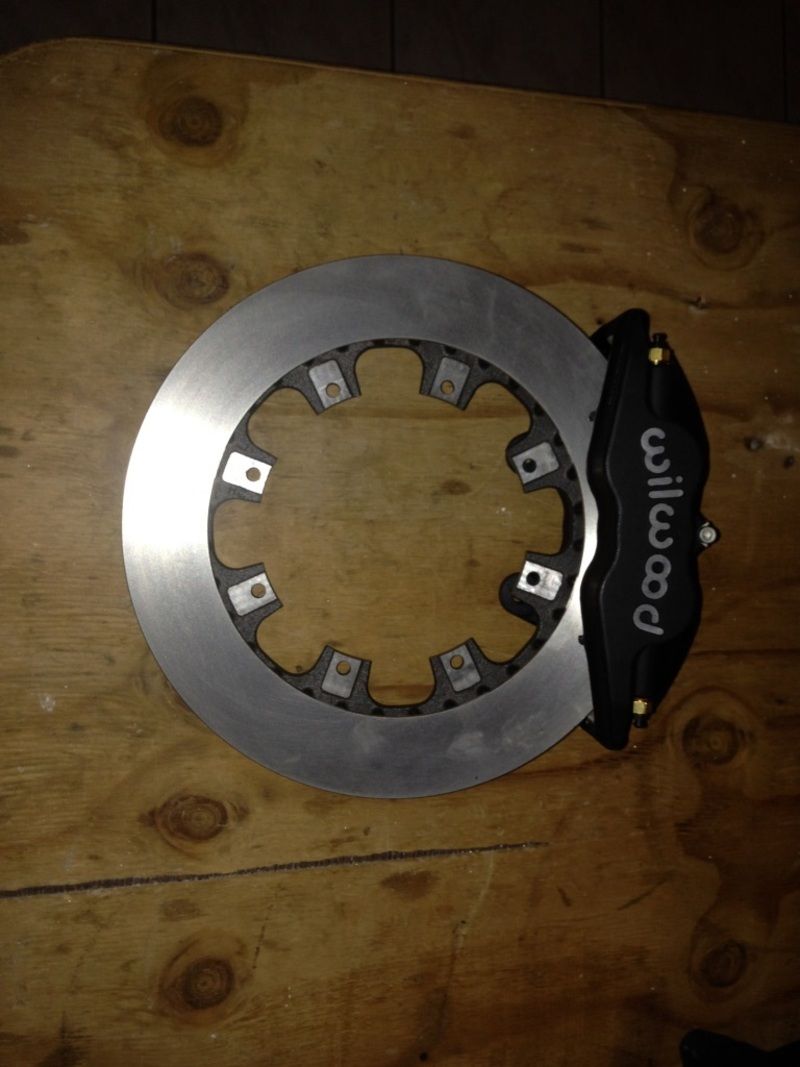
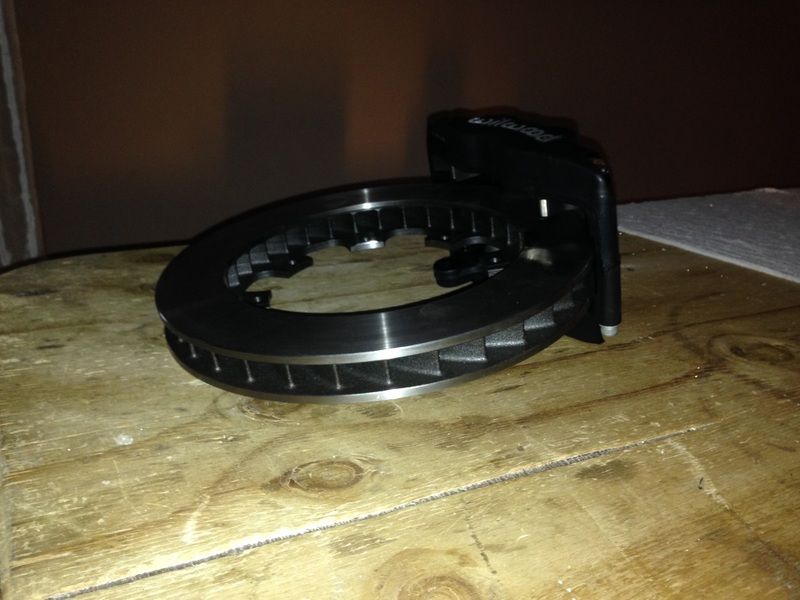
Got the pads with a mate’s shipment from South West Speed US
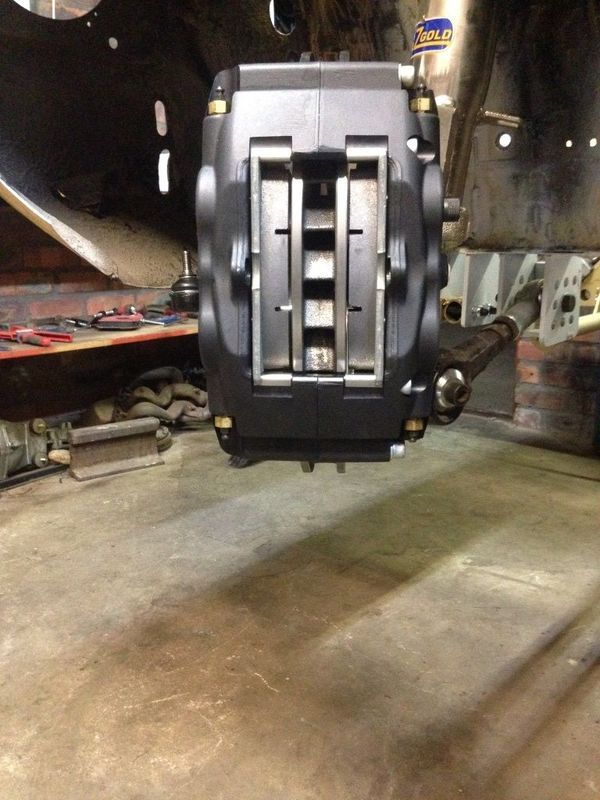
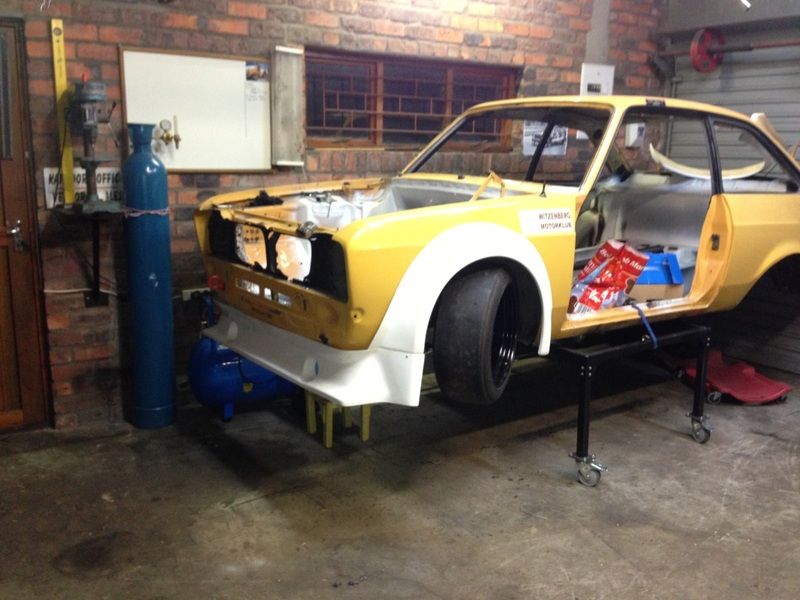
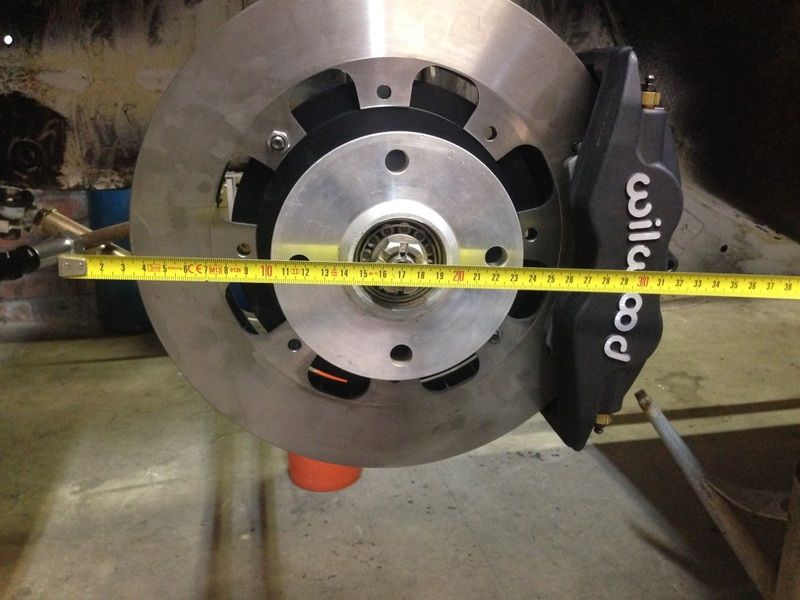
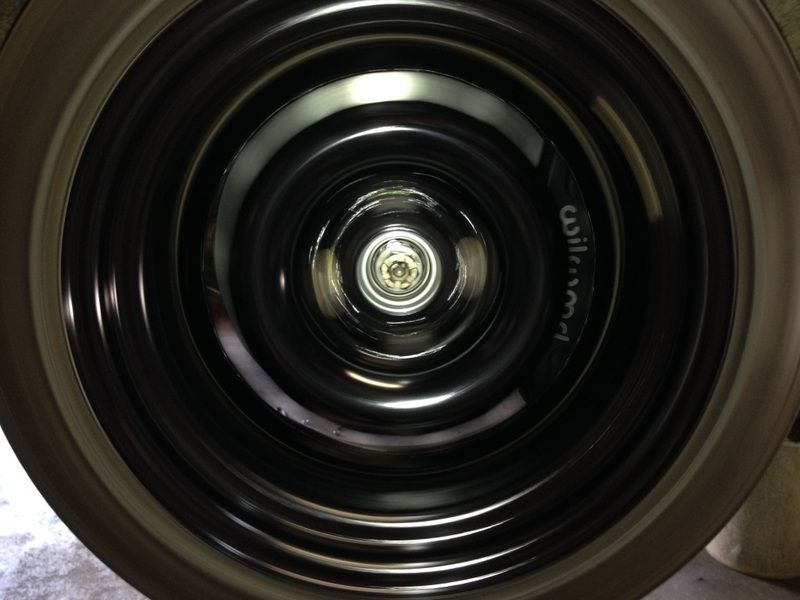
I could not really get the overall size of this kit so was a bit worried that it might not fit in 15" wheels. It measures about 340mm over all.
After three years the car is back on its own wheels

I pushed the car out to hose it down to get rid of 3 years of dust.
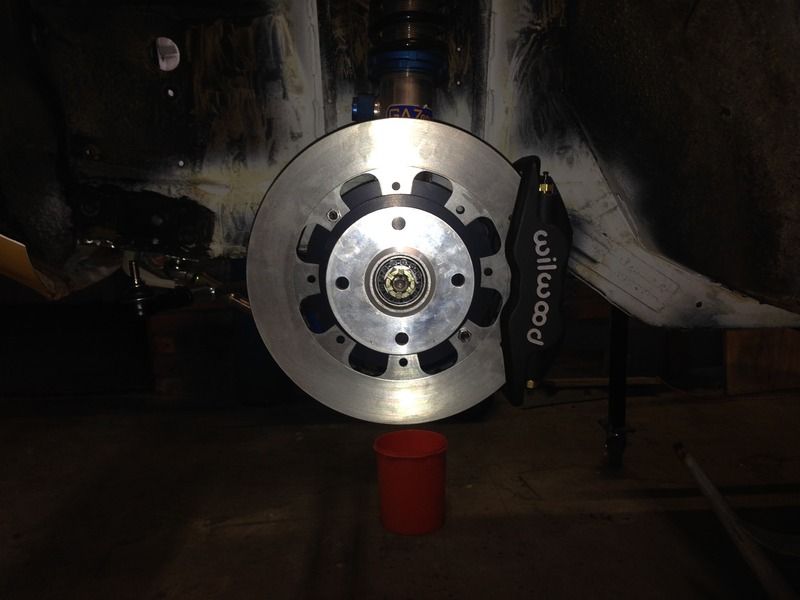
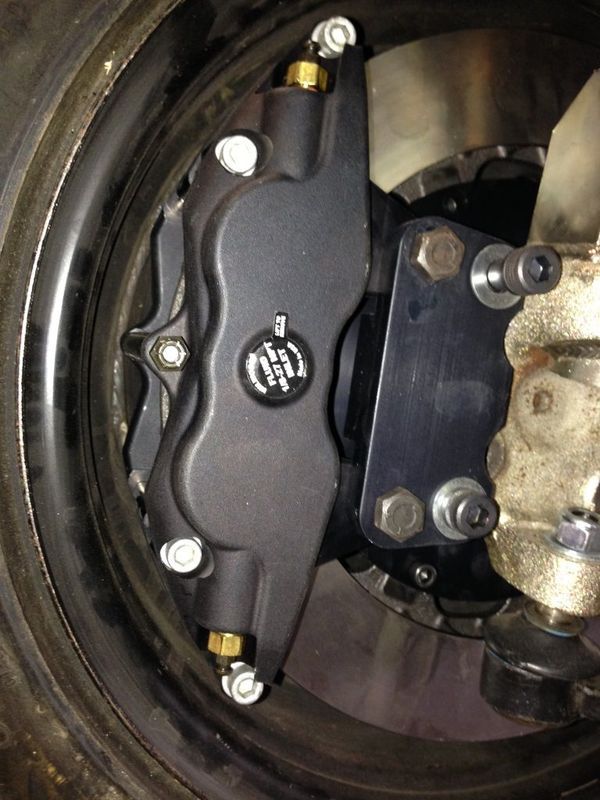
The steering arms are very tight against the rim and disc. Not much allowance for big suspension travel. Not ideal but for the track it should be fine. Moving the steering rack made things really difficult.
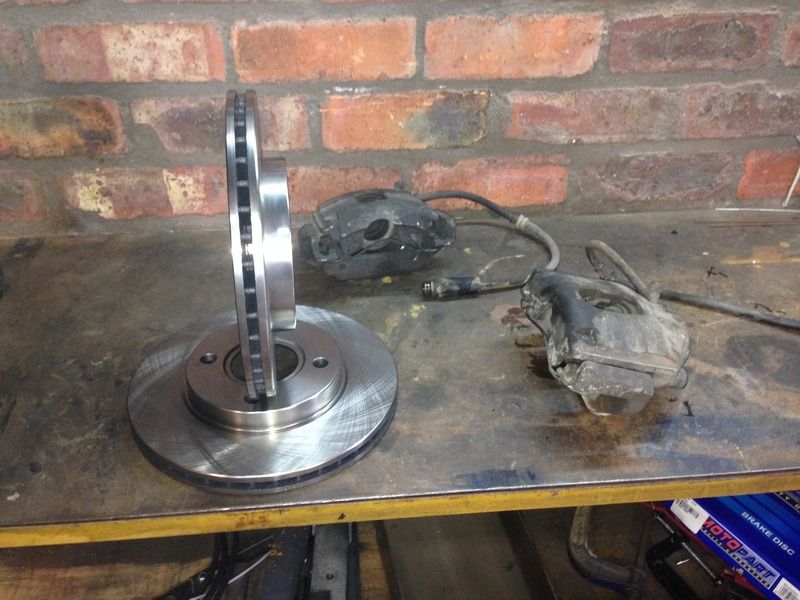
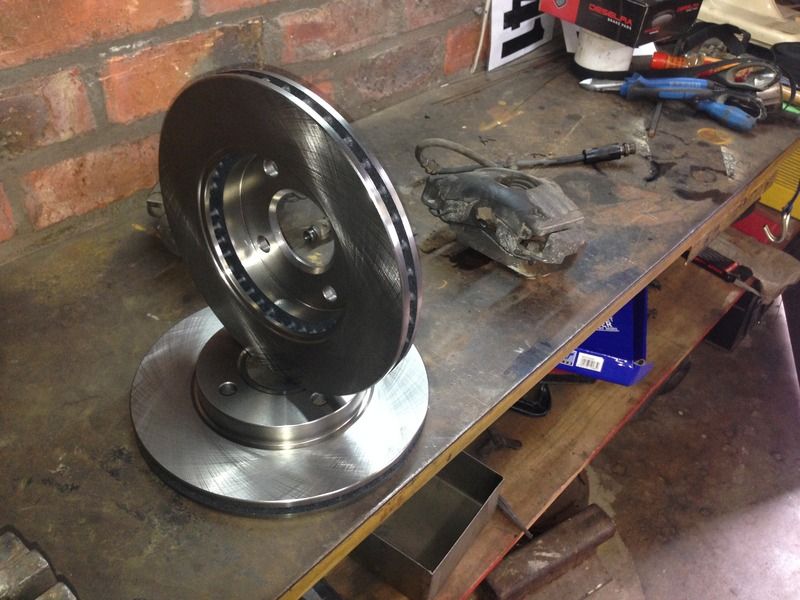
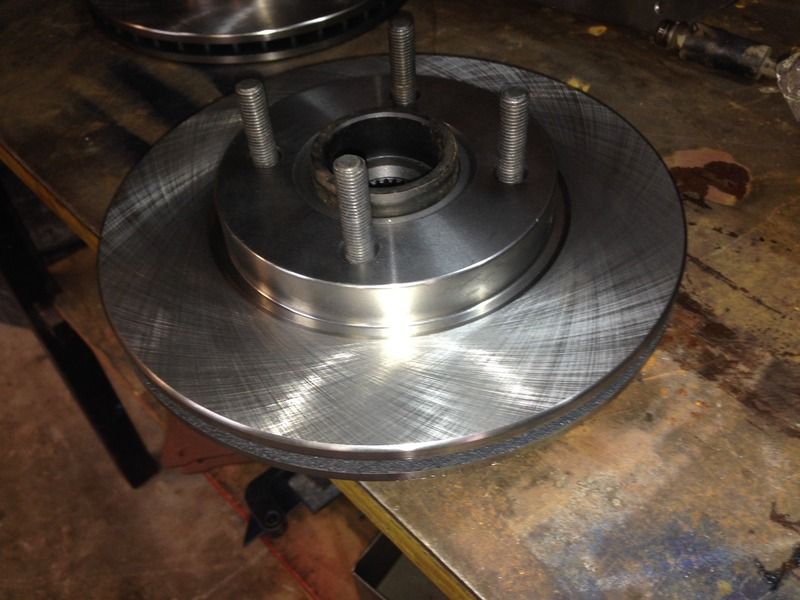
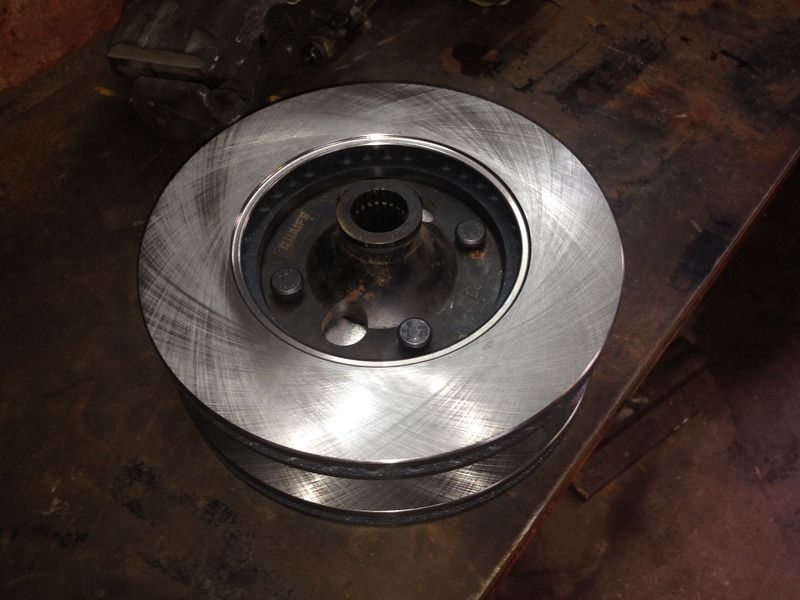
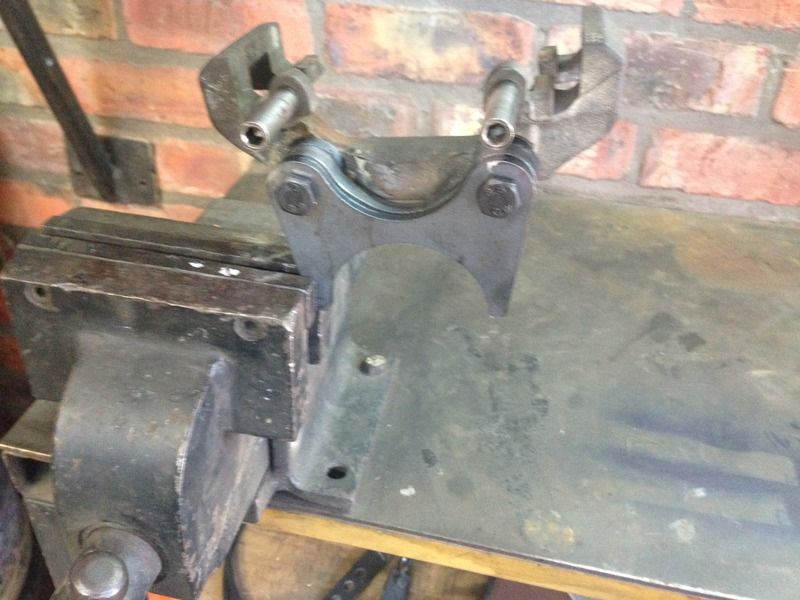
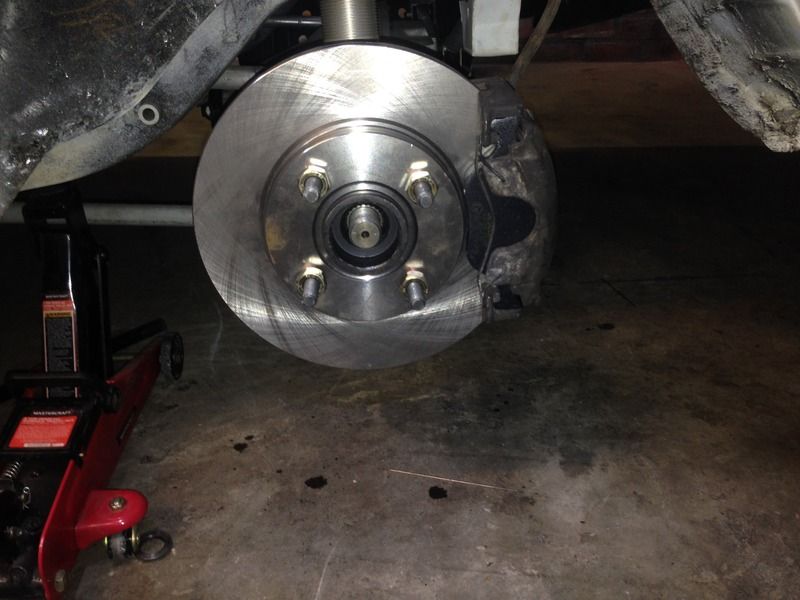
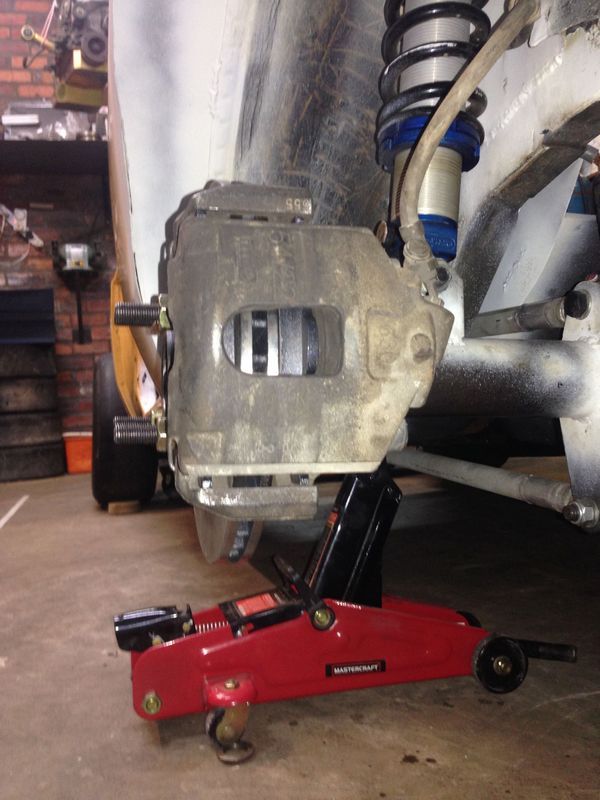
I started on the rear brakes. I chose the Fiesta mk6, I think they are 2002 - 2008 models, the ST150 shape. I went with the normal 1.4-1.6 front vented discs and calipers. I thought of going with the ST but I am sure all costs will be double just for the ST name The discs are 258x22 ventilated. The nice thing is that there are upgrade discs and pads available from Powerbrake and EBC. They also fit the Quaife flange perfectly with out any machining. This is a rare luck.
For starters I bought standard ones from local Midas, with the cheapest pads available just the get the brackets going.
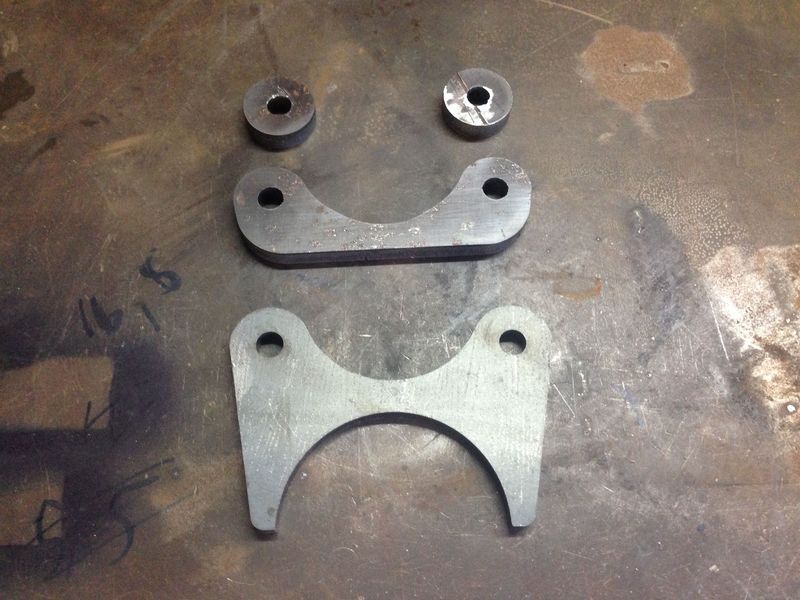
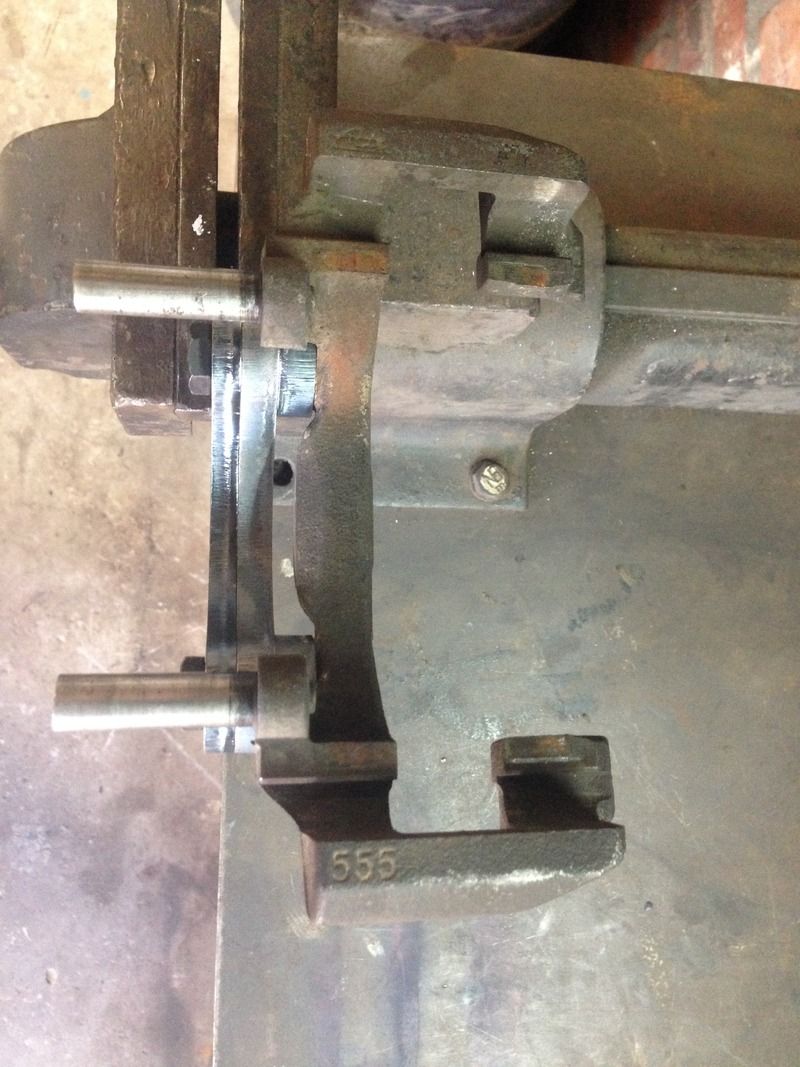
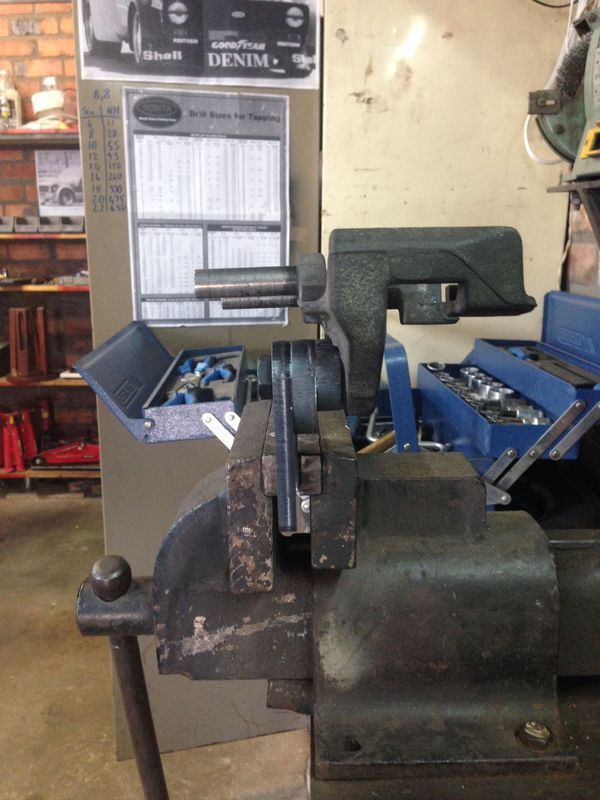
I had my brackets for the rear calipers laser cut. No re drilling of holes required. Seems like I measured and drawn properly for once.
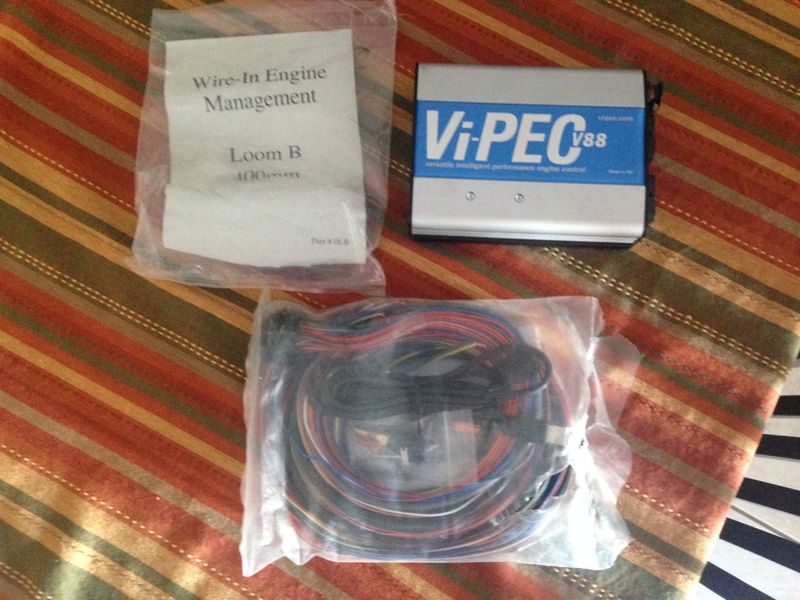
I also received my engine management, I bought the Vi-PEC V88 after recommendation from some friends. If you go through the specs it is far better than any off our local managements with plenty of safety features and nice to haves.
I completed my rear brake fitment yesterday. I welded the brackets together and gave them a coat ns5 primer, which should be black and came out brown for some reason?
I then welded the brackets to the axle, could not really get the best weld in at the front
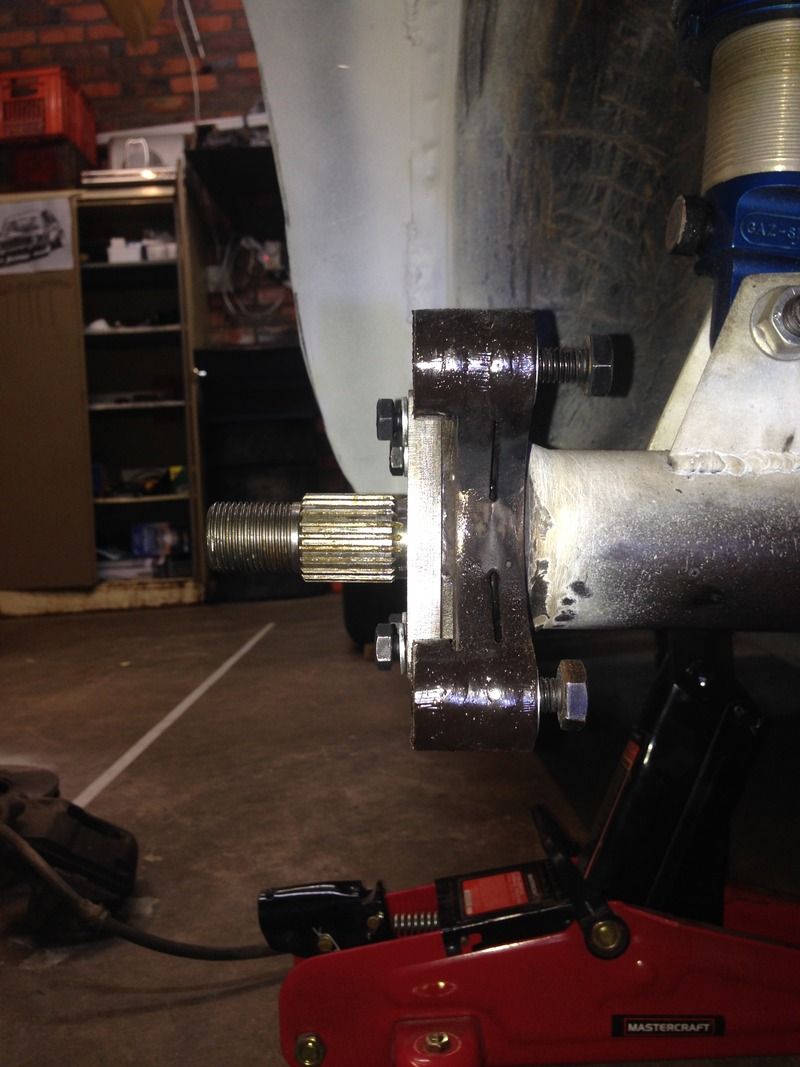
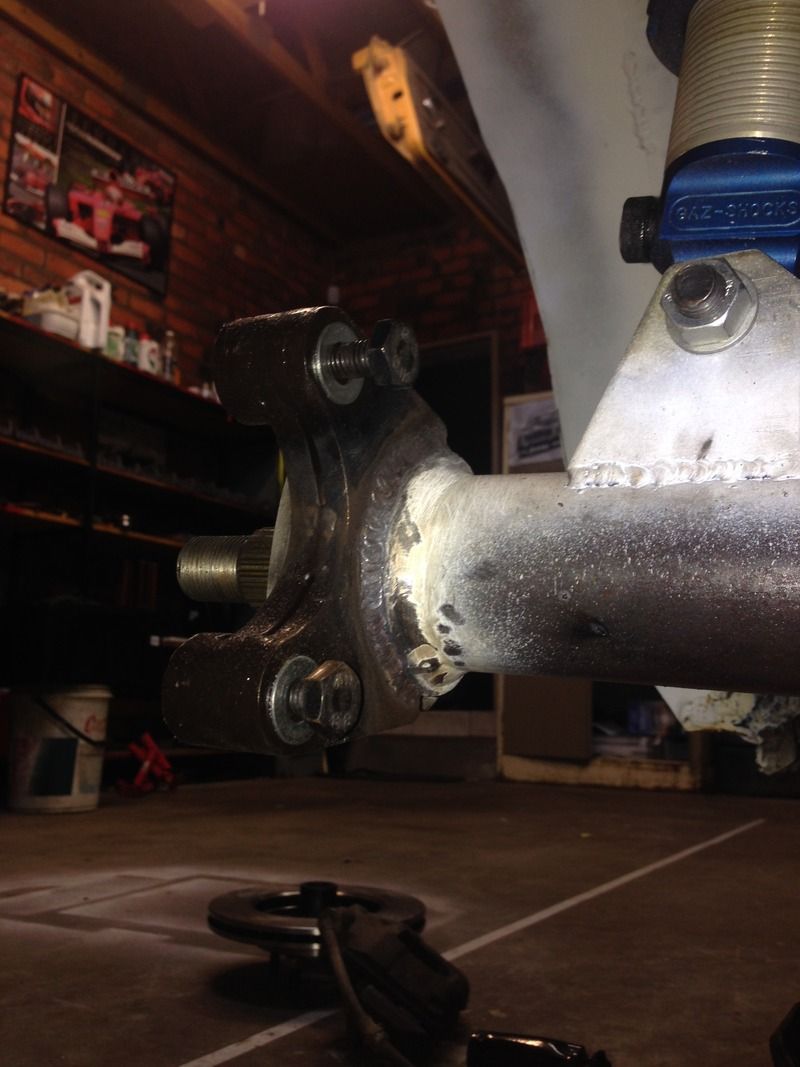
I got a very nice weld in all the way at the back. It should be more than enough.
Brakes fitted
This was it for 2013
2014 to follow soon...............