fordsy
Aficionado

- Total Posts : 797
- Scores: 13
- Reward points: 3029
- Joined: 2011/08/01 11:02:49
- Location: Location : Location !
- Status: offline

RE: Steve's Mk2
2010/02/26 18:32:07
(permalink)
Yeah. I had a good look around one with arches and no front spoiler at SFS (pic below) but I prefer the full arch kit look myself. 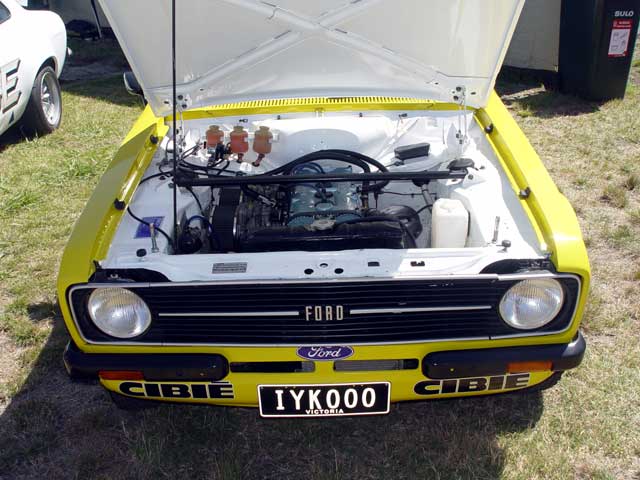
|
Sterling
Scholar

- Total Posts : 1060
- Scores: 0
- Reward points: 663
- Joined: 2011/08/01 11:02:49
- Location: Flinders VIC Australia
- Status: offline
RE: Steve's Mk2
2010/02/26 19:23:49
(permalink)
quote:
Originally posted by esc-078
I like the look of the coupe with the flares and no front lip spoiler. Looks "fat", as it kinda ties in with "roundness" of the front. The lip spoiler sort of spoils it (pun intended). I have seen a MK2 coupe arched with no lip and it looked tough.
i agree, i like that look over the conventional spoiler, but i gotta say, i really like the style of spoiler you have there fordsy. 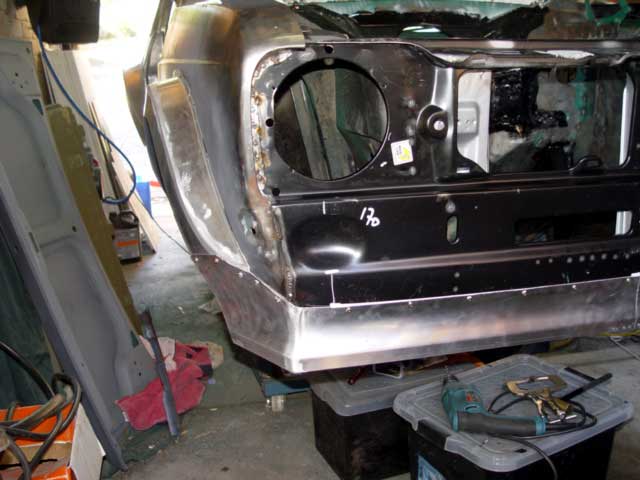 looks mean and not too big like the mexico's etc.
|
fordsy
Aficionado
- Total Posts : 797
- Scores: 13
- Reward points: 3029
- Joined: 2011/08/01 11:02:49
- Location: Location : Location !
- Status: offline
RE: Steve's Mk2
2010/02/26 20:15:58
(permalink)
quote:
Originally posted by Sterling
looks mean and not too big like the mexico's etc.
I was going to put a fibreglass mexico spoiler on the car first up but I really like the rally spec arch kit look. Plus there aren't too many of them getting around on the road in Aus. I want to have a go at a steel bubble arched Mk1 at some point in the future. Something along these lines. 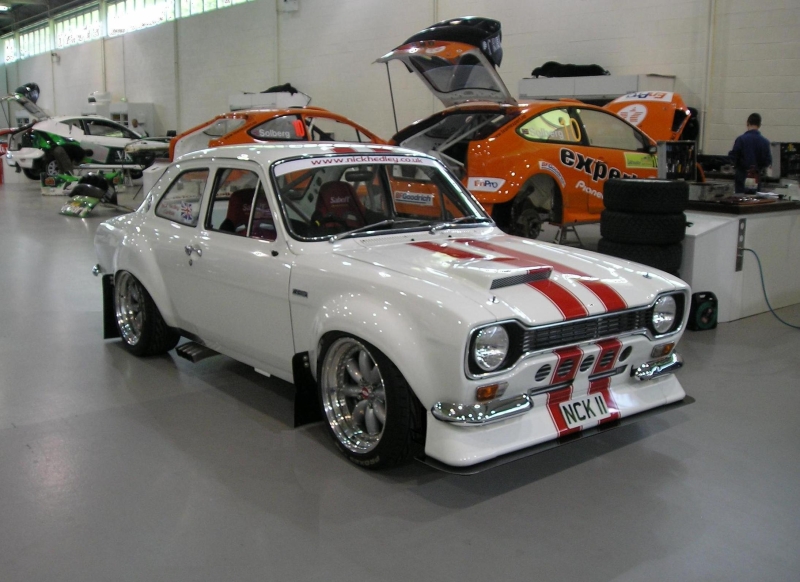
|
esc-078
Enthusiast

- Total Posts : 152
- Scores: 5
- Reward points: 2868
- Joined: 2011/08/01 11:02:49
- Status: offline
RE: Steve's Mk2
2010/02/26 21:42:45
(permalink)
Here's a pic of the coupe I was referring to above. Simply awesome!! Very tough looking beast. The shape, and flow of lines at the front just match up nicely. 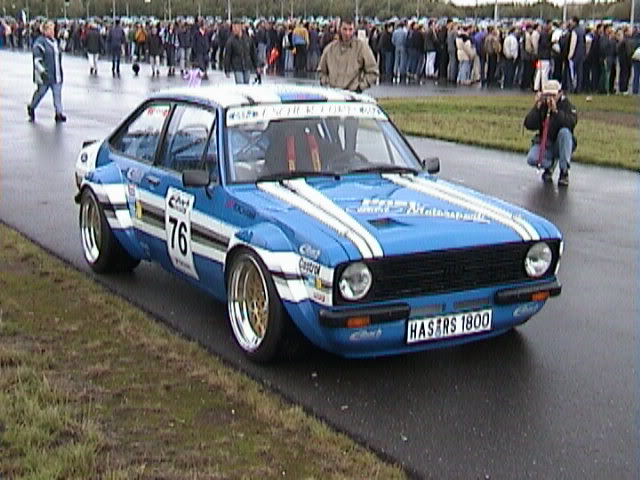
|
3sc0rt
Aficionado
- Total Posts : 444
- Scores: 0
- Reward points: 2217
- Joined: 2011/08/01 11:02:49
- Location: Tamworth, NSW
- Status: offline
RE: Steve's Mk2
2010/02/26 22:14:09
(permalink)
Fordsy when this is done, your car is going to look absolutly awesome.. that and freakin tough as all poo poo! I admire all the work you have done to your MKII. I always love looking at this thread and checkin it to see the progress  Cheers, Rhys
|
Chippa666
Enthusiast
- Total Posts : 64
- Scores: 1
- Reward points: 1098
- Joined: 2011/08/01 11:02:49
- Location: Melbourne Vic Australia
- Status: offline
RE: Steve's Mk2
2010/01/03 22:22:55
(permalink)
I tell you what Fordsy,
I've been in your garage and it is small, but your doing an absolutely amazing job on it, especially with the lack of space and privacy. Looking great as always mate. Keep up the good work and the updates.
Chippa
|
fordsy
Aficionado
- Total Posts : 797
- Scores: 13
- Reward points: 3029
- Joined: 2011/08/01 11:02:49
- Location: Location : Location !
- Status: offline
RE: Steve's Mk2
2010/01/03 23:48:36
(permalink)
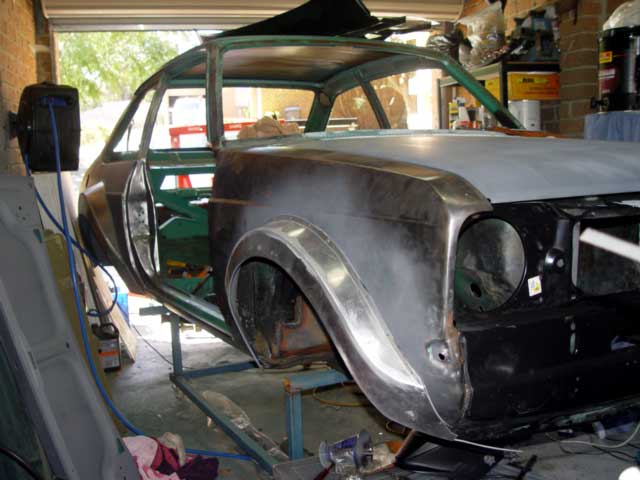
Cheers fellas. I did a bit more today but have misplaced the camera again. The front spoiler is riveted and sikalflexed on and i've stripped the black paint from the new front, slam and wing and given it a coat of acrylic etch primer. Also got a call from the delivery people so my new front struts should be here tomorrow. Gotta love the exchange rate at the moment.
|
fordsy
Aficionado
- Total Posts : 797
- Scores: 13
- Reward points: 3029
- Joined: 2011/08/01 11:02:49
- Location: Location : Location !
- Status: offline
RE: Steve's Mk2
2010/02/03 18:56:37
(permalink)
Here are the pics I should have taken yesterday. The front spoiler is riveted and sikaflexed on. 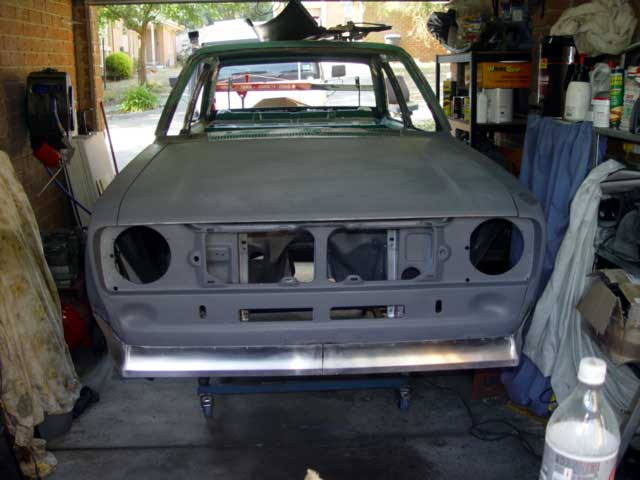 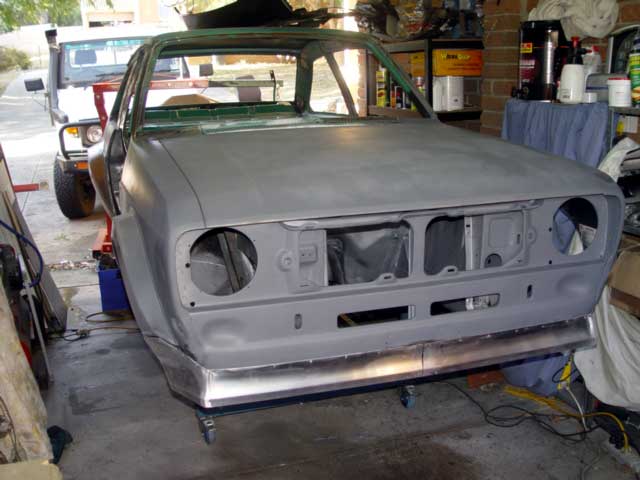 These are the bits I did today. Put four gussets around the radiator support panels. Two top, two bottom. Also made a cut out so the 2L radiator fits in again. The replacement panel has the cover and it ain't necessary for what i'm doing. 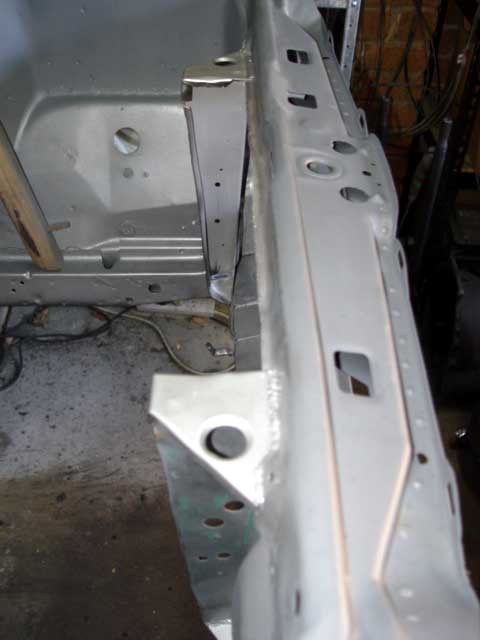 Trimmed the lower lip of the original front panel as it sat just a little bit lower than the spoiler. 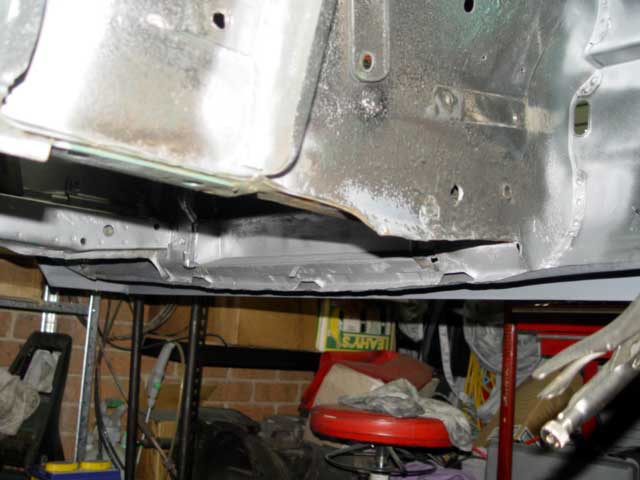 Also did some trimming of the wing/front join to allow a bit more room for the front wheel. 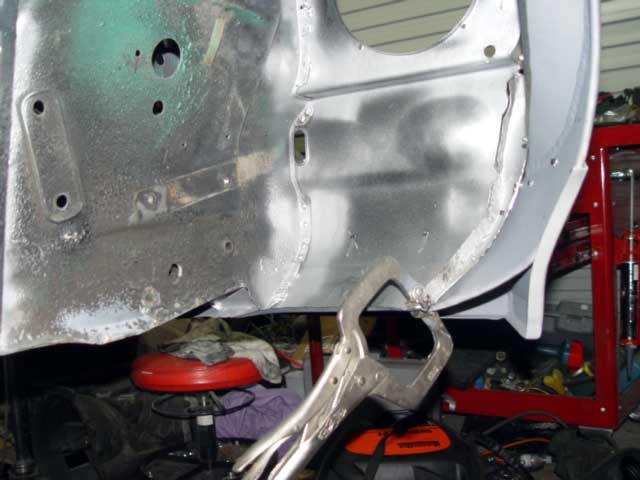 I also upgraded the castors of the dolly. It is a million percent better to move around now, good enough that I can roll the shell outside if need be.
|
Paul Dunstan
Supporter

- Total Posts : 1378
- Scores: 35
- Reward points: 4790
- Joined: 2011/08/01 11:02:49
- Location: Adelaide SA Australia
- Status: offline
RE: Steve's Mk2
2010/02/03 21:31:06
(permalink)
Hi Steve Looking great and a fantastic effort plus the difficulty of performing this magic in a shoe box sized space. 
|
fordsy
Aficionado
- Total Posts : 797
- Scores: 13
- Reward points: 3029
- Joined: 2011/08/01 11:02:49
- Location: Location : Location !
- Status: offline
RE: Steve's Mk2
2010/03/03 17:46:05
(permalink)
Added a couple more gussets to the front. These go from the inner wing to the slam panel.  Welded up the fusebox as it won't be required.  Tacked the new plenum cover in place. I also welded in the round heater circle bit but didn't take a pic of it. 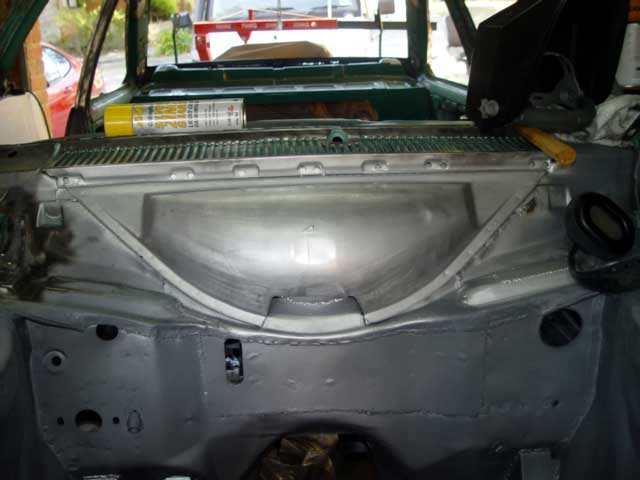
|
smallvan
Aficionado
- Total Posts : 432
- Scores: 11
- Reward points: 2703
- Joined: 2011/08/01 11:02:49
- Location: wallsend nsw Australia
- Status: offline
RE: Steve's Mk2
2010/03/03 18:13:12
(permalink)
Mate that's some good work,it will be a beast when its finished.But where did you get you spoiler from ?
|
Puzzlescort
Enthusiast
- Total Posts : 74
- Scores: 1
- Reward points: 3334
- Joined: 2011/08/01 11:02:49
- Location: Menzies Creek Victoria Australia
- Status: offline
RE: Steve's Mk2
2010/04/03 06:44:28
(permalink)
Steve
as you have welded up the existing fuse holder location why dont you fill the existing hole where the wiring loom enters the engine bay
not remembering what engine your going to run but I lowered it to a level under the line of the twin webbers
looking fantastic so far - it amazing one of our friends is building a GP4 Escort & the shell is the same colour
Scott
|
fordsy
Aficionado
- Total Posts : 797
- Scores: 13
- Reward points: 3029
- Joined: 2011/08/01 11:02:49
- Location: Location : Location !
- Status: offline
RE: Steve's Mk2
2010/04/03 10:07:42
(permalink)
Nice idea Scott.
I'm running a pinto with twin 45s. Should be easy enough to move the hole if I can cut a rectangle section out and spin it around.
|
mud
Supporter
- Total Posts : 588
- Scores: 12
- Reward points: 2753
- Joined: 2011/08/01 11:02:49
- Location: Crescent Head NSW Australia
- Status: offline
RE: Steve's Mk2
2010/04/03 12:33:03
(permalink)
Thats looking great.
That's a great idea about moving the loom down too, it does tend to get in the way of fitting side draft air filters.
|
KIZZA
Aficionado
- Total Posts : 471
- Scores: 0
- Reward points: 4135
- Joined: 2011/08/01 11:02:49
- Location: melbourne vic Australia
- Status: offline
RE: Steve's Mk2
2010/04/03 17:28:59
(permalink)
Yeah defineutly a good idea to move that hole that way it will be hidden under air cleaners. I'm spewing I didn't move mine. Keep up the excellent work Fordsy.
|