fordsy
Aficionado

- Total Posts : 797
- Scores: 13
- Reward points: 3029
- Joined: 2011/08/01 11:02:49
- Location: Location : Location !
- Status: offline

RE: Steve's Mk2
2010/01/23 22:56:44
(permalink)
Yes. Buying that spare rear quarter was one of the best things i've done. I'd take quite a bit longer to fabricate the repair section from scratch. The strengthener is a decent sized thickness and was in good nick. Do you have any pics of the area you need to fix?
|
Paul Dunstan
Supporter

- Total Posts : 1378
- Scores: 35
- Reward points: 4790
- Joined: 2011/08/01 11:02:49
- Location: Adelaide SA Australia
- Status: offline
RE: Steve's Mk2
2010/01/23 23:41:08
(permalink)
Basically the same area but the internal panels may need some repair also [:(!]
|
fordsy
Aficionado
- Total Posts : 797
- Scores: 13
- Reward points: 3029
- Joined: 2011/08/01 11:02:49
- Location: Location : Location !
- Status: offline
RE: Steve's Mk2
2010/01/24 00:10:27
(permalink)
I'll have a look at the strengthener out of the spare in the morning. If it's any good, you can have it.
|
Paul Dunstan
Supporter
- Total Posts : 1378
- Scores: 35
- Reward points: 4790
- Joined: 2011/08/01 11:02:49
- Location: Adelaide SA Australia
- Status: offline
RE: Steve's Mk2
2010/01/24 14:30:07
(permalink)
Cheers Steve.
it looks like the "ribbed" section is missing on mine......below the recess that is covered by the plastic pillar trim.
|
fordsy
Aficionado
- Total Posts : 797
- Scores: 13
- Reward points: 3029
- Joined: 2011/08/01 11:02:49
- Location: Location : Location !
- Status: offline
RE: Steve's Mk2
2010/01/24 18:19:50
(permalink)
I've got a pic of what's left of the C pillar for you Paul. I'll email it to you. Well, it's taken a while but as of today there's no more rust! Woohoo. I welded in the C pillar patch that I fitted yesterday. 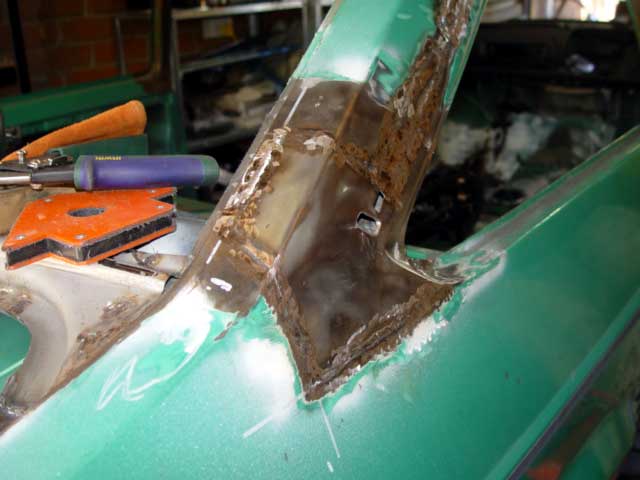 And did the C pillar vents. I left the bottom one open on this side. No real reason why, I just did. The camera makes this shot look all rusty. It isn't. When you look at it in person it's all shiny. 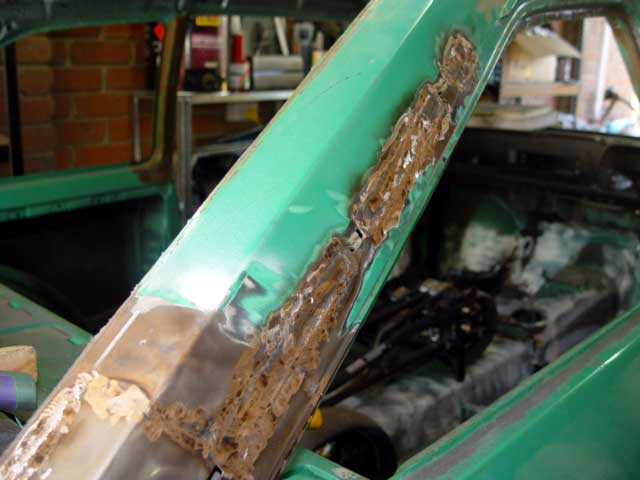 Patched a small hole in the drivers sill. 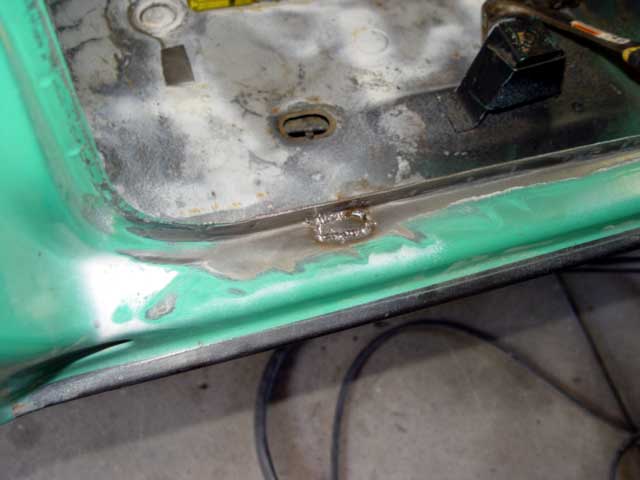 Cut out the rust in the drivers footwell and bashed a replica out of a plain sheet of metal using a ball-peen hammer. 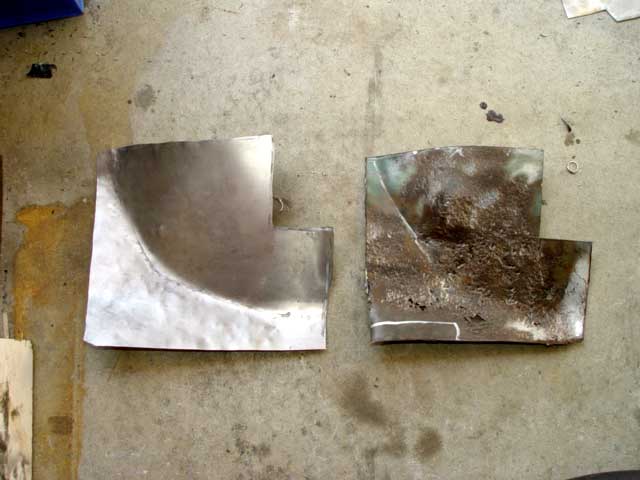 Then welded it in along with two other smaller patches. 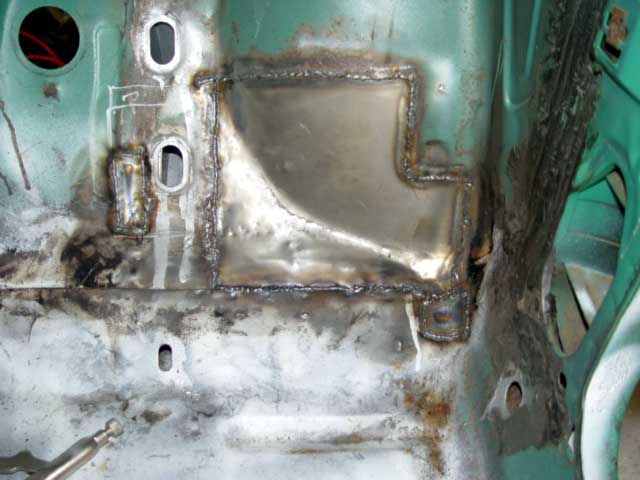 I welded this one from both sides as it's lap jointed. 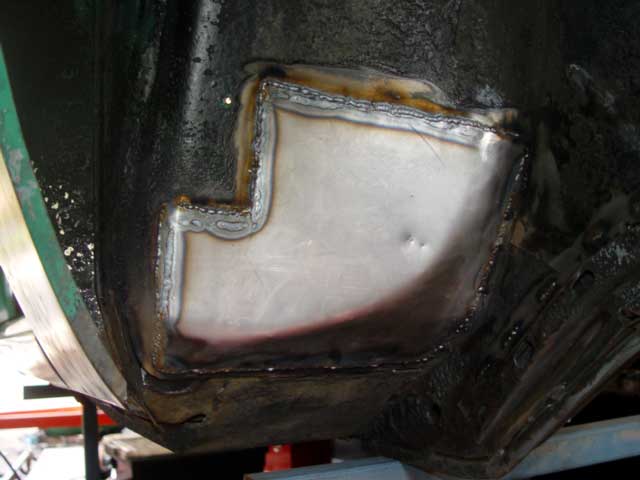 Then did some of the front seam welds. 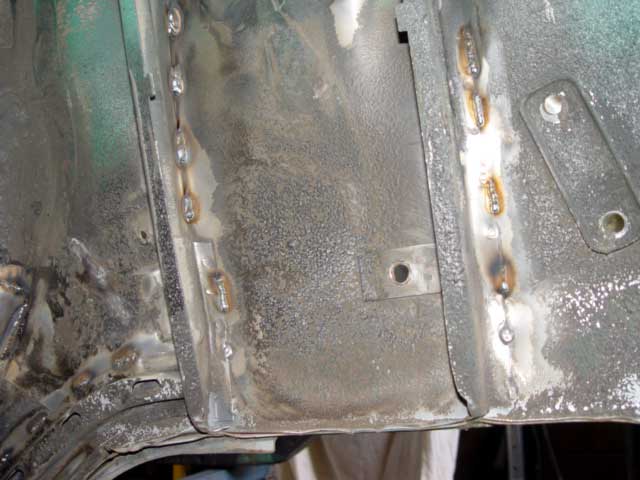 Next job is the 30 or so internal plugs to replace the factory grommets in the floor pan and to plug up the internal holes in the C pillars followed by the chassis rail seam welding then i'll fit the rear tarmac arches.
|
fordsy
Aficionado
- Total Posts : 797
- Scores: 13
- Reward points: 3029
- Joined: 2011/08/01 11:02:49
- Location: Location : Location !
- Status: offline
RE: Steve's Mk2
2010/01/28 17:50:56
(permalink)
I did a practice run on the rear arch cut out today. Using my donor rear quarter as the test bed. Here's what's left of the panel. 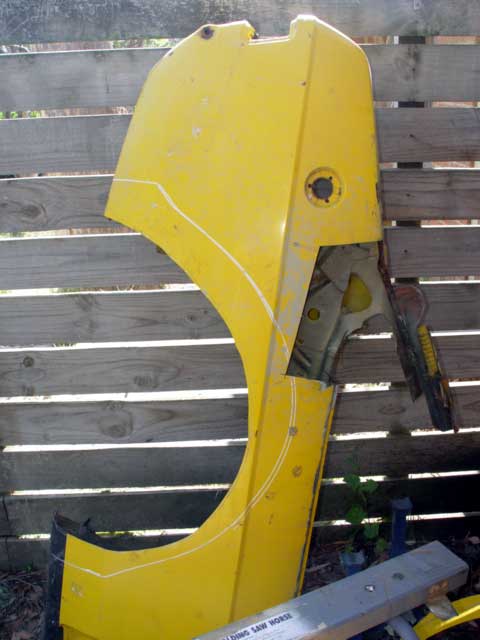 It yielded a nice inner wheel arch to get some measurements from. 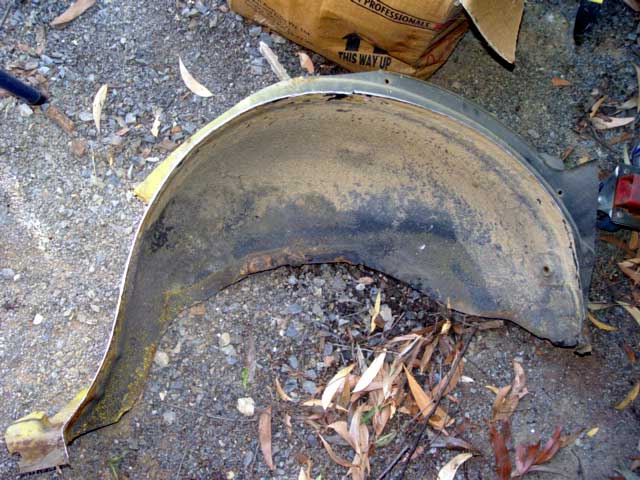 And a spare standard outer arch. 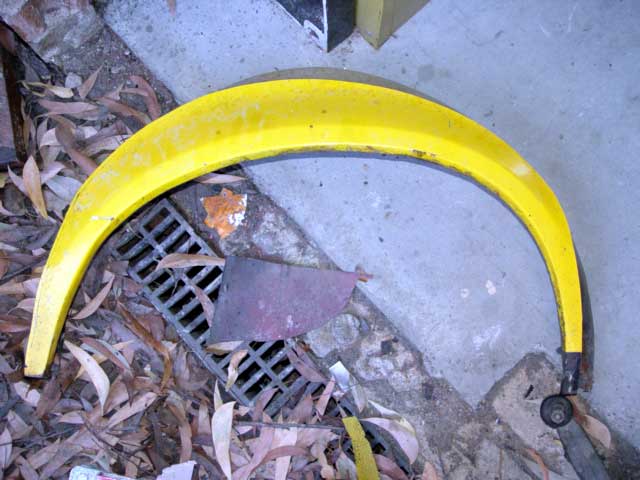 To prepare the back end for the chop I've started by removing most of the original green paint. This is done with a combination of paint stripper and a brass wire wheel on my grinder. The cutting out and welding of the new outer arch is next followed by painting then rivetting on the new alloy tarmac arch. 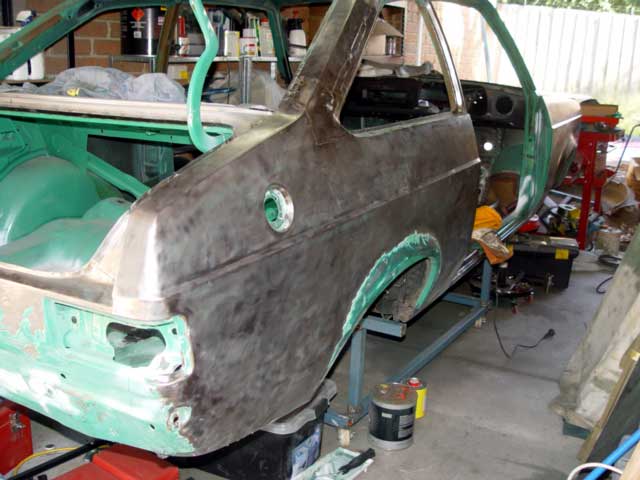 I then started doing some of the plugs. Boot first. 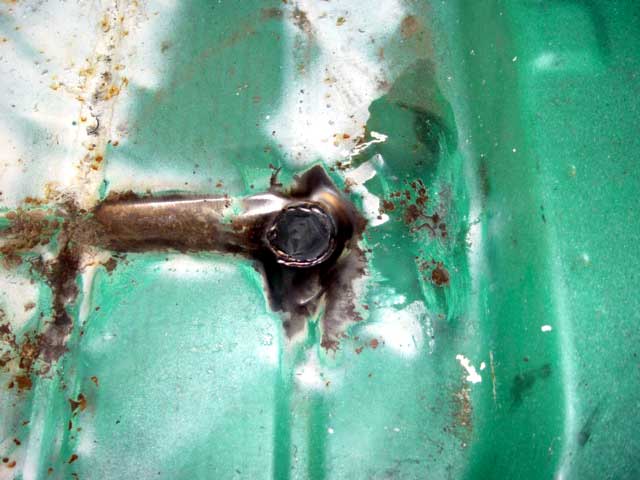 Then the drivers side rear interior. 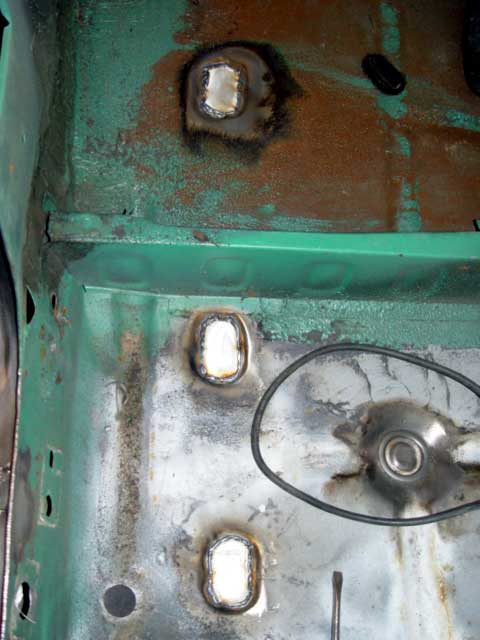 Still plenty more to do. I'm saving them for when I crack it with the grinder. There's only so much of that thing I can stand at a time.
|
fordsy
Aficionado
- Total Posts : 797
- Scores: 13
- Reward points: 3029
- Joined: 2011/08/01 11:02:49
- Location: Location : Location !
- Status: offline
RE: Steve's Mk2
2010/01/31 17:24:04
(permalink)
Made a start on the rear arches today. First job was to strip the underseal from inner wheel arch to expose the seam. 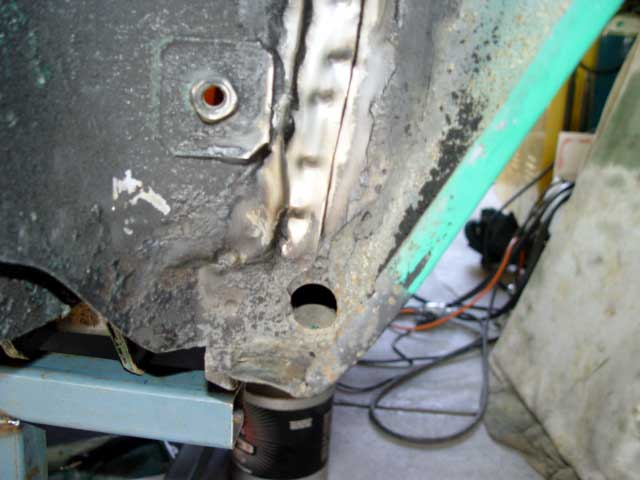 The hole in the front section that allows access to the sill is as good a place as any to start hacking into the arch with the air body saw. 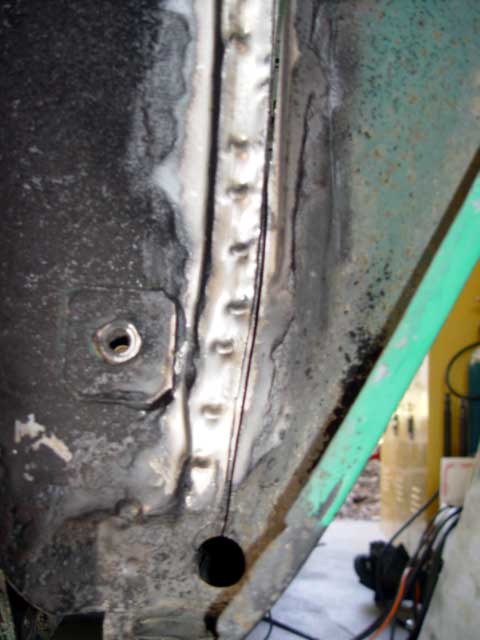  With the experienced gained in chopping up the donor panel, I outlined the cut to be made around the exterior of the arch. This isn't the final size of the arch as the cut is trimmed to size once the section is removed. 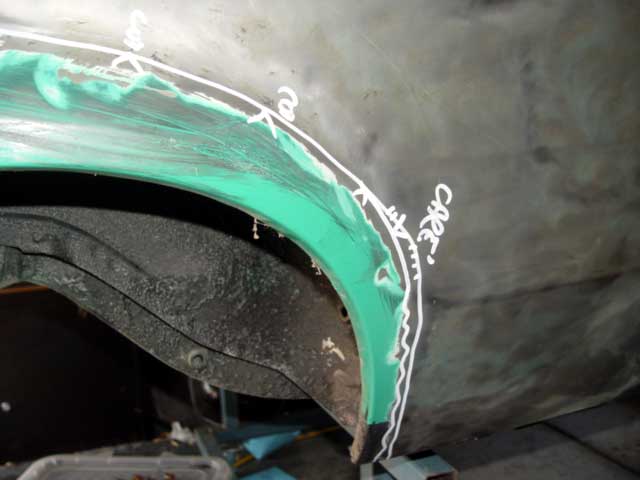  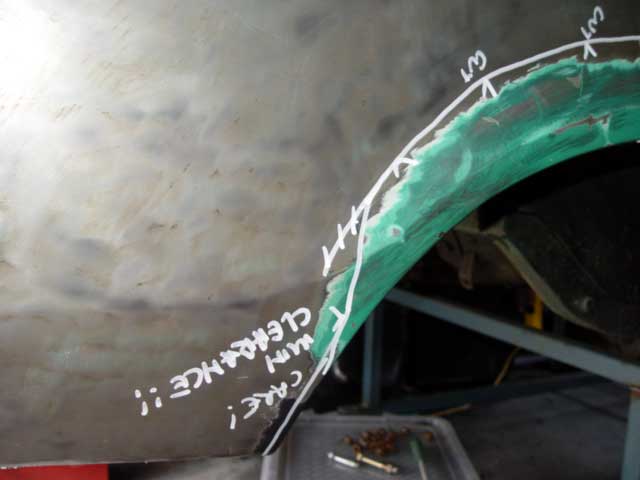 I drilled a hole at the centre top to allow me to get the body saw into the panel. I then cut from top to front then top to rear. I then joined the cuts with ones from the interior and removed the section. 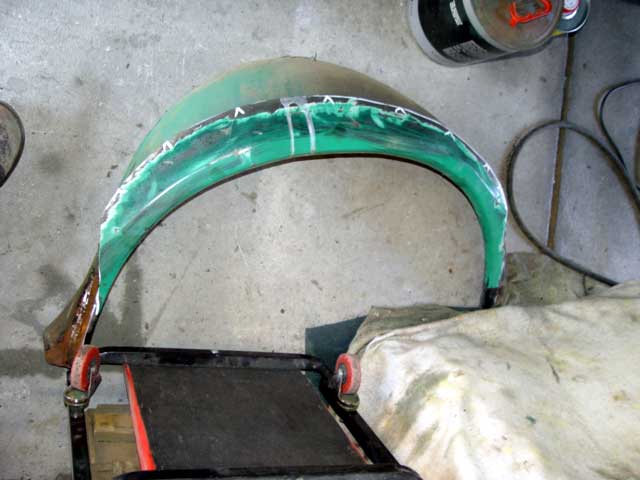 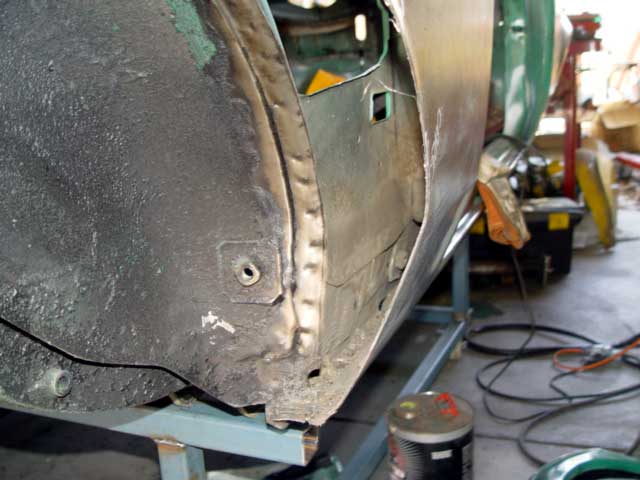 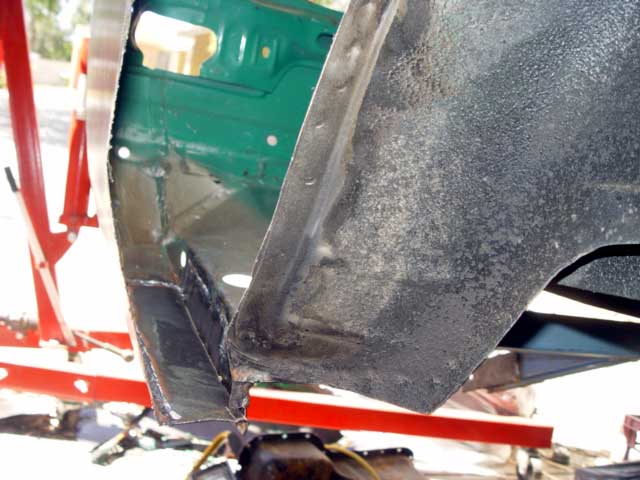 Found a whole lot of dirt, leaves and other stuff in the front area so i blew the whole sill out with the air gun. Then using the remaining inner arch as a guide, i drew a bend line onto the inside of the outer panel. I then trimmed the panel to size allowing a flange of roughly 10mm. The trim line is 10mm toward the opening of the bend line. 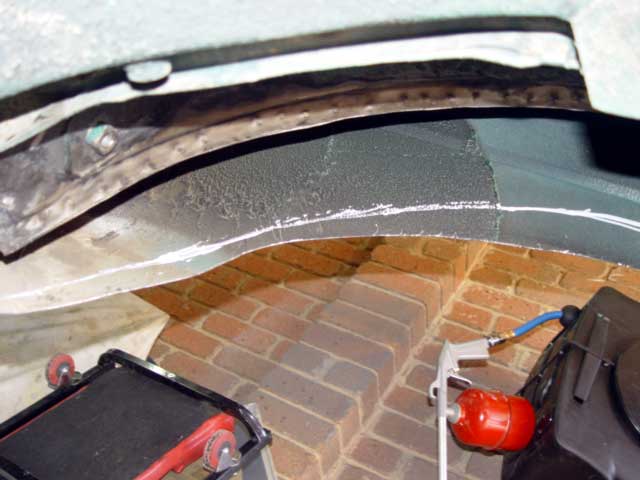 Then using a hammer and dolly I bent the flange out ready to allow fitting of the new outer tub. 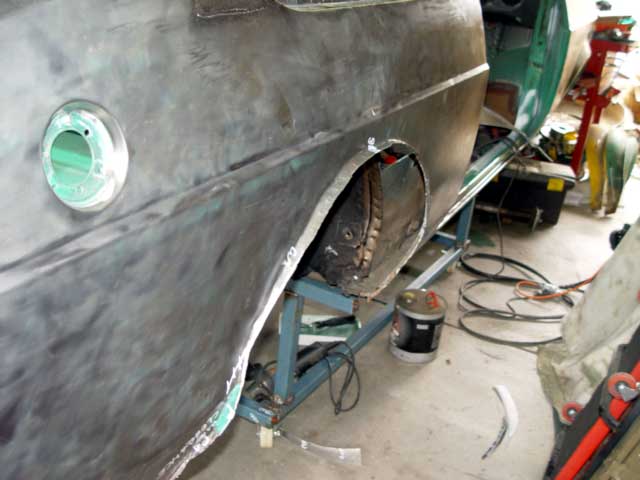 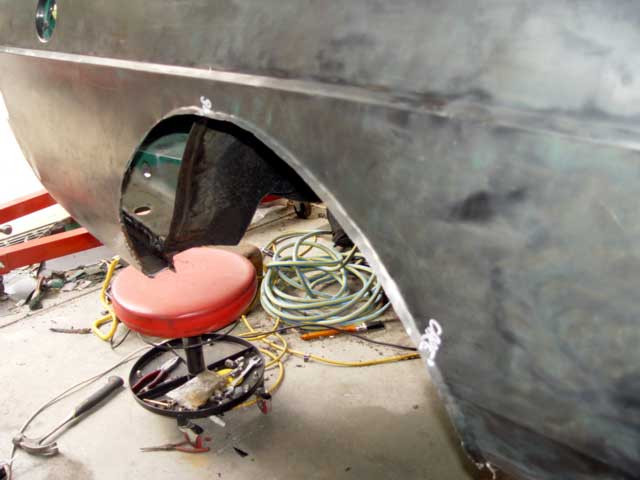 This is where I stopped for the day as i'm knackered. I also spent the morning in the garden spreading out a cubic meter of mulch. I should add that the first bends were done with a pair of vice grips. I bent the metal to about 25 degrees then did the remainder with the hammer and dolly.
|
Phil
Supporter
- Total Posts : 1786
- Scores: 35
- Reward points: 4581
- Joined: 2011/08/01 11:02:49
- Location: Sydney NSW Australia
- Status: offline
RE: Steve's Mk2
2010/01/31 18:38:50
(permalink)
Steve, your efforts are seriously impressive 
|
esqrt
Enthusiast

- Total Posts : 141
- Scores: 0
- Reward points: 5641
- Joined: 2011/08/01 11:02:49
- Location: Melbourne Victoria Australia
- Status: offline
RE: Steve's Mk2
2010/01/31 20:16:40
(permalink)
Mate,awesome work so far! I love seeing in the build pics like this 
|
fordsy
Aficionado
- Total Posts : 797
- Scores: 13
- Reward points: 3029
- Joined: 2011/08/01 11:02:49
- Location: Location : Location !
- Status: offline
RE: Steve's Mk2
2010/01/31 20:55:58
(permalink)
Cheers. It's a little daunting cutting into the shell just after I got all the rust out. It's not as hard as I thought it would be. I'm now looking into what I need to do to fit a set of four links and towers. I'm fairly sure I can keep the original suspension setup with a four link kit fitted and be able to switch between the two. Need to do some more research... 
|
Phil
Supporter
- Total Posts : 1786
- Scores: 35
- Reward points: 4581
- Joined: 2011/08/01 11:02:49
- Location: Sydney NSW Australia
- Status: offline
RE: Steve's Mk2
2010/01/31 21:31:03
(permalink)
quote:
Originally posted by fordsy
I'm fairly sure I can keep the original suspension setup with a four link kit fitted and be able to switch between the two. Need to do some more research...
I designed my 6 link to retain all the original mounting points for the leaf springs, just in case...its definately postible Steve
|
fordsy
Aficionado
- Total Posts : 797
- Scores: 13
- Reward points: 3029
- Joined: 2011/08/01 11:02:49
- Location: Location : Location !
- Status: offline
RE: Steve's Mk2
2010/01/31 22:23:25
(permalink)
From what i've seen so far the kit will fit without having to alter either the std leaf suspension mounts or the std shock top mounts. I'll have another think about them after i've finished the arches.
|
fordsy
Aficionado
- Total Posts : 797
- Scores: 13
- Reward points: 3029
- Joined: 2011/08/01 11:02:49
- Location: Location : Location !
- Status: offline
RE: Steve's Mk2
2010/01/02 18:26:33
(permalink)
More work. Cut out a long metal strip 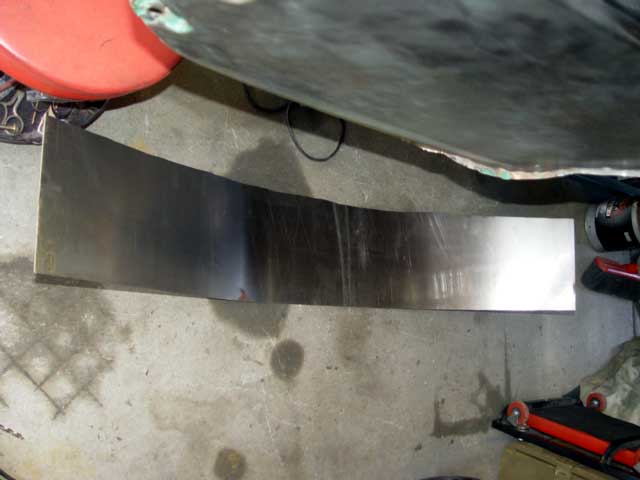 Then weld it in starting from the top to make alignment easier. Used predrilled holes and a few self tappers to help with the alignment. Welds are a mix of plug and seam. 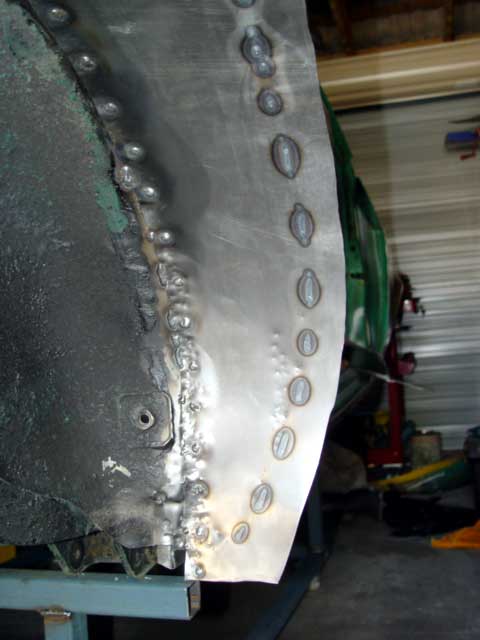 The dints are from me 'encouraging' the panel to fit with a hammer. 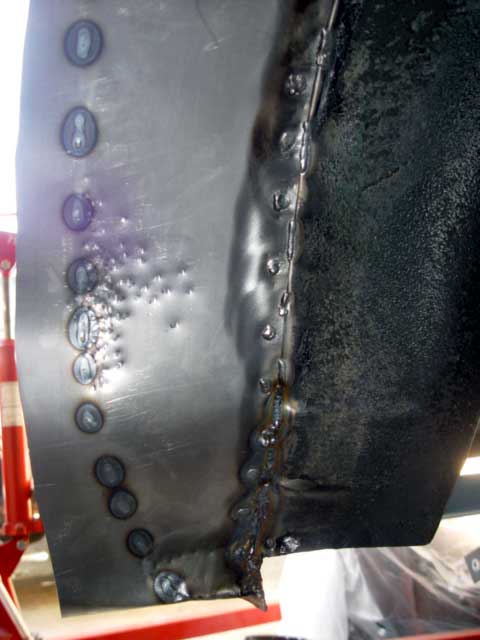 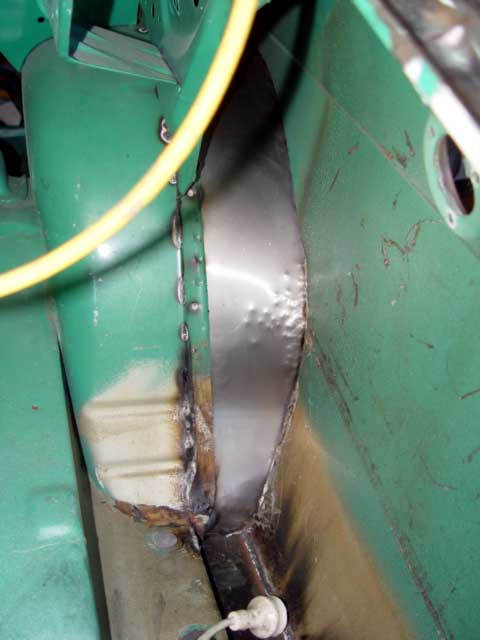 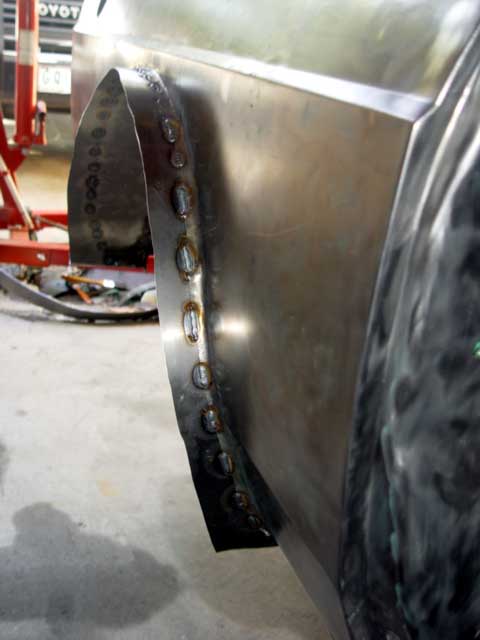 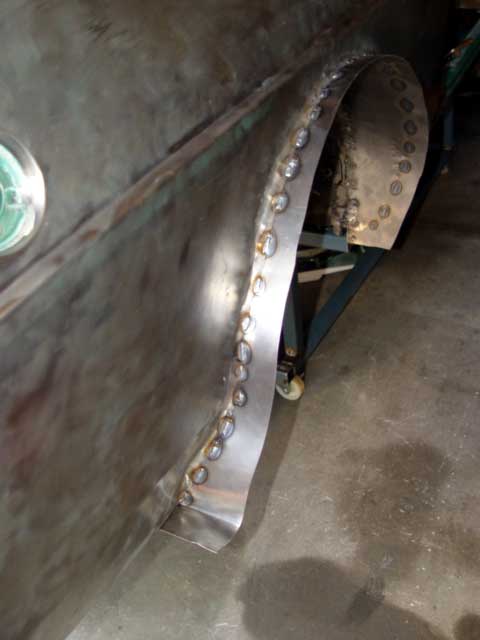 Hints if anyone else wants to have a go at this.. Make sure the quarter panel folds are in line with the inner tub. Too low and you can't align the new outer tub properly. Too high and you have to bend things with a hammer to make it fit. I still have to trim the excess metal off the new outer tub.
|
fordsy
Aficionado
- Total Posts : 797
- Scores: 13
- Reward points: 3029
- Joined: 2011/08/01 11:02:49
- Location: Location : Location !
- Status: offline
RE: Steve's Mk2
2010/01/02 20:16:42
(permalink)
Also decided today that there are two things that I won't be doing myself. First is the rollcage, second is the four link kit.
|
Sterling
Scholar

- Total Posts : 1060
- Scores: 0
- Reward points: 663
- Joined: 2011/08/01 11:02:49
- Location: Flinders VIC Australia
- Status: offline
RE: Steve's Mk2
2010/01/02 20:32:43
(permalink)
looking good mate, started on the front quarters yet?
|