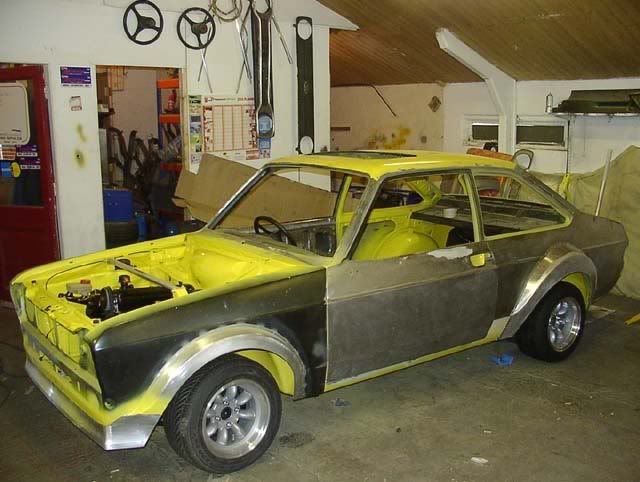
Fitting Alloy Arches to a Mk2 Escort
Many thanks to Mark Cogan (2quick4u) for this comprehensive write up.I have had a few people ask me about alloy arches, and the latest one spurred me into starting a bit of a fitting guide.
This may come in handy for people who have never fitted a set of these before, and some of this would also be the same for fitting fibreglass forest arches or X-packs.
I will add to it as I get time.
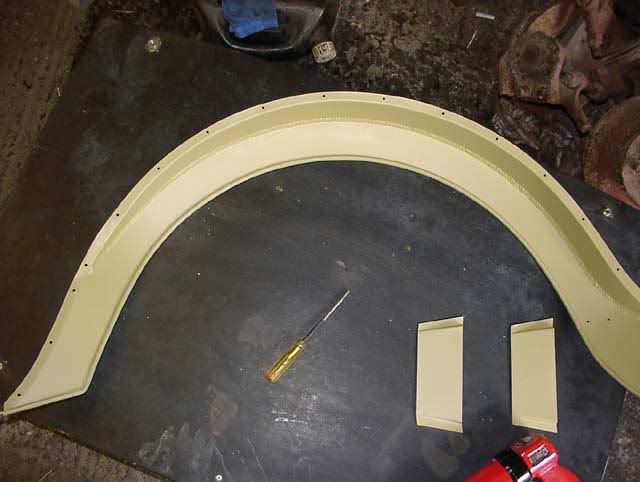
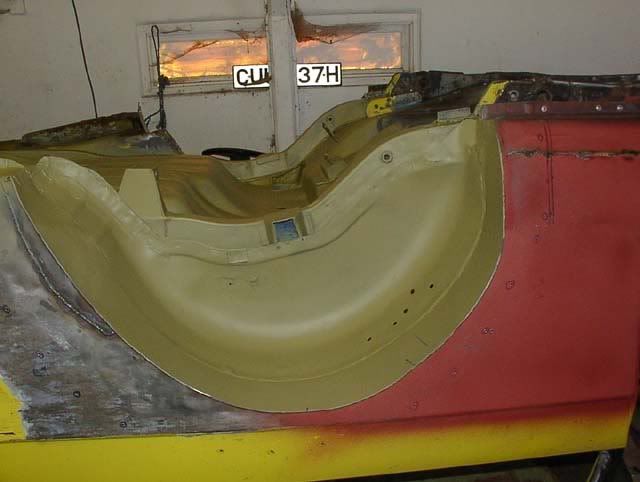
First is some Alloy Tarmac arches, I will tackle the fronts first (note, alloy Forest fronts are exactly the same).
These were/are fitted on many rally cars including Ford Works cars, they are rivetted on from the outside and do not get blended in with bog.
There are a couple of potential problems with putting dis similar metals together as electrolytic reactions can happen, causing them to rust round the rivetts, so the best way I found over the years is this method.
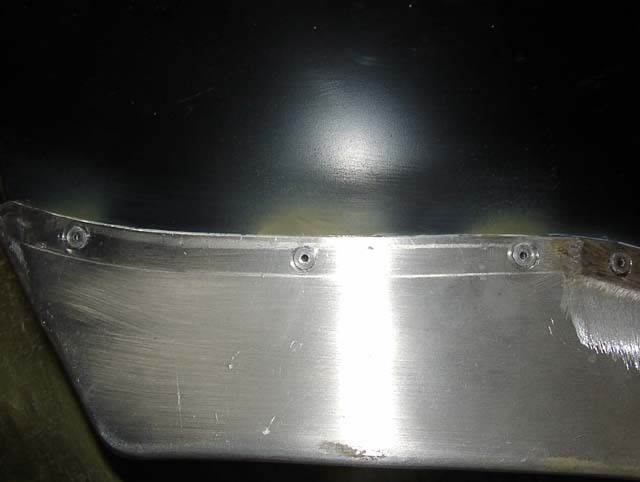
Start by drilling and countersinking your new arches if not already done (Prepfab and some other suppliers will do this for you) to make sure you have an even number of rivet holes and even spacing on each arch.
Offer the new arch up to the guard.
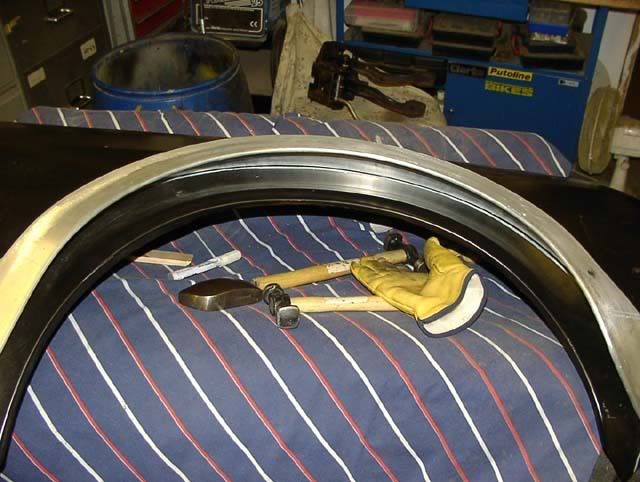
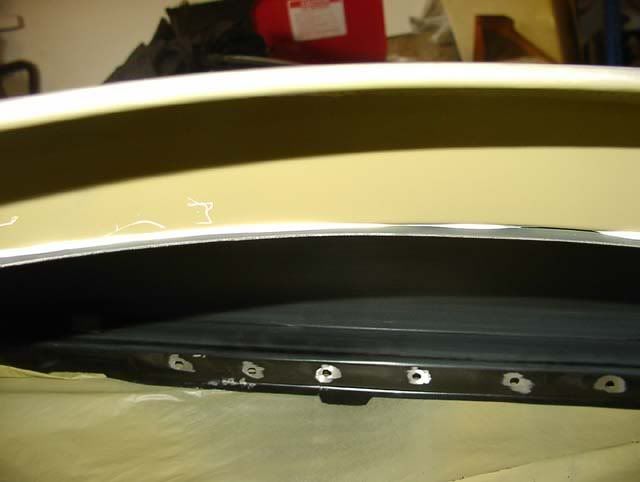
Mark a line round the outside of the arch, and a second line inside this one by about 15-20mm, the actual distance inside depends on the width of your arch flange, they do tend to vary, but basically you want the width of the flange plus about another 8mm spare inside of this (you will see why later).
You can also drill your rivet holes in the guard at this stage, get a mate to hold the arch steady or clamp in place to make sure it doesn't move, and after the first and second holes place a rivet in for alignment (dont pop it).
Clean the burrs from the drill holes as you don't want any extra material between the 2 panels. Your guard should look a bit like this now.
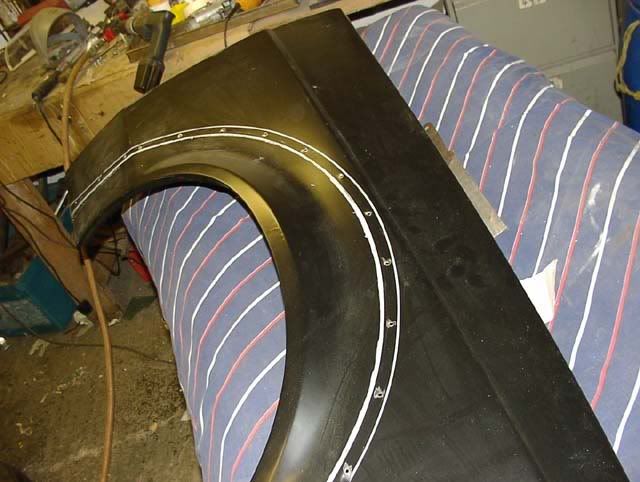
Cut the arch off at the inner line.
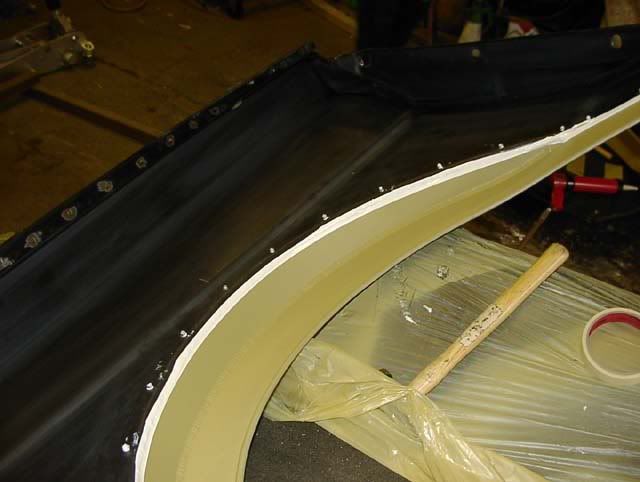
Now at this point you may want to think about rust proofing and the electrolytic reactions, I like to get a layer of paint and good quality body sealer between the 2 parts, so as the arches are alloy they need a good quality acid etch primer on them.
Then a bead of Sikaflex or similar around the join line before sticking them together, this should start to squeeze out evenly as you pull the pop rivets together.
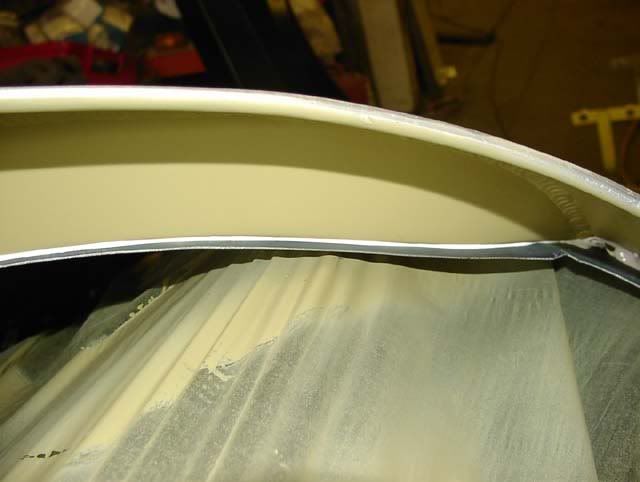
Wipe off any excess sealer quickly before it sets, I found the best way to get it from around the top (outer) edges of the arch flange is to use a plastic filler spreader and scrape into the corner nice and close, you do not want it spludging out of the top gap and drying.
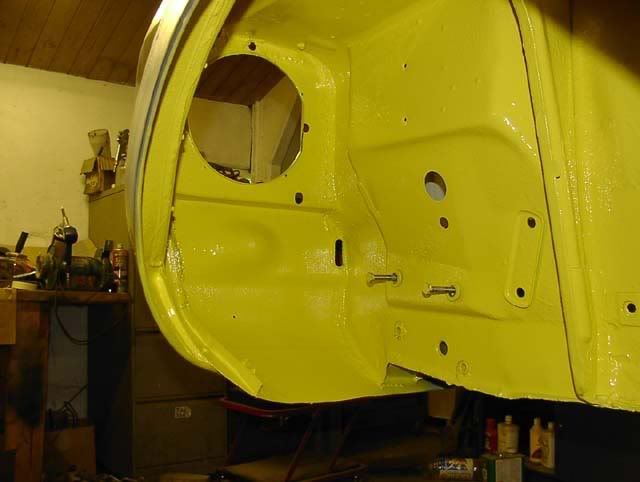
Notice I also had primered the bare metal round the rivet holes on the guard.
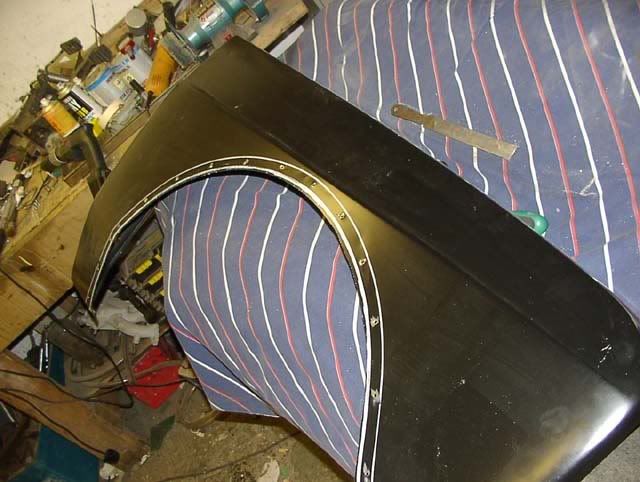
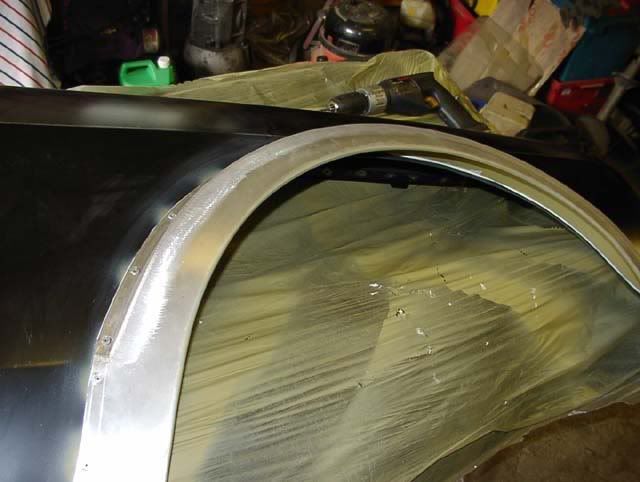
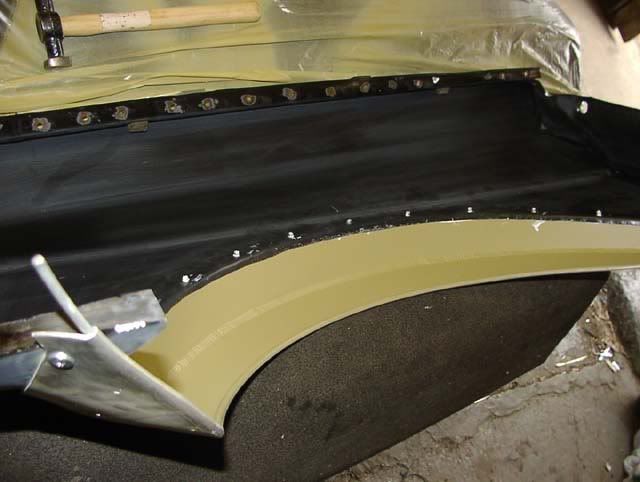
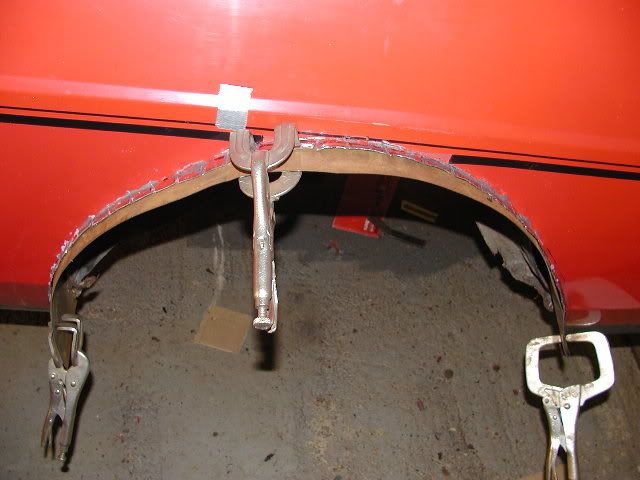
After that part is done, there is a nice trick that can be done to make the whole lot much stronger.
The extra 8mm of steel that is hanging down can now be made into a 90 degree flange, this will stiffen the guard and help to seal the join.
Get a small panel beating hammer and gently hammer the spare steel upwards against the underside of the new arch untill it looks like this:
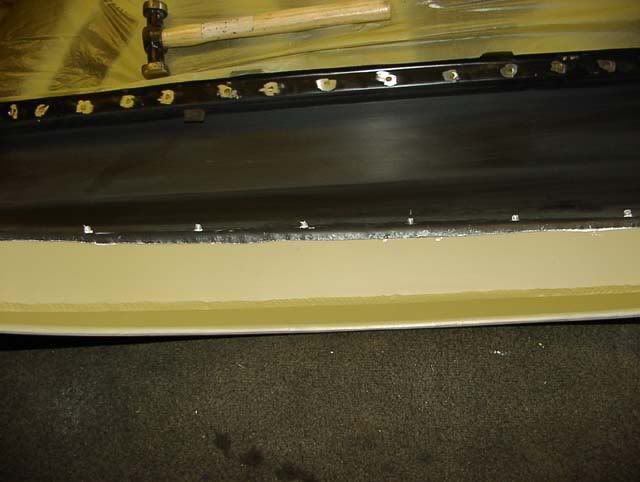
Then finally run another bead of body sealer around this flange to seal it from any water getting in.
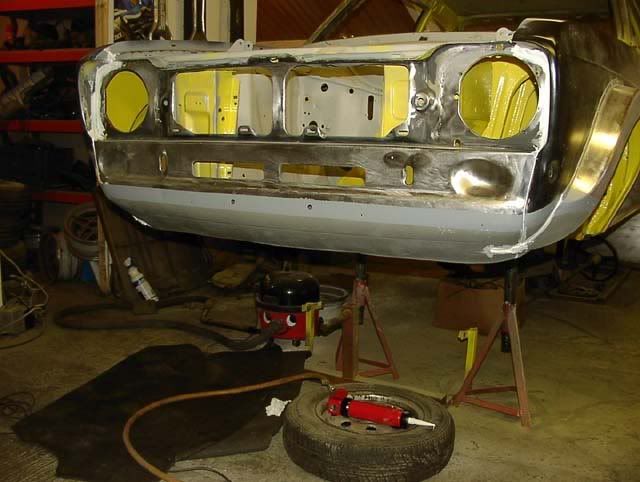
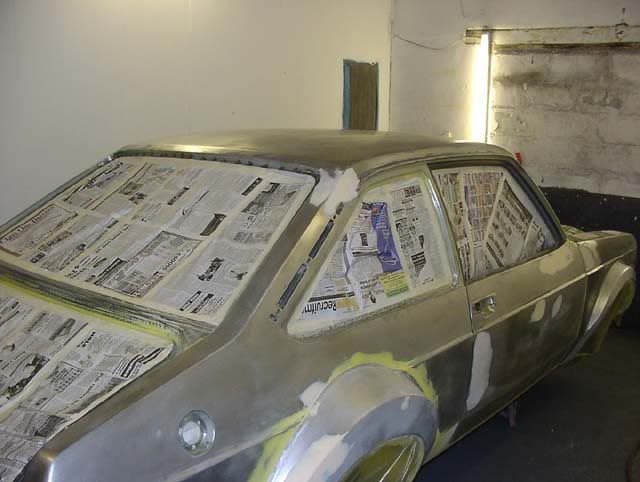
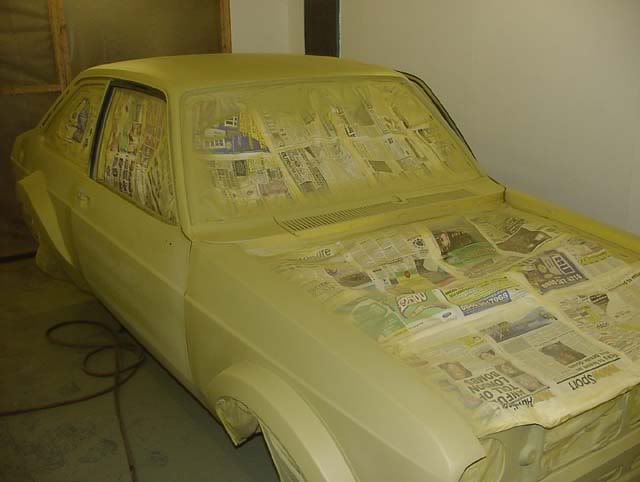
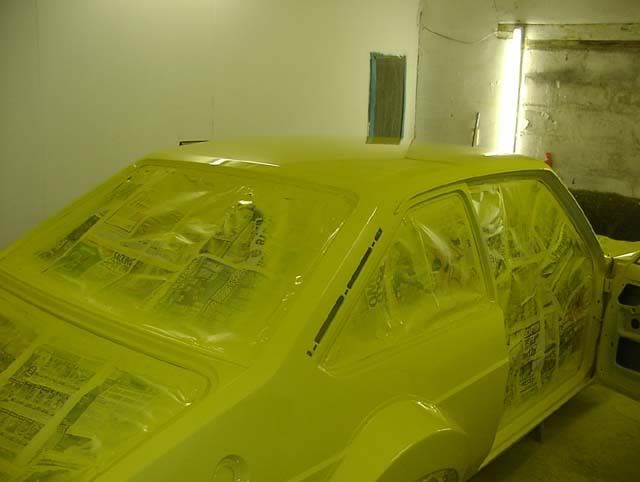
It's now ready for painting, make sure you do the underside too.

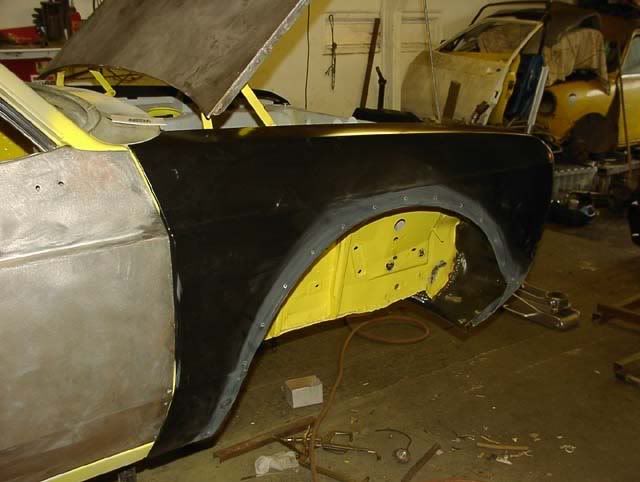
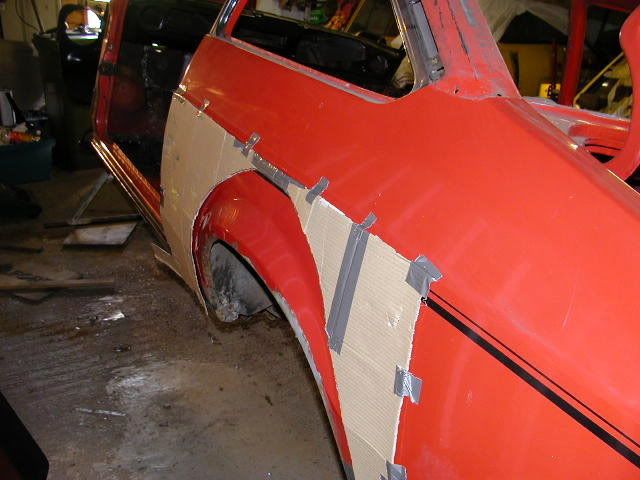
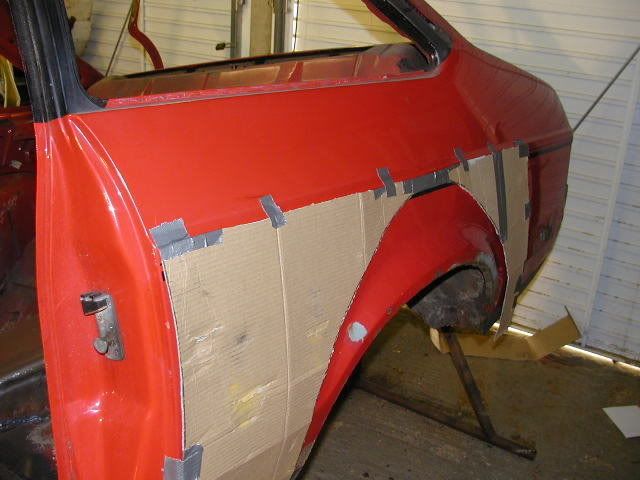
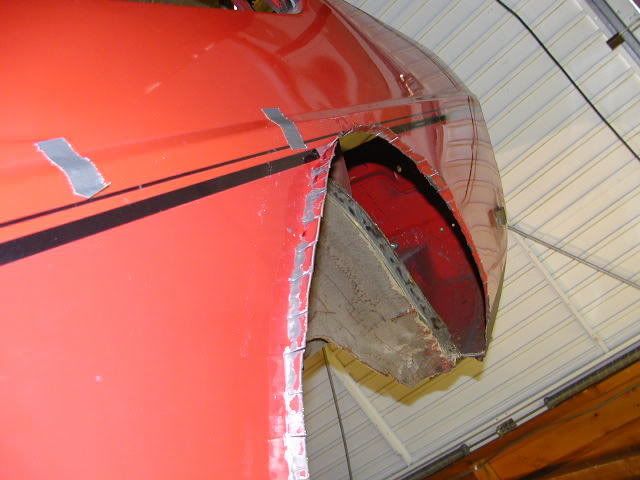
There is an alloy spoiler designed to go with these arches, (see above pic) that needs the lower lip to be removed from the front panel in some cases.
Here are a couple of shots that show the lip cut off of the lower front panel.
This sits at about the same height as the bottom of the spoiler, so at some angles the lip would be visible.
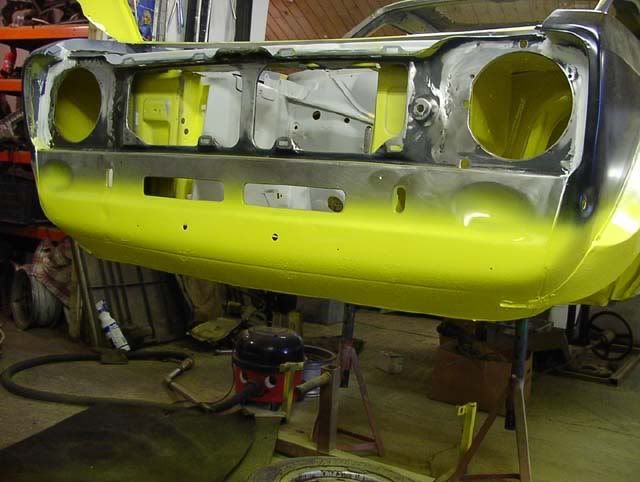
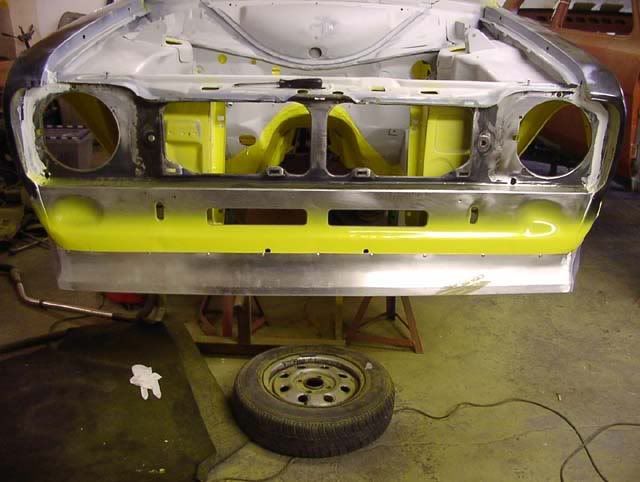
Also shows how the guard is cut at the bottom, leaving enough to stay firmly attached to the front panel.
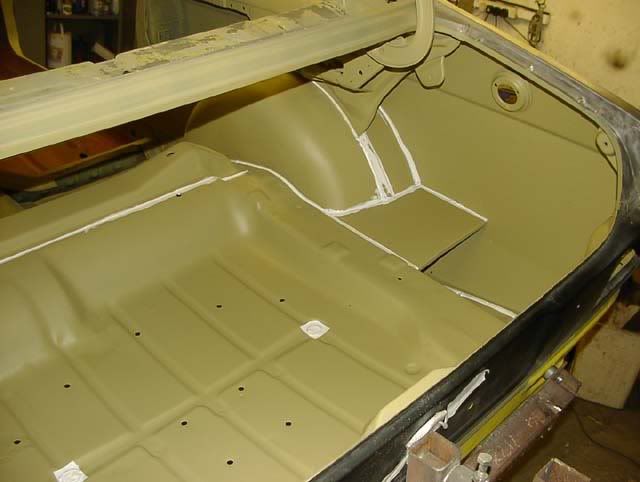
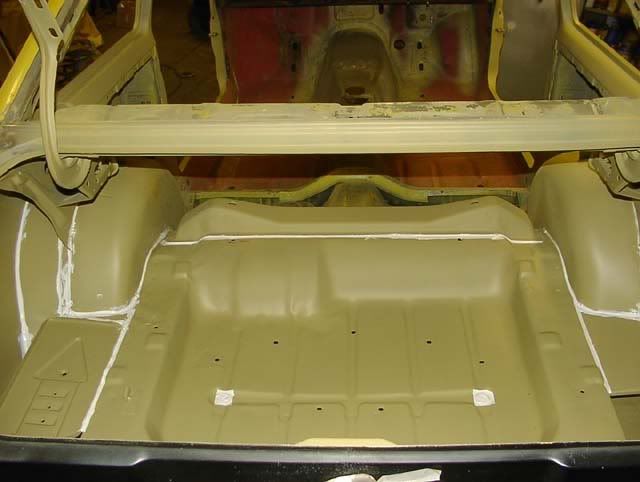
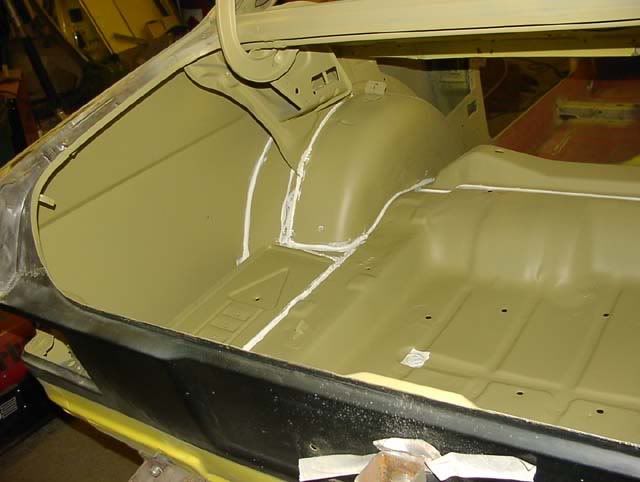
And on to the rear arches.
I have struggled to find decent clear pics that show how this is done, so have used some from a couple of different cars I did.
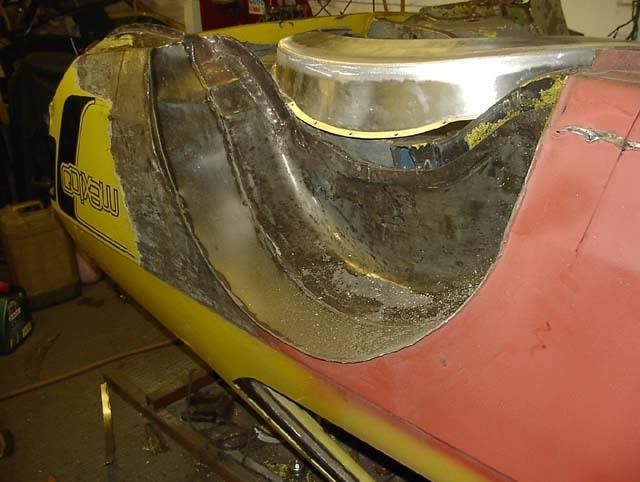
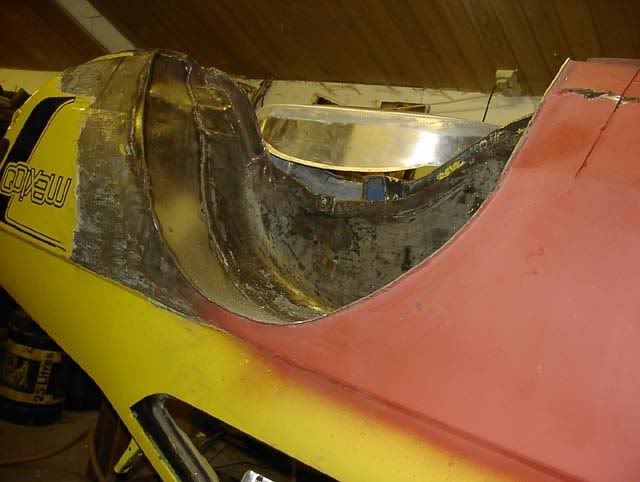
First the outer arch and half of the inner wheelhousing (tub) has to be cut off, the first few pics show a template I made which gives some idea of the shape of the cut out.
Make sure to cut 10mm approx under this line though as you need to bend a 90 degree flange on the panel.
Then the inner gets cut around the centre seam line like this,
and you also fold the 90 degree flange.
The flange is important for putting some strength back into the rear quarter panel, when you first make the cut the panel goes very floppy like a sheet of steel, once the flange is folded in it stops flapping around.
This red car was the first one I ever did, and I cut small snips into the flange to make it easy to fold up, however since then I found it is actually fairly easy to fold without these helping cuts, just get a good wide pair of pliers and gently start the fold, then using a hammer and dolly you can easily work your way around the whole panel.
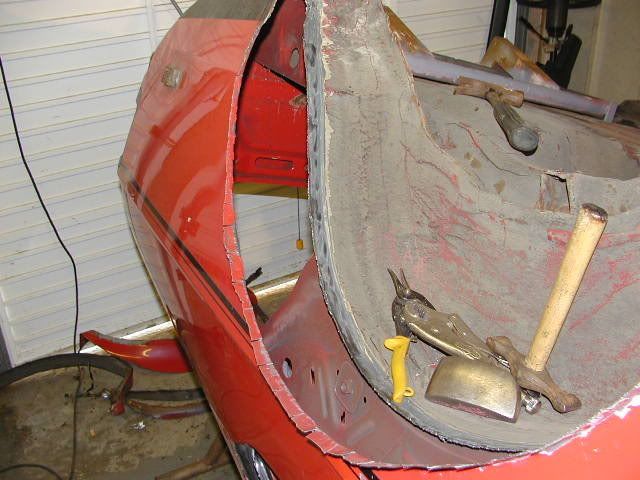
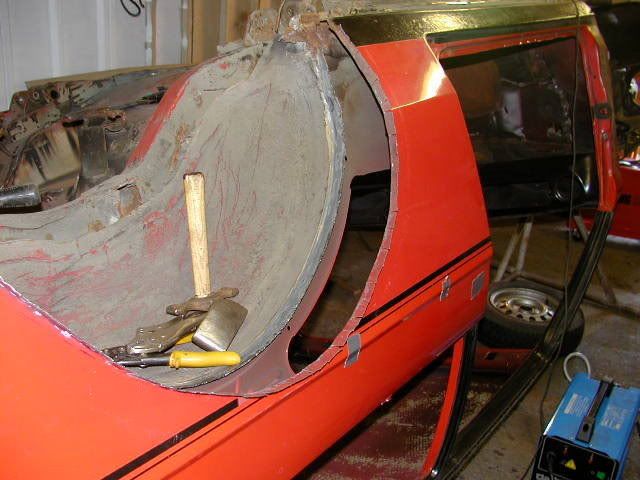
You can see from the pics above, that although the cut out in the outer panel is a strange shape, it follws the centre line of the inner tub.
So this now needs to be filled, to creat a "half tubbed" rear end.
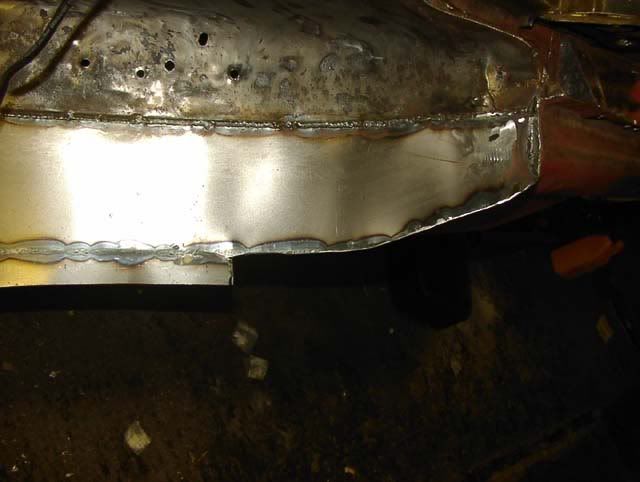
All that is needed is a large strip of steel long enough to go right around the tub (cannot remember the length now) and wide enough to go out past the new edge of outer panel.
Clamp it in place and weld it to the outer and inner.
It's a good idea to work in small areas on the outer section as running a continous weld all the way round will probably distort the panel due to heat.
Keep going untill fully welded.
Then trim off the excess steel that is sticking out, until you just have your (now welded) 10mm flange (you can see on this car I did not mak the extra snips to fold the flange, so it is tidier).
Paint them and dont forget to use panel sealer on the new joins.
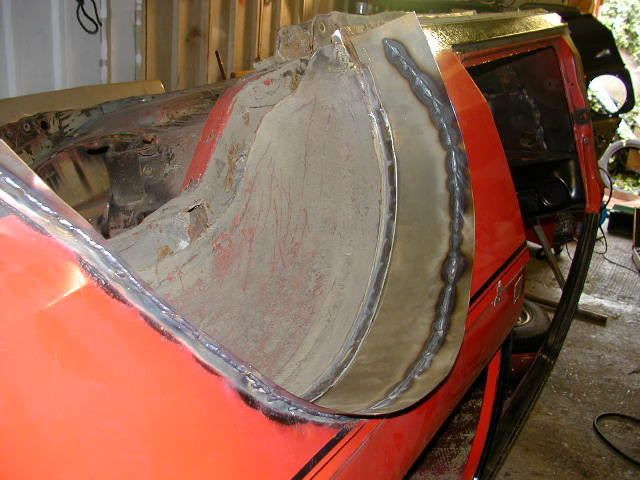
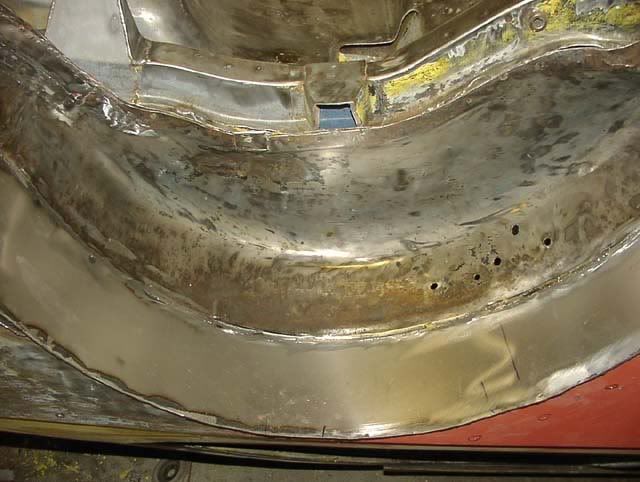
Here you can see what the "half tubs" look like from inside the car.
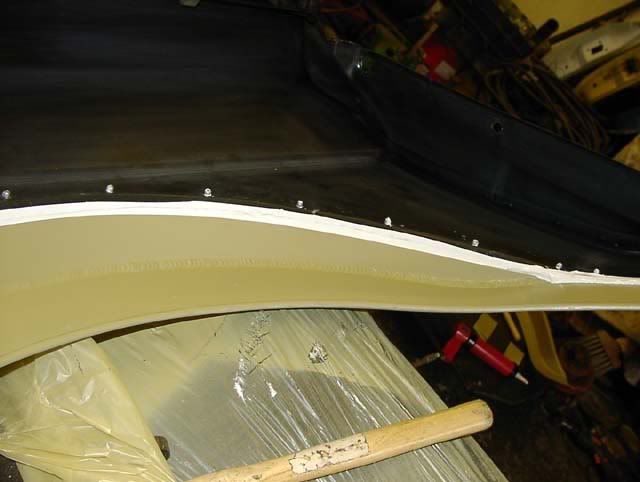
After that, just get some paint and sealer between the back arches and the quarter panel in the same way as the fronts were done, an rivet them to the car.
Then prep prime and paint, dont foget to use an etch primer suitable for aluminium.
Drive and enjoy