Speaking of Tinker, I done a productive cad today, since I m doing diff stuff at the moment, I am unsure what rear brakes I'll be going with. I want to get this made up so when it's bolted in, that's it, done!
I can leave the drums on there but there's no fun in that so it's a disc conversion. My Anglia used Alfa rotors which were the same stud pattern but I had to machine the axle flange outer edge by a few mm so the hat clears, no big drama. Caliper was Honda S2000 but I'm going to use Focus mk1 rotors and possibly MK2 Focus calipers or Nissan S15 which can then use the standard escort handbrake cable . Which ever way I'll needs to be bolted so the rego mob don't complain, if it needs a check. So will run down that rabbit hole later.
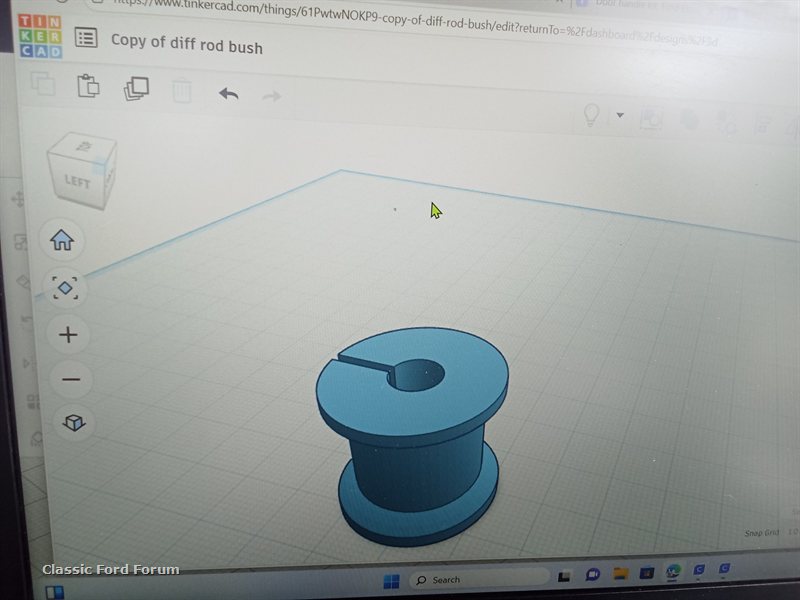
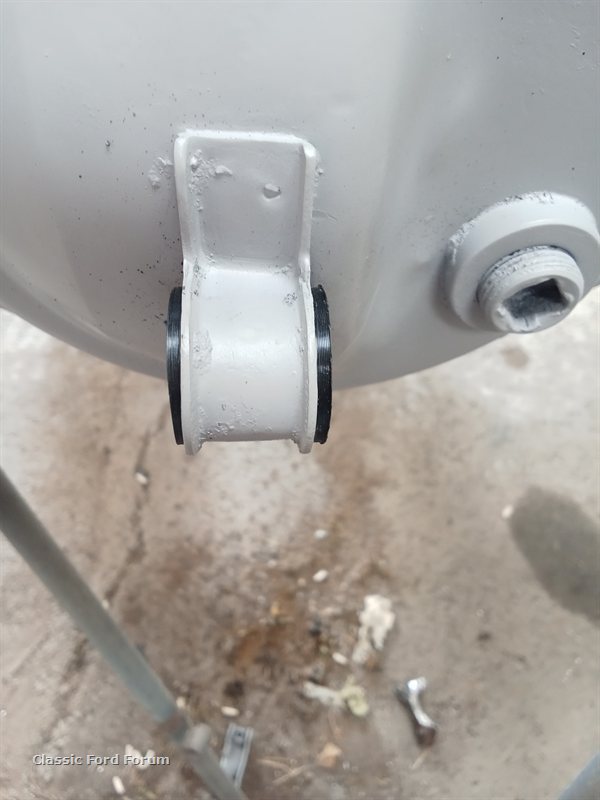
What I did with the tinkercad site is make a bush for the handbrake rod, a few prototypes and got it just about spot on except the rod hole was measured from a mk1 thickness, 7.6mm but I then found a MK2 rod which is 10mm so it's just been updated and printing now.
I tried the first version for fit and it's snug, printed it in TPU so it's like the real rubber ones. There's no load on this, it's just to stop the bar rattling. If anyone wants one I'll send the file .
This is the first step, design it
Then move it to the slicer programme and adjust some settings like wall thickness etc
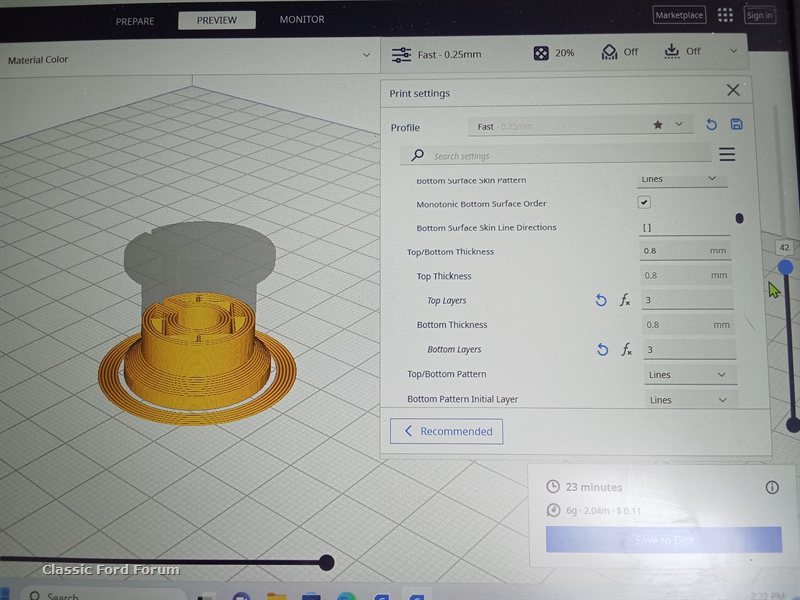
Print in TPU
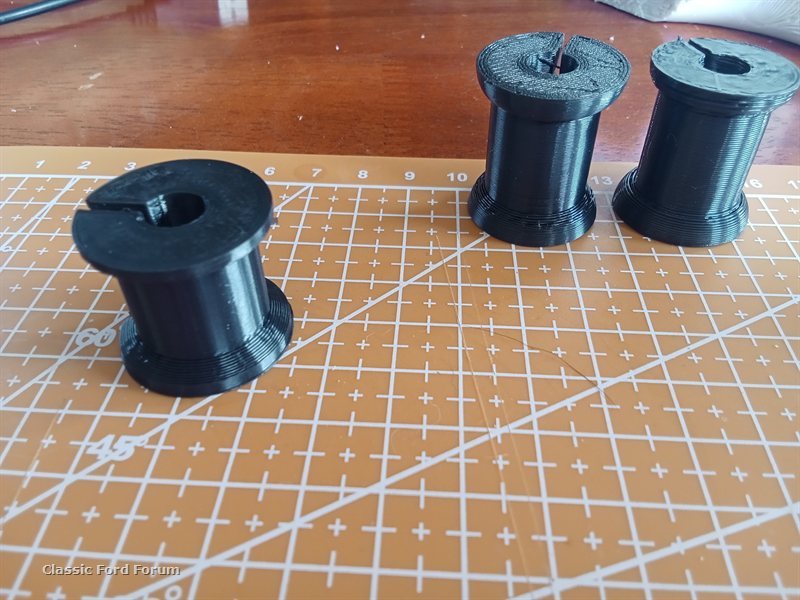
Check fitment
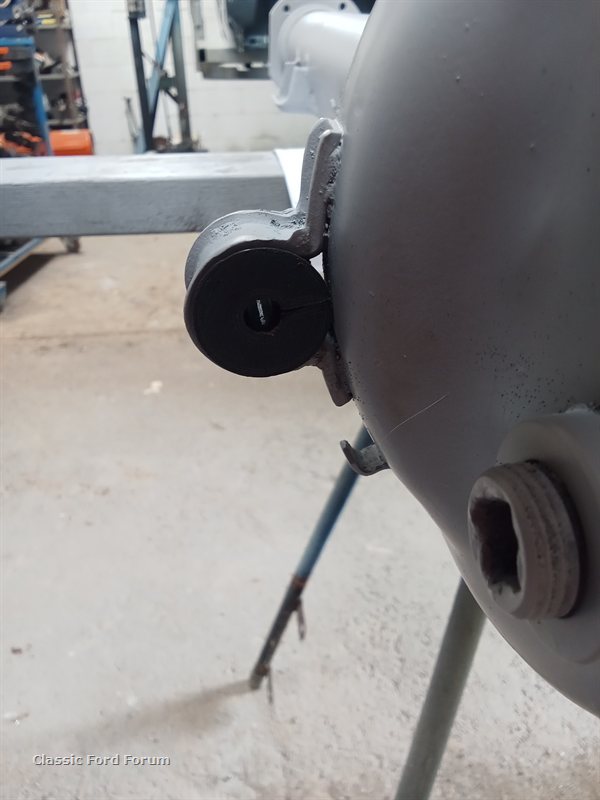
Whether this will end up being used is for when I decide what brakes I'll be using