2008/12/30 06:41:31
peterr
Great Work Paul.
2008/12/30 07:20:08
Phil
Looks great Paul[:p]
2008/12/30 15:45:16
lucas
cheers for the advice paul, keep up the good work
2009/02/01 16:04:19
Paul Dunstan
OK, a few hours today and the sections are welded in and 90% completed. I have not ground down all the welds completely as time was running short so I threw some primer on it to keep it from rusting etc.

The weld through primer mentioned in the thread below was used on all mating surfaces and seemed to work a treat - not burning off etc.

http://classic-ford.org/forum/topic.asp?TOPIC_ID=16632

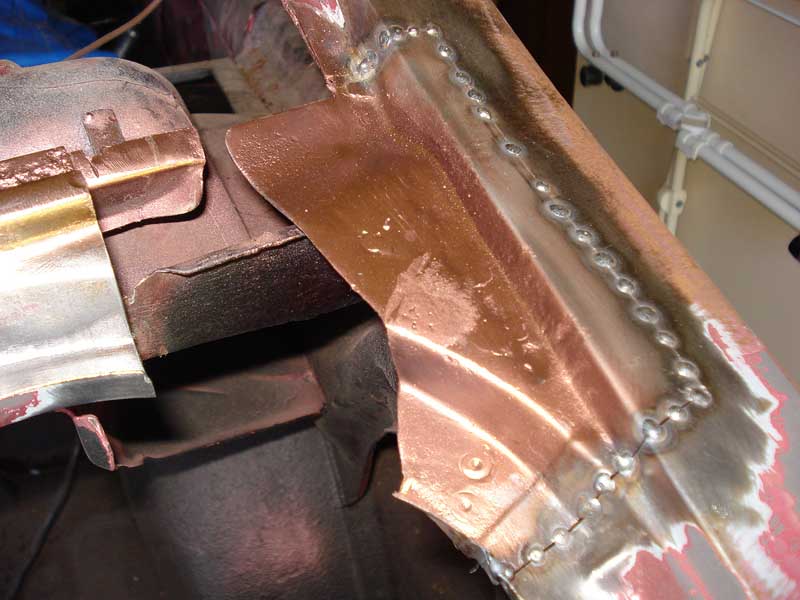
First section tacked in


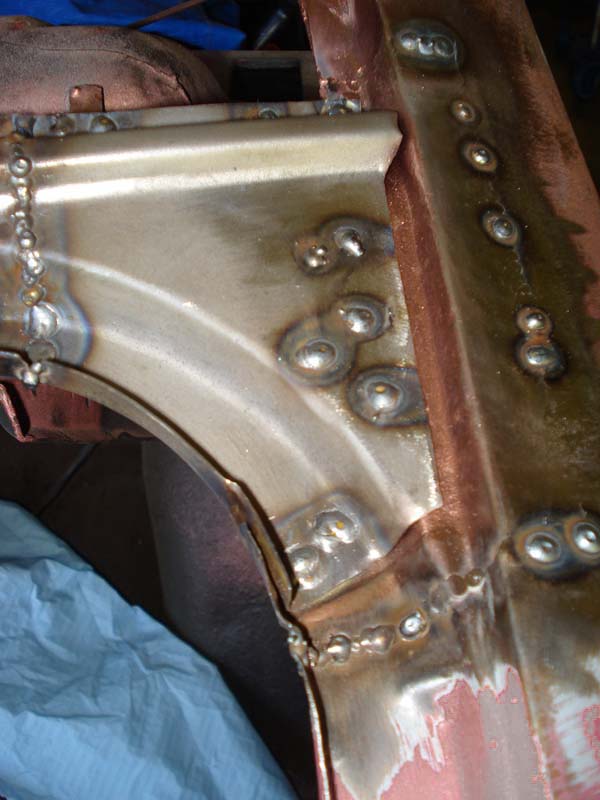
Majority of the welds knocked off from the first section and found a few pin holes which required a second go. Final section welded into place.


Majority of the welding ground back and a lick of primer. A little skim of filler should have this looking fine

2009/02/01 16:38:12
Phil
Paul,you must have been a panel beater in a previous life[:p][;^)]
2009/02/01 17:41:13
lucas
great work paul. that weld through primer seems to do the trick nicely
2009/02/01 17:59:21
Jason How
Good stuff Paul.....Ummm.....you don't want to do mine when your done by any chance[:x)]

Keep up the good work mate, Can't be too far away now

Jason
2009/03/01 02:19:54
lucas
or mine
2009/03/01 10:31:00
Paul Dunstan
Sure - once mine's done

Learning as I go! Found it's best to make sure the replacement sections are a perfect fit (approx 1mm gap) which ensures there is good penetration and allows the panel to "pull up" as it cools without distorting. This is what I found worked best. Also keep moving around the section with small tacks allowing it to cool adequately.
2009/03/01 18:42:34
Phil
Depending on where your welding,a damp cloth can be used to shrink the weld back. I find this particularly useful on flat panel sections like welding up badge holes etc
<< ..78.. >> - Powered by APG vNext Trial

© 2025 APG vNext Trial Version 5.1

Use My Existing Forum Account

Use My Social Media Account