2007/06/20 14:25:36
grey_esp
I have made one half of my rotisserie, Im a bit unsure wheather It will actually work, I have drawn it up in cad and apparently it does, but I think I will have to add some more height into it. Once I finish the other end I guess we will find out.
Any how, here are some pics as it stands. I used I heap of second hand steel from the salvage yard and some old drain pipe I had laying around. It should owe me about $30 -$50 when its done.


You can just see the other one in the back ground sort of half done.

I think I might weld another brace under the front of the head stock too, I got a feeling that isnt going to be strong enough, Ive made the pipe long enough so that I can. I also thought If I brace it up enough I can use them as engine stands once Ive finished with them.
2007/06/28 10:39:36
grey_esp
Well I got the stands finished, cars up in the air. I'll start stripping it over the next few days.

I think I may have to buy some different castors tho, as little chrome ones arent up to the task.


2007/06/29 13:59:18
Mk2_2dr_2L
Looks good.. the stands will definately make life alot easier !
2007/04/07 10:58:31
grey_esp
I spent a little time on the Drivers Side A pillar last night, turns out both skins had rusted through so I cut them both out. At this point I have only welded in the inner, so I need to dress it up a bit and make up another peice to go over the top. But here are a few pics. Excuse the welds :-)


2007/07/31 11:03:09
grey_esp
Made a bit more progress.

Finished off the A pillar. And I picked up a floor panel from Racetune, the sucker is smaller that the original which is a pain, because mine had rusted right up to the overlap with the fire wall, and about 10mm higher up the inner sill the the panel reached. Just means I have to make up a couple of extra patches. As you may see from the picks, I haven't finished yet but another hour and it should be done.


2007/01/08 09:11:13
hak073
Mate, thats a super repair on the a pillar. Looking good. I'm enjoying watching your progress. Gives me the motivation to get into mine a bit more. Although I have found more rust in the A-pillar on mine too. Ah well. More welding practice.

Keep up the good work.
2007/07/08 12:31:54
grey_esp
I made a little more progress over the weekend. Pretty much finished the floor, except I took to it with the 9" and a wire wheel and found a few more bit that were a little on the thin side, you can see them in a couple of the picks below.
I have stitch welded the chasis rails back the the rear wheel arch.
Also stitched up the webbing on the RF strut area.
Found a couple of wholes in the drivers outer sill, so plated them up and I took the the rear 1/4 with some paint stripper and a scraper. You cant actually tell tho as I gave it all a quick coat of black to keep the moisture out. I found a few spots of bog here and there from previous damage but it all looks pretty good, (you can seam them in the picks)


Those last few are a bit dark, but you get the idea.
2007/08/27 17:06:51
grey_esp
Ive made a small amount of progress, been a bit crook (dam flu) so taking it a bit easy lately, but I had a go at the dent in front of the wheel arch anf its com up pretty good, Im thinking about welding a bit of extra plate in to strengthen it up a bit, but I'll see how we go.

Also mad a start on behind the wheel, (fuel tank area)


2008/04/29 11:37:09
grey_esp
Ok its been a while, but I thought Id drag this thread out, dust it off and post some more recent picks

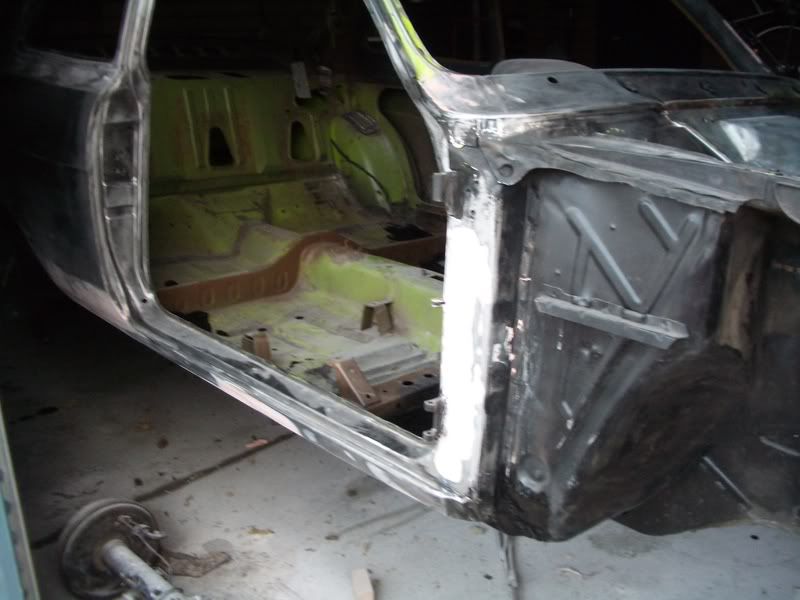
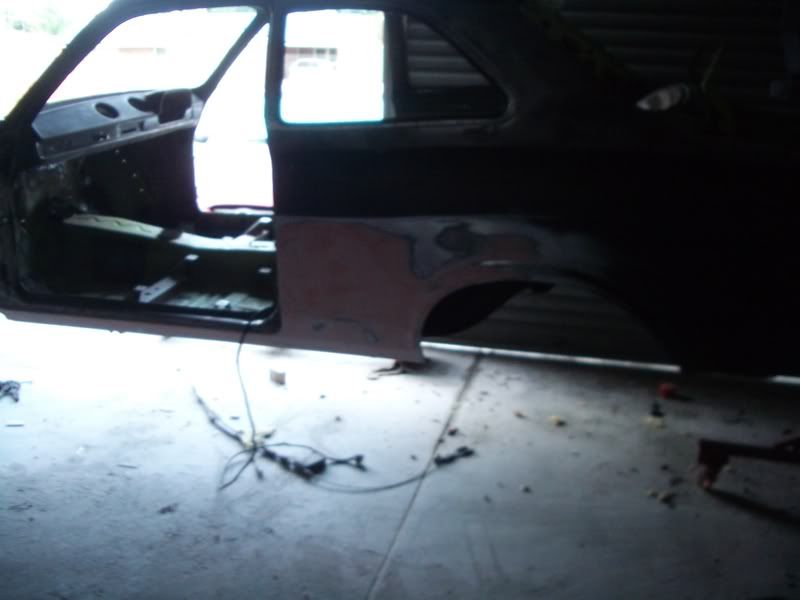
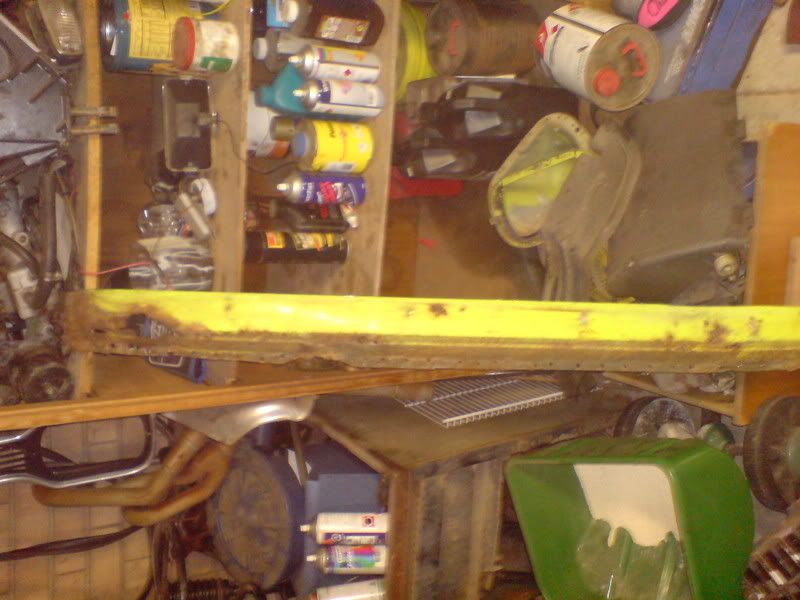
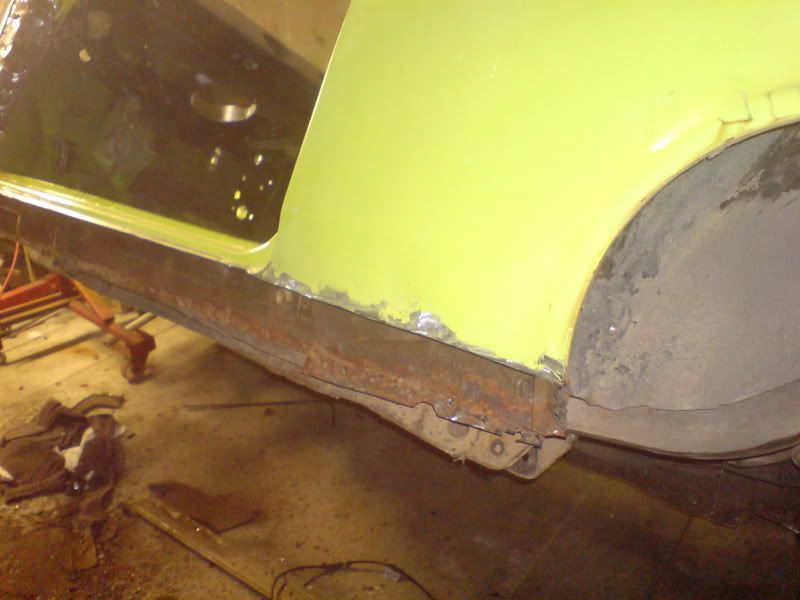
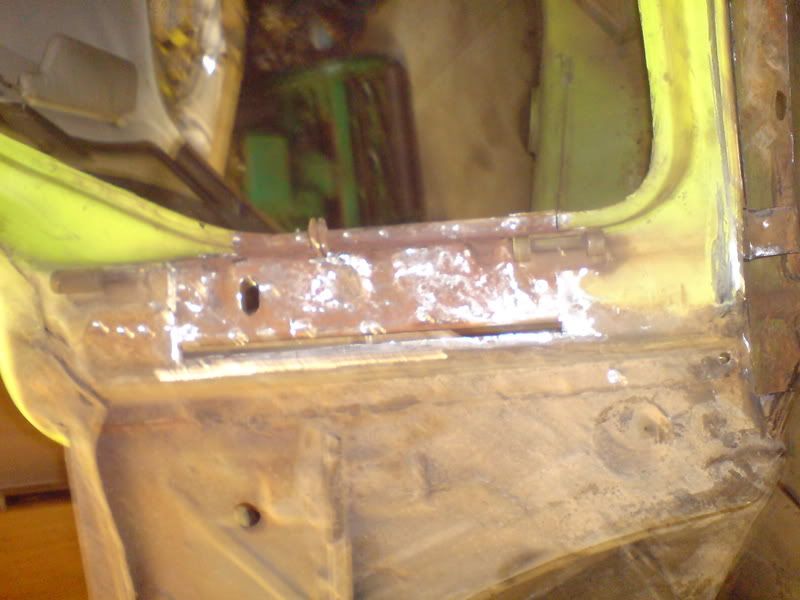
The sill panel was pretty stuffed, so I had a new one folded up, cut off the old one and put the new one on. Fixed the inner sill while I was at it


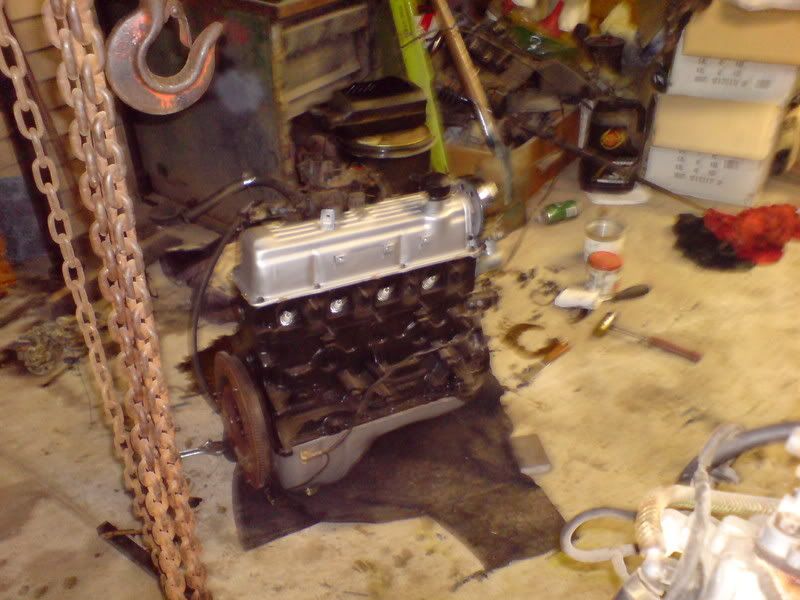
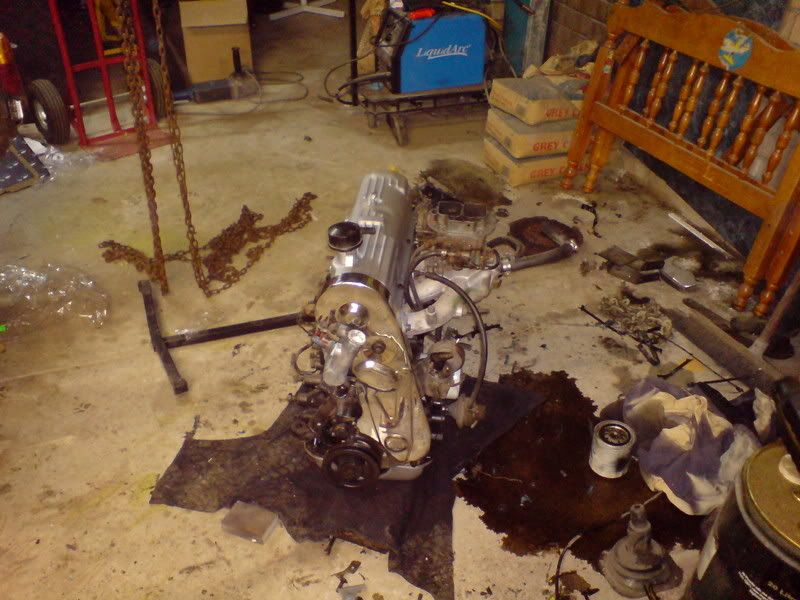
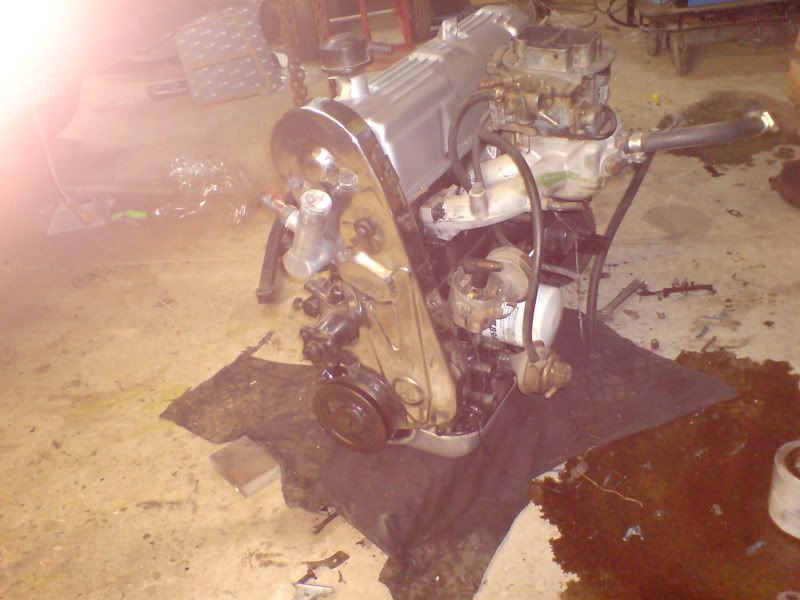
2ltr Got some new seals and gaskets, vernier timing wheel and a dulux rebuild.


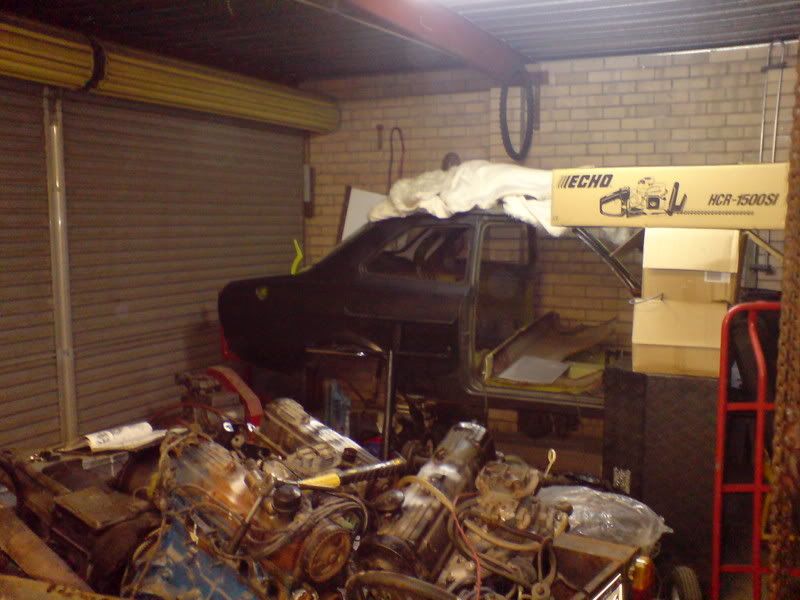
We have to move house soon, so I had to load up some spares and take them round the inlaws


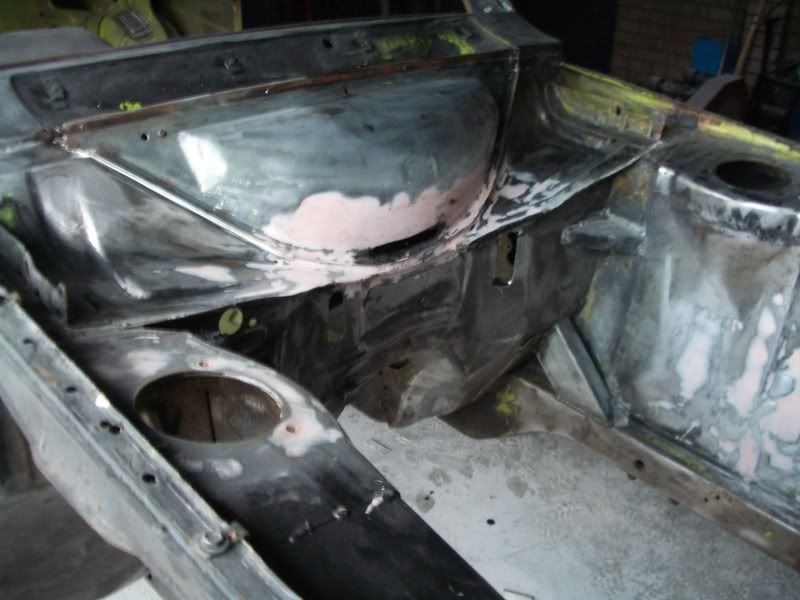
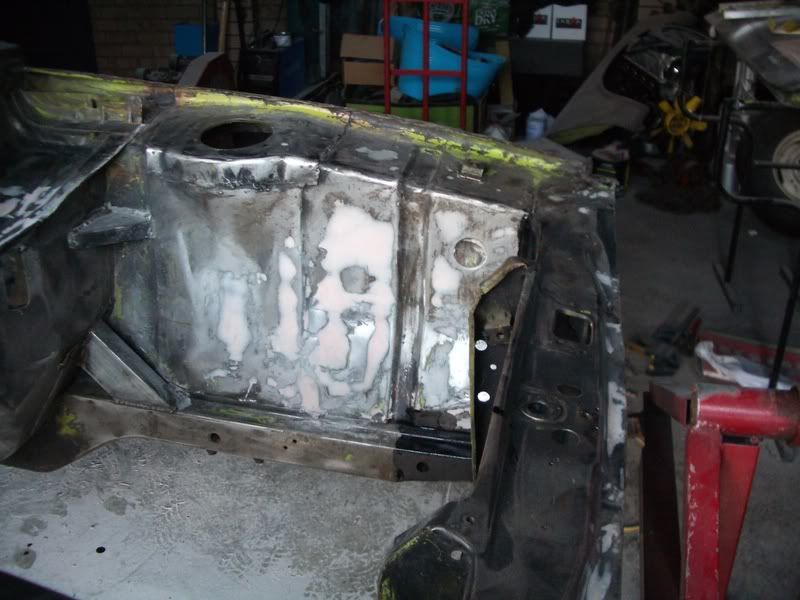
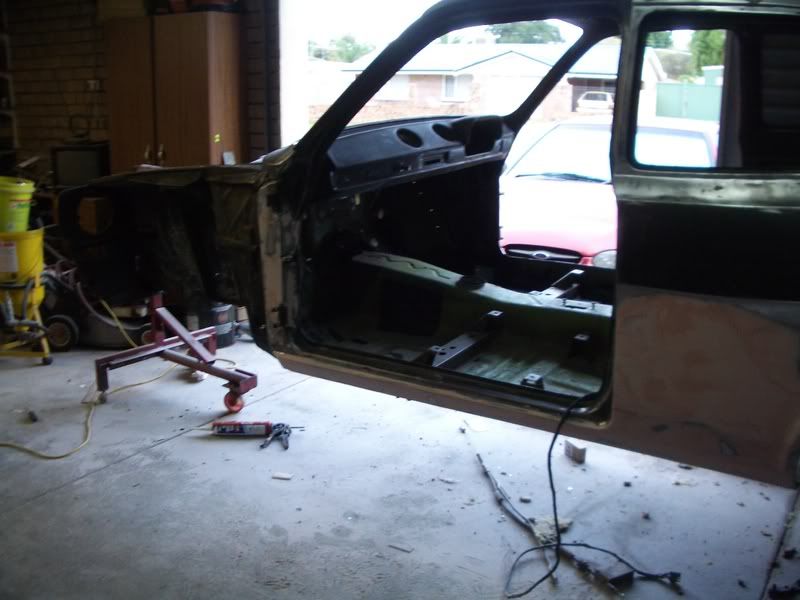
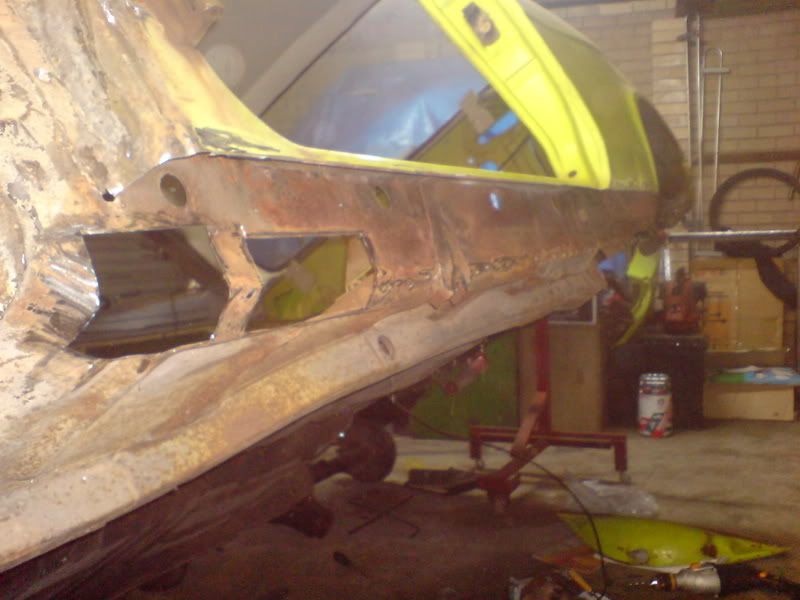
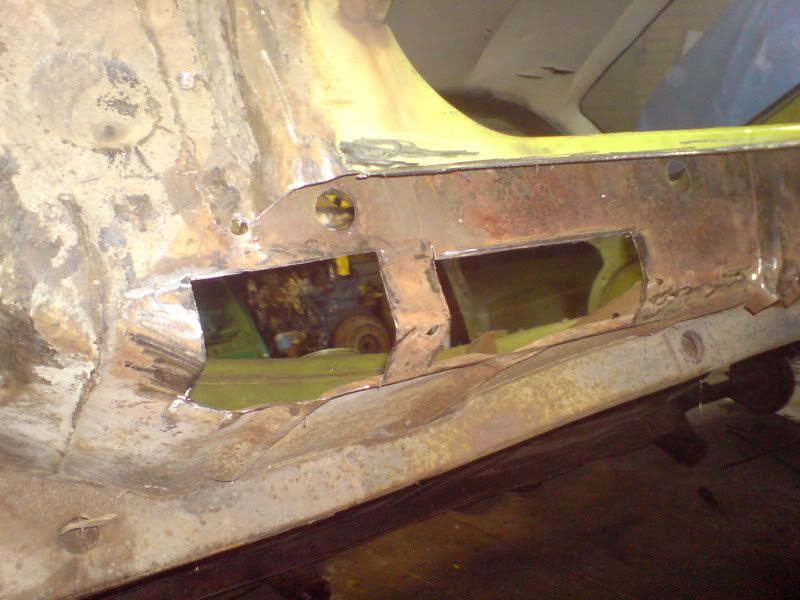
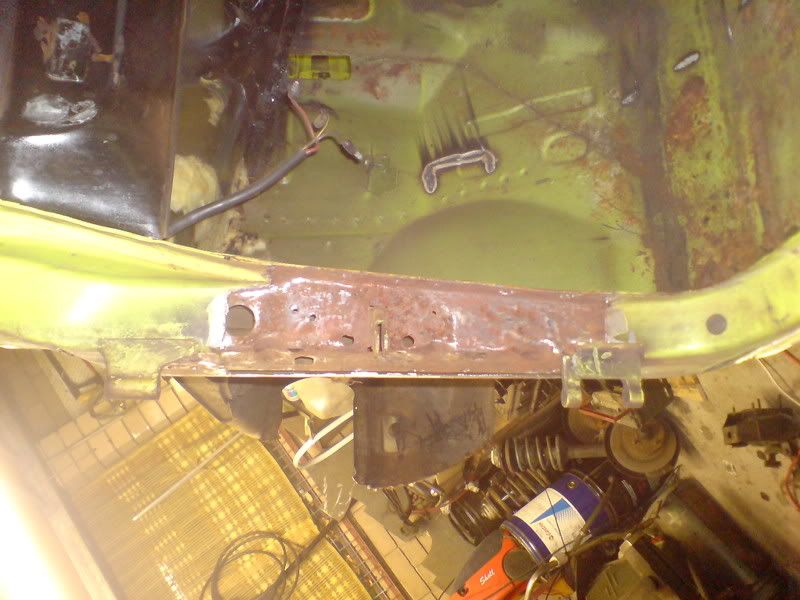
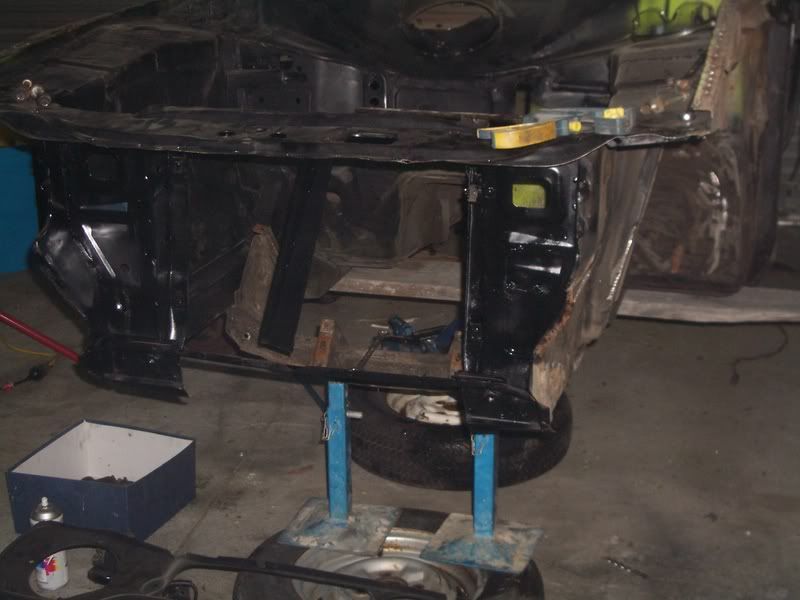
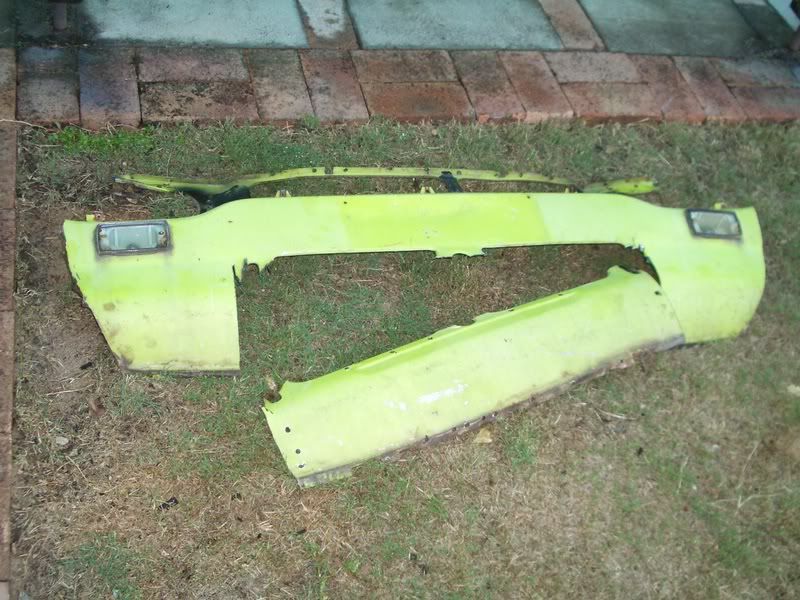
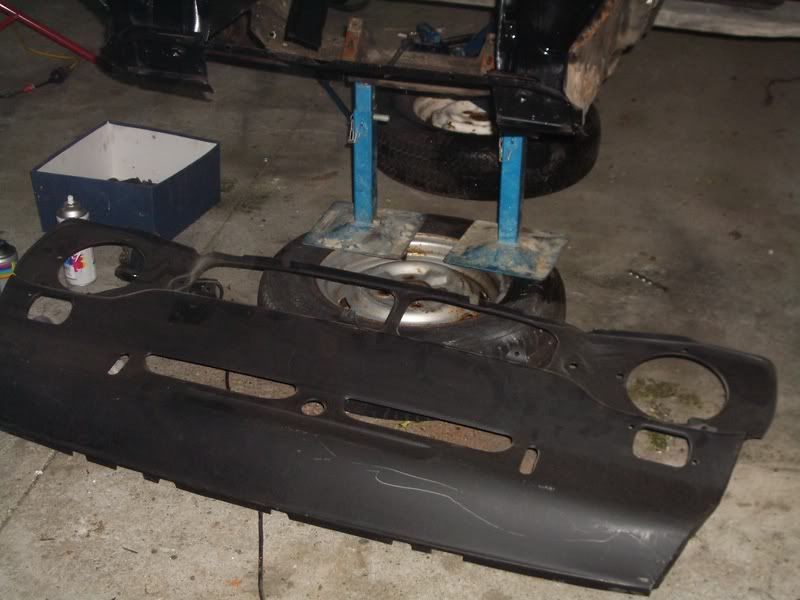
Got back into it and cut the old fornt off, and fixed up where the previous owner had butchered the inner apron to fit the 2L Radiator


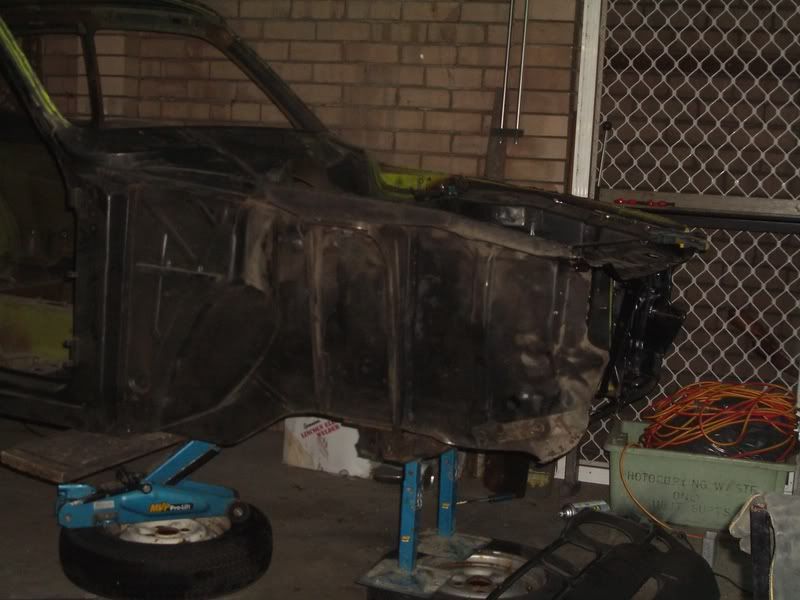
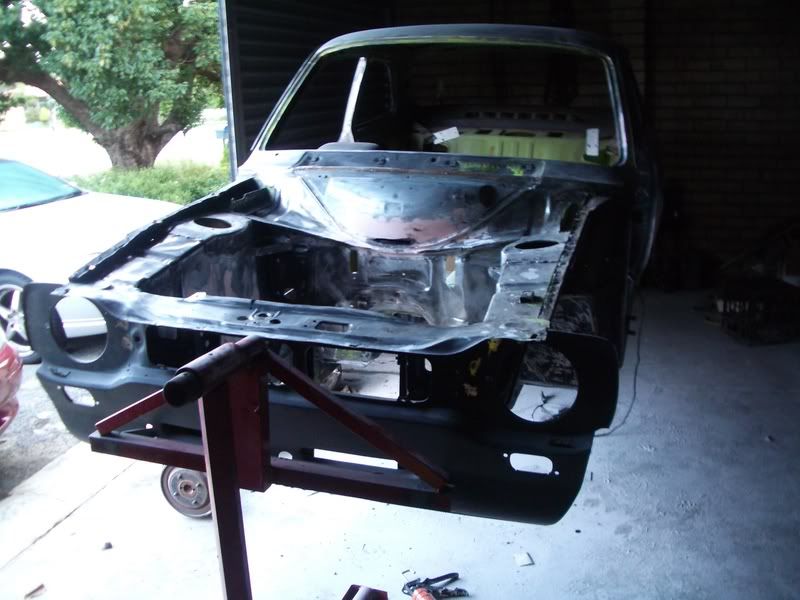
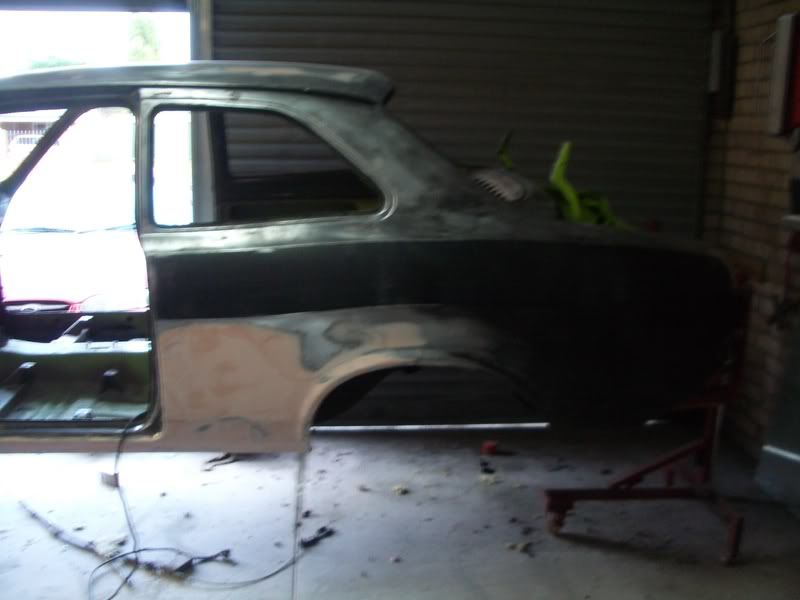
As it sits at the moment waiting for some high fill in the engine bay. And primer to the floors. Basically I have to get it back on its wheels by end of May. So prime the under carriage, engine bay, windows and doors, inside and boot. Then paint it all, and Ill to the outer body later. You'll see a bit of filler around the place, but Ive only used to it flush things up, its all steel under neath.


2008/04/29 12:32:54
mud
Some of those repairs looked a bit tricky. Keep up the good work.
12.. >> - Powered by APG vNext Trial

© 2025 APG vNext Trial Version 5.1

Use My Existing Forum Account

Use My Social Media Account