2010/12/02 21:49:49
fordsy
Well, I was. Trouble is that I put up the full front view of the car then noticed that the next two shots show why I have to have the shell on a moving dolly. It was even tighter before I had the rear roller door put in.
2010/02/13 17:18:45
fordsy
Didn't get to the garage until late today so didn't get much done.

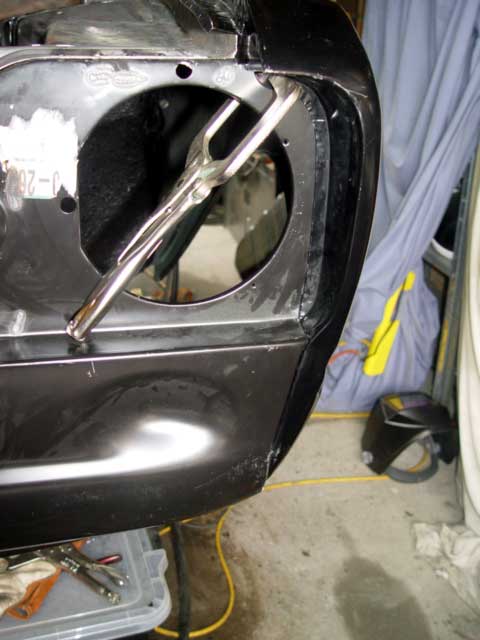
Welded the slam panel to the radiator supports and front panel.


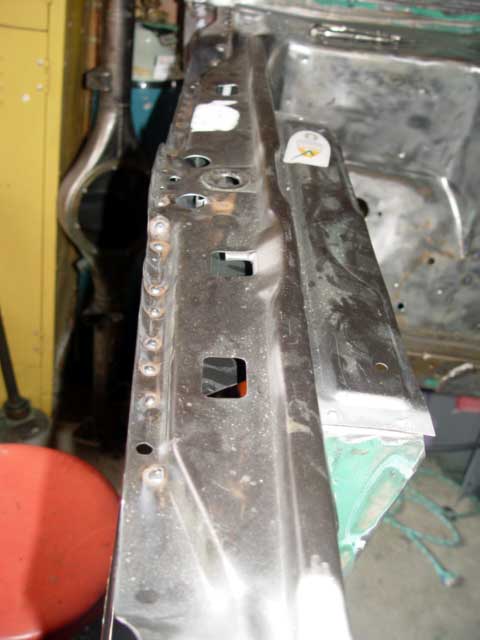
Also welded the inner wings to the front from inside the wheel well. Not much space in here. It takes a fair bit of time and patience to get everything to line up. I resisted belting stuff with the hammer today. Didn't want to have to knock out dints again.


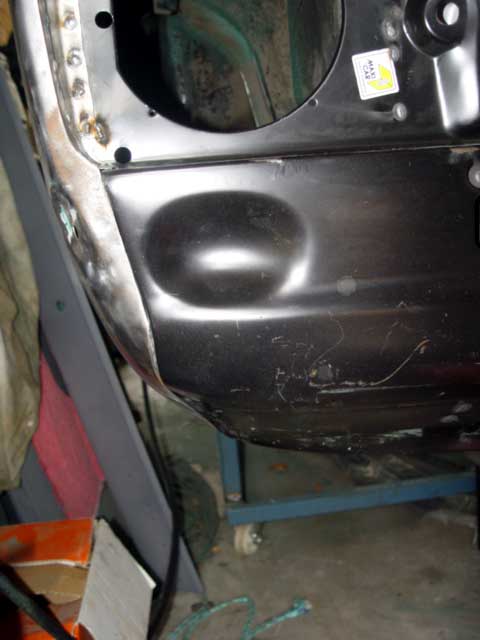
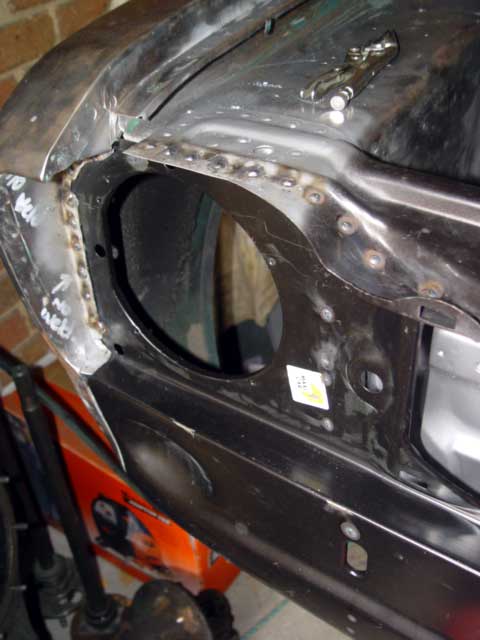
I've screwed the wing to the A pillar but haven't welded it on yet.


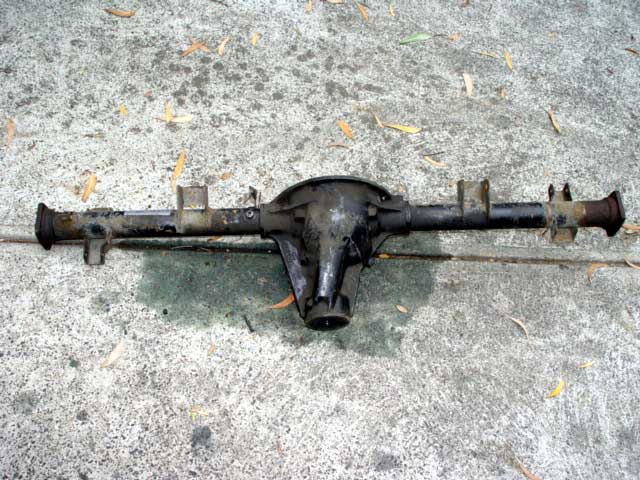
This is the reason I didn't start until late. Had to pick this up.


I've come to a couple of conclusions from doing all this work.
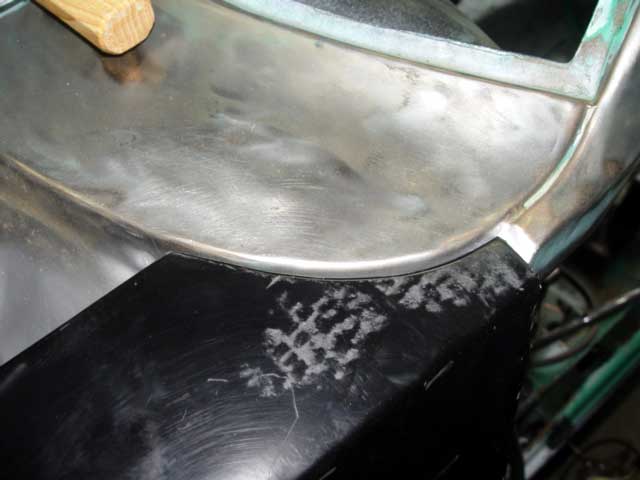
1. Hadrian panels fit very well
2. Prepfab arches fit very well

Fabrication stuff left to do to the shell.
- finish seam welding
- finish the engine bay gusseting and plugs.
- weld the front panel to the lower front crossmember
- weld the new wing to the drip rail and front panel.
- fit the front arches and spoiler.
2010/02/14 01:55:11
510pom
gotta say mate excellent work /car will look mint[:p]
2010/02/14 18:54:19
fordsy
Cheers. I'm just hoping the colour I've picked will look the goods.

Welded the passenger wing on today. To check all the panel gaps I remounted the passenger side door. What a pain to do by yourself. Anyway, It's mounted on, the gaps are good. The only part left to weld on the front is under the slam where the front has two strengthening tabs and the joins between the lower wing and front panel. I think i'll be using rivets on this bit as welding them will be very awkward.

Here's a badly out of focus pic of the welds on the wing.


And a couple showing the side of the car.


2010/02/14 19:11:03
Phil
Nice work Steve
2010/02/14 19:33:21
joeyjonsey
it's unbelievable how quick your getting this work done thumbs up!!!
2010/02/14 19:47:54
fordsy
Cheers for that. I find if I sit and think about where I want the project to go that I keep changing direction. If I actually get into the shed and just build it keeps my mind on track. I've been spending about three hours a day on average on the car. That certainly helps the progress.
2010/02/14 20:34:59
Sterling
i found that to be the same when my escort was in a million peices. couldnt decide on anything. choosing a colour gave me the most headaches.

in the end i just did things that i knew i wouldn't mind. and the car assembled itself.

just noticed your profile picture at the moment is identical to the badge i have on my dash.
2010/02/14 20:48:28
fordsy
Gotta love US ebay. That badge cost me about $10 I think.

I'm going to concentrate on using the bits I currently have in the garage. That means no 4 link or turrets in this build. I'll save them for the next one. It'll still end up with a roll cage but only after i've done all the bodywork I want to do.

The mechanicals i'll run by attrition. When I blow something up, it'll get upgraded. If it doesn't break, it stays.
2010/02/25 17:39:41
fordsy
Found the camera. Also found the golf clubs so I won't be spending quite as much time on the car as I have been.

Here's the work from yesterday. Both arches are held on with self tappers in these shots.


Here's todays effort.

Marked out the top line then drew a lower line about 20mm inside the top. This is where the panel is trimmed and allows for a lip to be hammered up against the inside of the alloy arch.


Here's both riveted and sikaflexed on.


The most fiddly bit of the whole job is the front spoiler. It needs a fair bit of encouragement to get it to line up with the body sides and will need a small skim of filler on each end as a result.


Next job is riveting the spoiler on as it's only held on with self tappers at the moment.
<< ..2122.. >> - Powered by APG vNext Trial

© 2025 APG vNext Trial Version 5.1

Use My Existing Forum Account

Use My Social Media Account