2010/05/02 18:42:20
fordsy
More work. I've started on the Passenger rear arch.

First i gave the new lip on the drivers side a trim.


Then following the same procedure as the drivers side, I cut out the passenger side standard arch


This spot has been full of crap on both sides of the car and is worth checking. You can get into this without cutting if you remove the back seat trim and stick a vacuum cleaner down the gap.


New metal for the outer tub. Still has to be drilled.

2010/05/02 19:14:38
krt10
quote:
Originally posted by fordsy


This spot has been full of crap on both sides of the car and is worth checking. You can get into this without cutting if you remove the back seat trim and stick a vacuum cleaner down the gap.


i couldnt believe it when i pulled out the trims in my car. so much crap down there.


anwyay top work steve. i am really enjoying following this one.
2010/06/02 17:28:58
fordsy
Welded in the new outer tub.


Just need to tidy up both sides where the new outer tub meets the rear boot floor.

Next job is paint removal from the whole outside of the car and select bits of the interior as well as welding in more patches when i get sick of the grinder.
2010/07/02 02:25:24
KIZZA
looking good fordsy in you happen to read this in the morning my number is 0401 911 248 and I'l have that tank in my car for you. cheers Kieran
2010/08/02 17:25:09
fordsy
Thanks to SMCKA I now have all the panels I need to reassemble the front end but first I'm going to finish the rear arches.

So... Here we go.

Using some proper 8g self tapping screws I did another test fit. Using the self tappers saved me from drilling out the holes as a separate task. With the arch held in place with the self tappers I gave the lip a little bit of panel beating to make the lip flush all the way round.


I gave the inner side of the alloy arch a good coat of etch primer.


Along with the rear quarter panel where the arch mounts to.


After that dried, I put a bead of Sikaflex around the lip of the alloy arch where it'll be in contact with the rear quarter. Then using one self tapper at the top to hold the panel one I started with the rivets. I first put all the rivets in without popping them to double check the alignment. All was good. Then starting from the top down I popped away until it looked like this..


Next is the passenger side but i still have to strip the green paint off first. fun fun.

2010/08/02 18:50:13
escortinadriver
Looking great...

Something very tough about a MK2 with flares....[}:)]

I'll hopefully drop by with the escort next week sometime for some inspiration.... as it's time to dig the MK2 corty out from the cobwebs.

Shaun
2010/08/02 18:53:05
fordsy
Not a problem. Hopefully by next week i'll have the full flare kit fitted.
2010/08/02 20:46:24
Shea
love your work mate, wish i had the patience you have when it comes to panel work! nice to see the arches coming along, are you going to run the group 4 front spoiler too??
2010/08/02 23:14:55
fordsy
Certainly am. I got the full arch kit with spoiler from Prepfab. I should be up to that point later in the week. Tomorrow is the Passenger side arch, more paint stripping and then it's putting the front end back together then the front arches and spoiler. If i say it quickly, it doesn't seem like quite that much work.
2010/09/02 17:20:47
fordsy
The other rear arch is done. The combination of humidity, sweat, modena green paint and the grinder meant I had a bit of the incredible hulk look happening. It's also cheaper than paying to have a sauna.

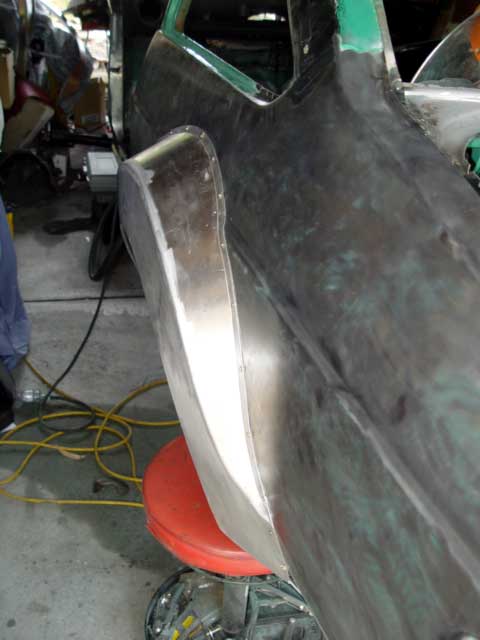
Anyway, process was the same as the other side. Start by aligning the two lower edges then the top then use self tappers to fit the entire arch. Reform the lip with the panel beating hammer, remove the arch and give it a coat of etch along with the quarter. Then apply sikaflex and rivet it on.


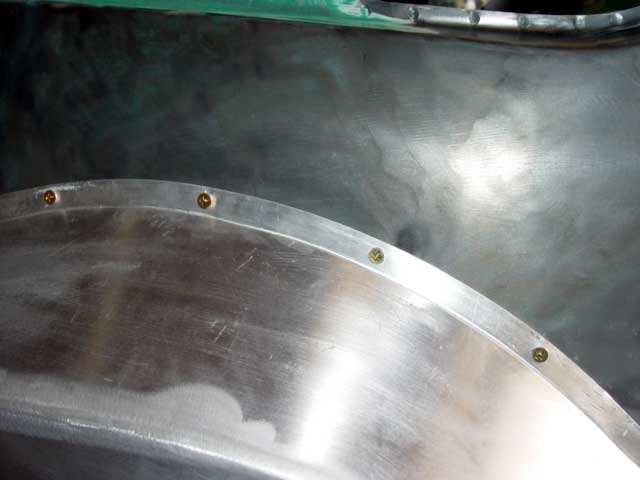
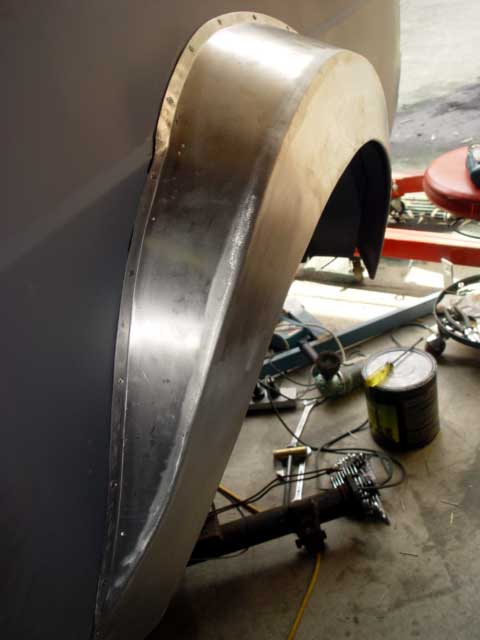
This is a good view of the self tappers.


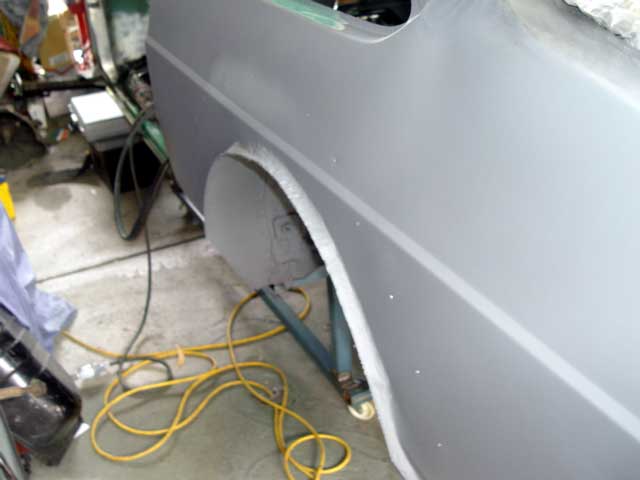
Give the quarter a coat of etch around where the arch rivets on.


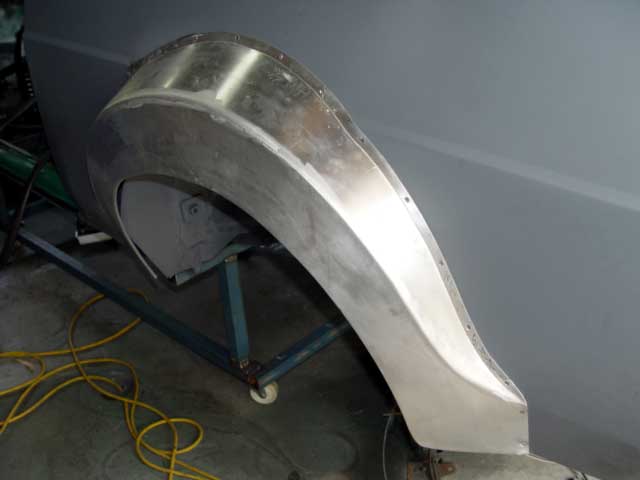
And this is the final look.


Last thing to be done on each is welding the rods on to the bottom of the sills.
<< ..1920.. >> - Powered by APG vNext Trial

© 2025 APG vNext Trial Version 5.1

Use My Existing Forum Account

Use My Social Media Account