2013/10/10 09:18:51
brad_80_scort
So I bought another Van a couple of years after selling my sundowner, which unfortunatley had too much rust for me to spend the money or time on fixing.
 
Picked it up with a bit of rego and a "recent" paint job, 2 ltr pinto with a quick shift 4 speed box and twin sidedraught dellortos. at first drive it was a little stiff in the front end as it had been lowered and from what i could see the suspension needed a little work, i knew some bushings were buggered and front spring needed replacing.
 
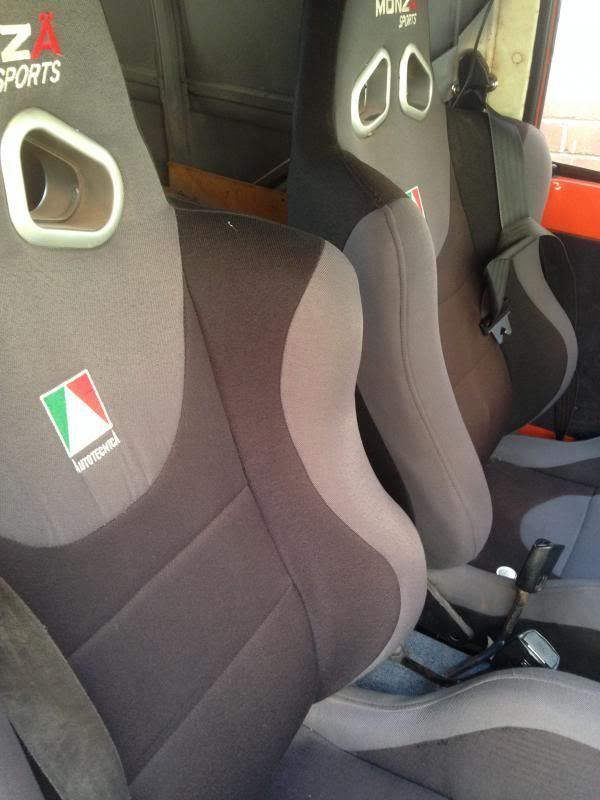
with all that i puchased it, and trailered it back to the Mid North Coast nsw (kempsey) and started the parts search for the Van.....The I took it to my mechanic for a check up and came away with two job cards full of stuff that needed to be done.....thankfully stuff i can do with out a massive amount of cash to be outlaid.  so instead of just redoing the suspension and keeping it on the road i got a bit motivated and called a bloke thats keen on doing some panel and paint on it and thankfully because i got good quality spares (front doors, bonnet, extractors, grille, spare glove box and gearbox) i am able to send him some work and get the whole thing underway.
 
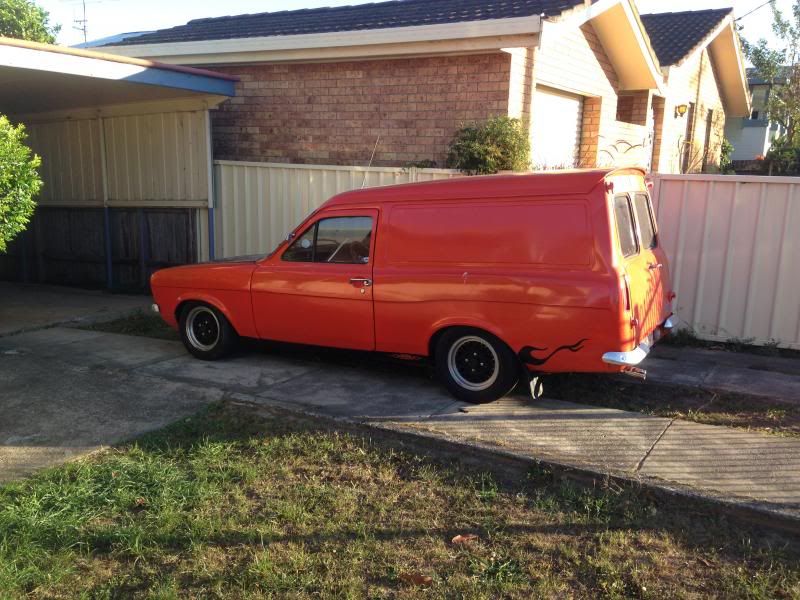
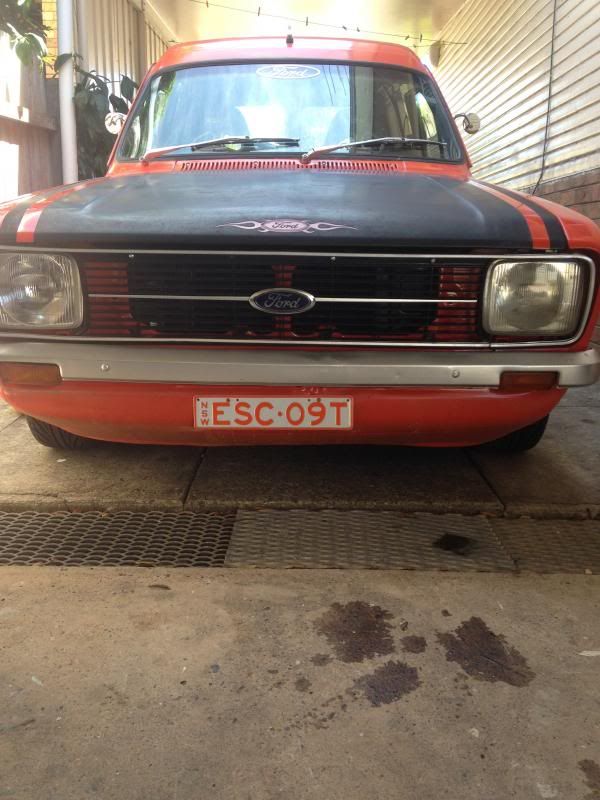
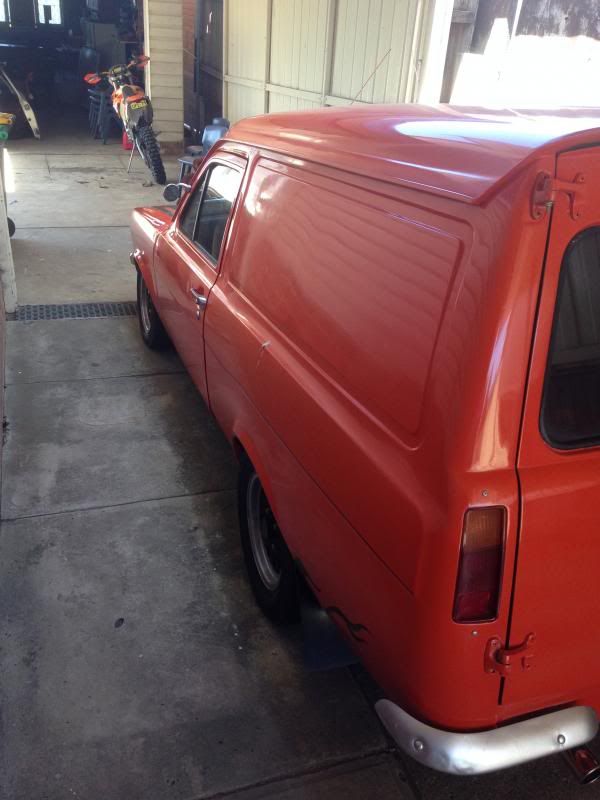
at the moment its Blood Orange with some painted on flames, i had to remove a heap of stickers and what not, but the next stage is removing the front guards and the drive train to get at the engine bay and start the stripping process.
 
so here is what it looks like at the moment
" />
" />

" />
" />
" />
 
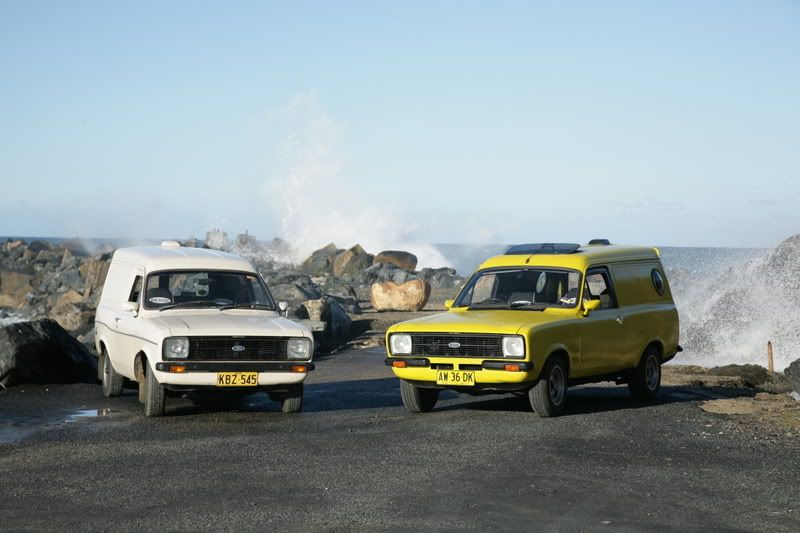
and one of my old van (bright yellow) with a mates for a photo shoot a couple years back...
" />
 
2013/10/10 12:42:01
mud
Looks good Brad, like the colour. Good to see another Escort in the area. There's lots of Escort nuts in the local car club, although sadly not that many actually own Escorts any more!
2013/10/10 21:01:56
sundowner
orange is a great colour for a windowless van...
 
and im with you windowless vans look way better than sundowners or windowed vans
2013/10/28 15:45:19
brad_80_scort
UPDATE!!!!!
 
so far parts have been flying off the Van and going into very meticulously labelled sandwich bags (a trick i learnt from someone i cant remember)
 
both spare doors are being stripped and primed as well as the bonnet, the spare bonnet is not as nice underneath.
all front body work ie grille, lights and bumpers have been removed and some of the innards of the engine bay have been taken out too. Probably just like to point out something every escort owner knows, but the bloody brake booster is a bit of poo poo to get off if you havent done it before.....me being a noobie to taking them off spent the best part of and hour and a half getting it removed.
 
exhaust from headers down is off, pollution gear off and radiator gone. i will post pictures later of progress.
 
Plan is Mandarin Orange with either black or gunmetal grey highlights with hopefully a set of BF45 simmons with polished lip & gunmental grey centres for the rims.... im thinking that will be pretty hot.
 
Also does anyone have a small sand blat unit they wish to sell on or hire out (distance is a problem because im 5 hours from brissy and 5 from sydney)
 
BT
 
 
2013/10/28 19:35:49
Flighter
brad_80_scort
Probably just like to point out something every escort owner knows, but the bloody brake booster is a bit of poo poo to get off if you havent done it before.....


Didn't know that, and have to do it, so is there a secret?
2013/10/29 11:47:57
brad_80_scort
I had to get a length of wire to pull the split pins out from the connecting rods (from underneather the car).
 
If i were to do it again i reckon where it attaches onto the actual brake pedal may be the best point to disconnect from, undo the nuts on the firewall then the two attaching it to the inner guard and it should all come out in one whole unit.
 
im not a small bloke so it was a bit of work but worth it in the end...
2014/01/21 11:12:31
brad_80_scort
UPDATE!!!
 
so work holidays have gotten in the way of any major work untill this week in which i stripped a lot of parts of the van including the dreaded heat bubble and got a better look at the floors
 
so here are a couple of pics of whats been going on... and i think ill try adding a vid of the engine running before i took it out...
http://s155.photobucket.com/user/brad_80_scort/media/Project%20Orange/IMG_2527.mp4.html
 
BEFORE

this is what the heater bubble looked like after i drilled out the holes, got sick of waiting for spot weld drills to turn up
 
AFTER:

not too bad considering some of the ones i have seen. some of the welds werent drilled properly and tore away some of the thin metal, going to plug these up and grind back nicely.
 

removal of doors with the pugs Franklin (fawn) and LeeLoo (black)
 

found this nasty little surprise in passenger guard
 

rear doors off, learnt a thing of two taking them off
 

interior coming out slowly
 

both front sections of the floors are liek this unfortunately so that sucks the hard one... out comes the grinder of death
 

and out comes the engine... bit of a task but i got her there.... plan is full rebuild with a bit better cam and get her to breathe a bit easier too.
 
 
2014/08/30 08:17:12
brad_80_scort
Update august 2014!!!

Van is now almost fully disassembled. Day to day work and my other side project business has gotten in the way of spending time on the van. Anyways I thought I'd post a couple of the pics up that I've taken in order to get it to where it is now... Looking like a full media blast and metal work before being covered in XR5 orange
2014/08/30 08:40:49
brad_80_scort
A few pics

Attached Image(s)

2014/09/12 09:11:11
brad_80_scort
So here are some more pics of the front guards coming off, these bad boys needed to be cut off in the end as someone had previously welded them back on. The door pillar (where the door attaches has some rust in it on both side so looks like a bit of a job to cut out and replace these with spare panels.

Starting to realise that this project just got put into long term mode, however still dropping off bit and pieces to my panel beater to get done so small progress is being made.


Passenger side guard off. Good old angle grinder time


Having to cut along the guard and inner headlight support was a bit tricky. NB: I am going to be replacing the front panel and guard rails when I purchase new guards

12 - Powered by APG vNext Trial

© 2025 APG vNext Trial Version 5.1

Use My Existing Forum Account

Use My Social Media Account